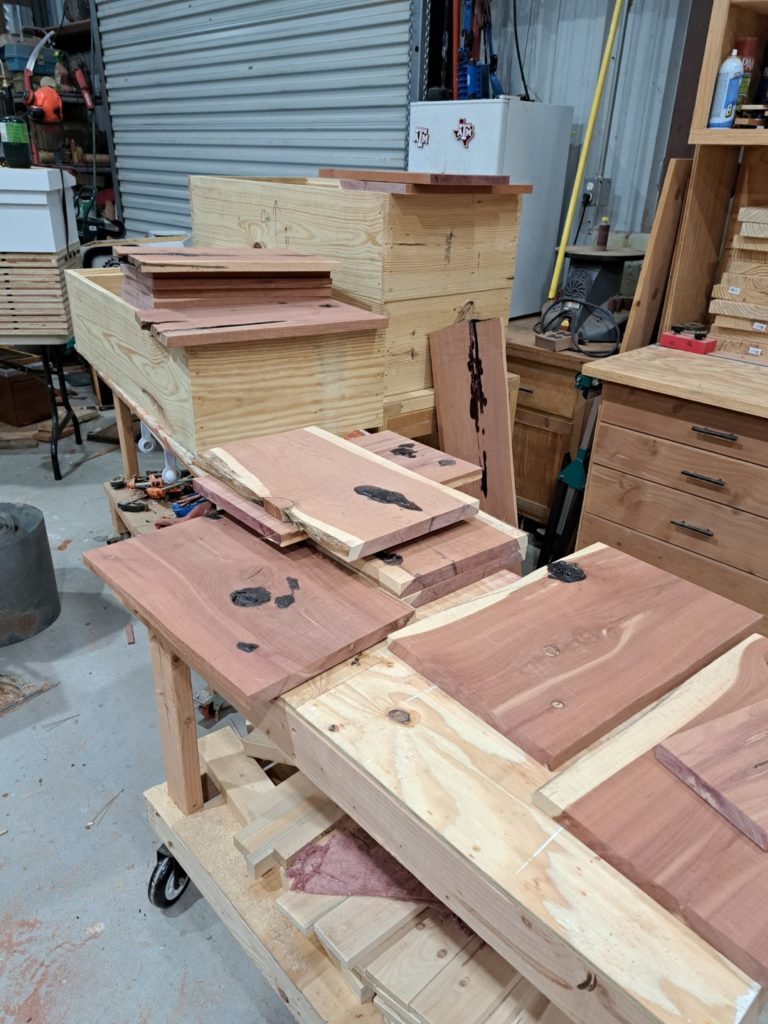
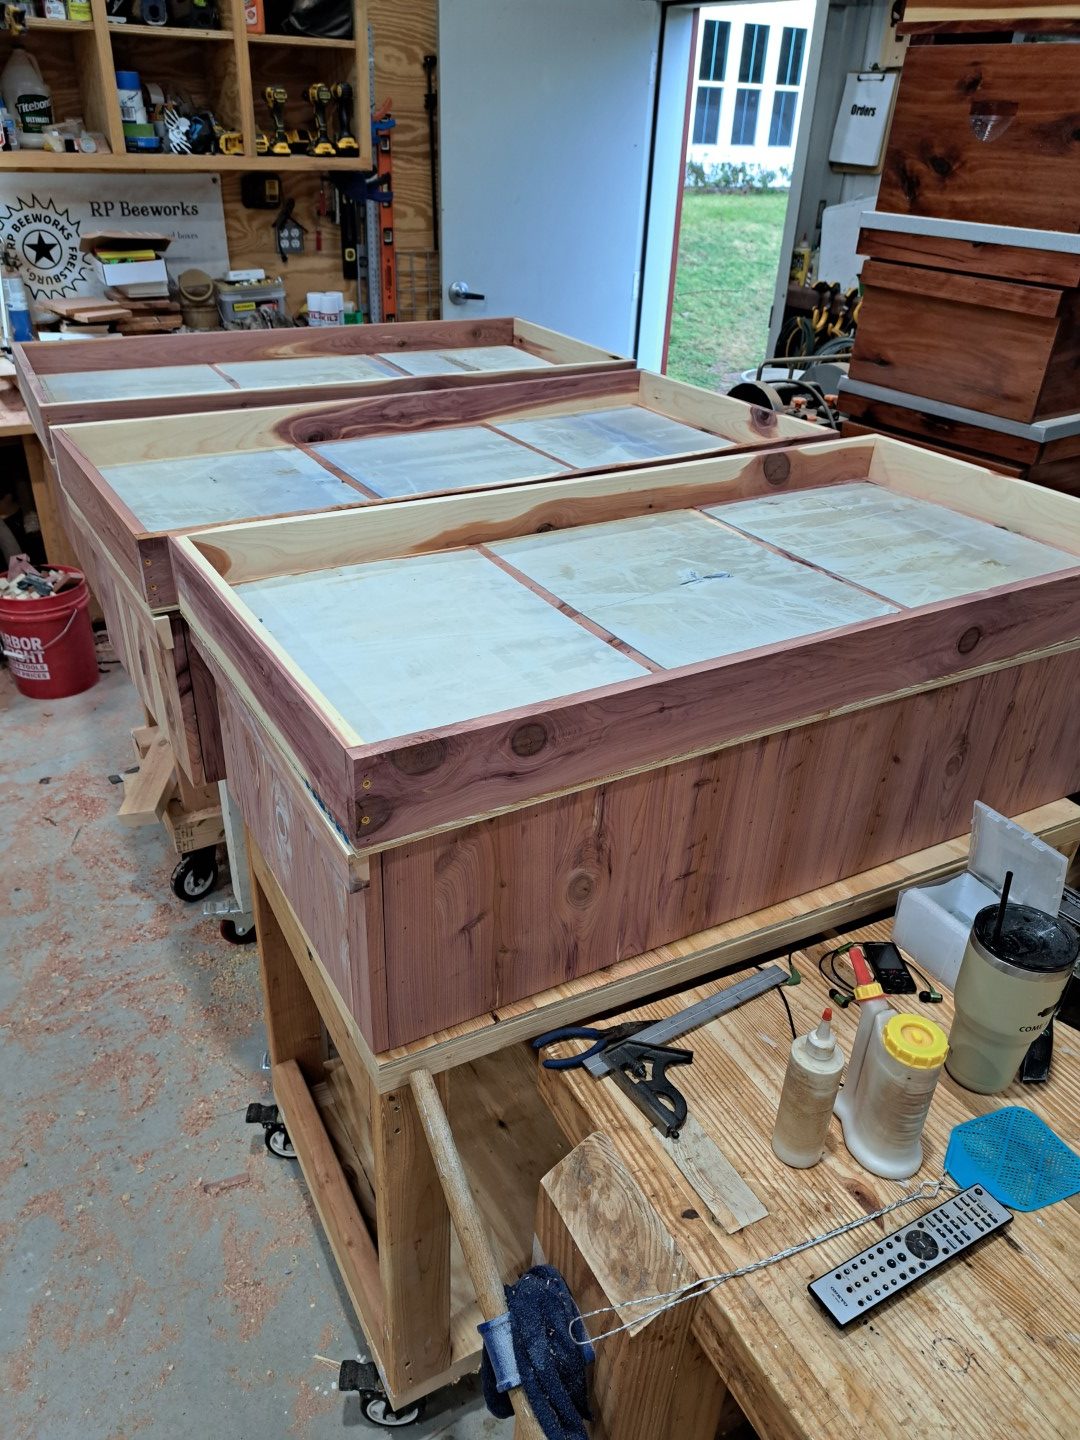
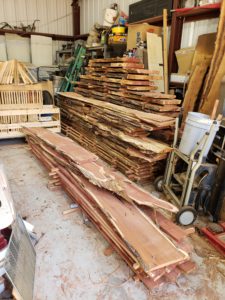
Maybe some people throw out cedar with knocks or imperfections but I just cannot bring myself to do that. Since these are designated to be bottom boards and will never see the sun, it will not be an issue filling the imperfections with epoxy. The only problem is that it takes time….especially in the winter months because it takes more than 24 hours to dry!
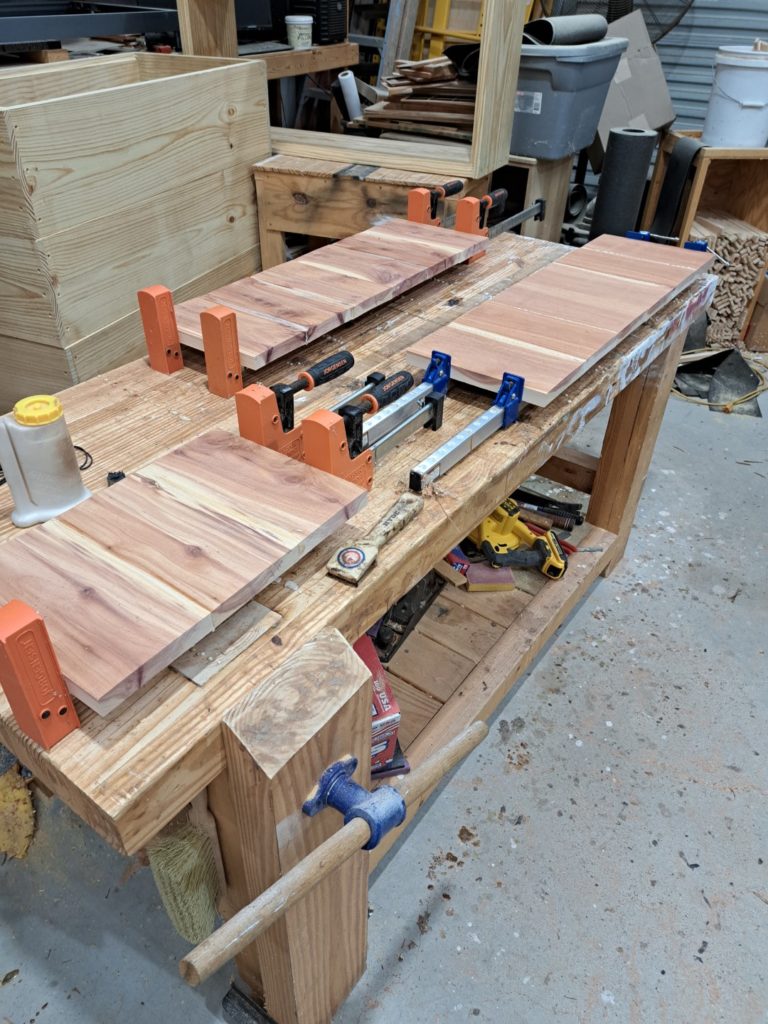
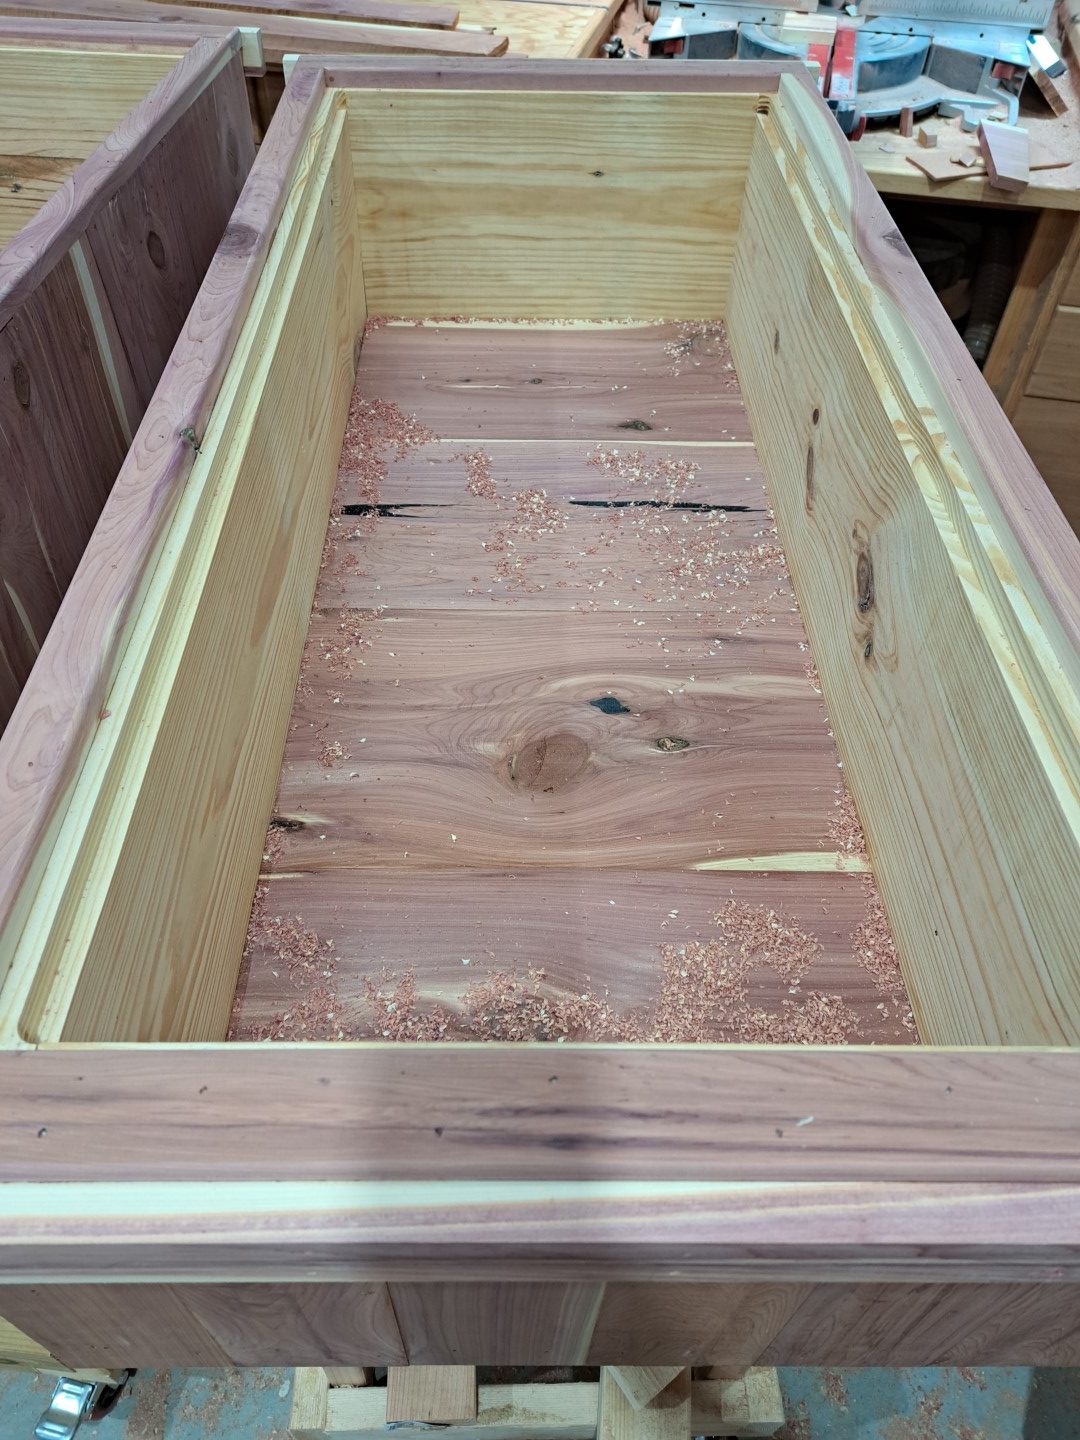
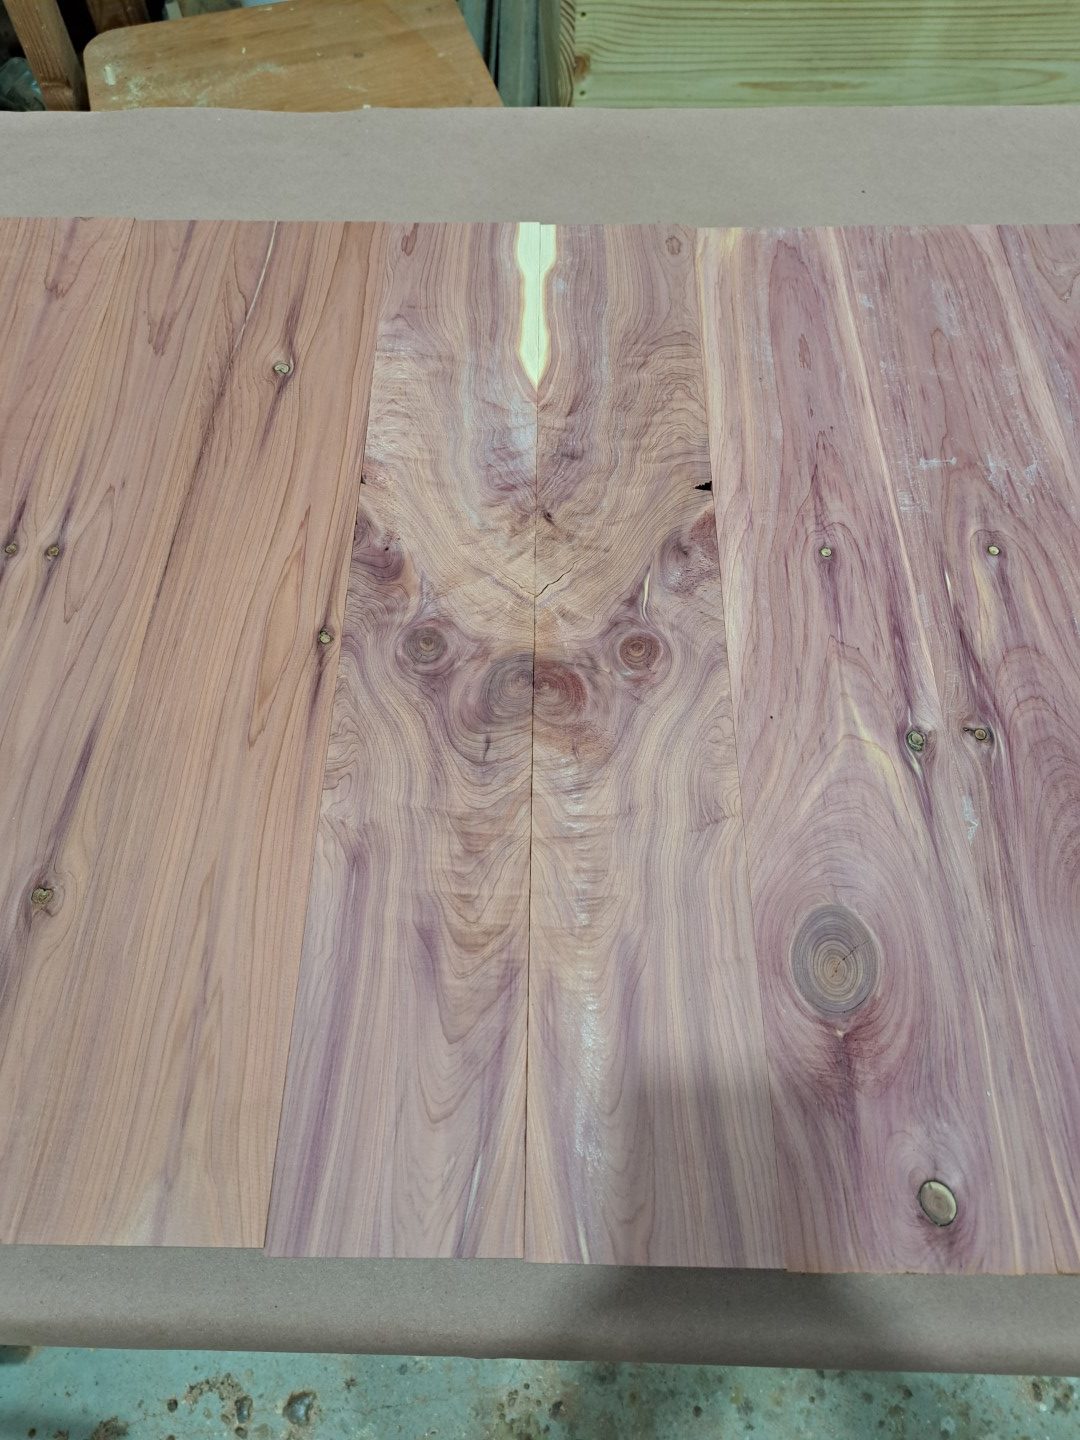
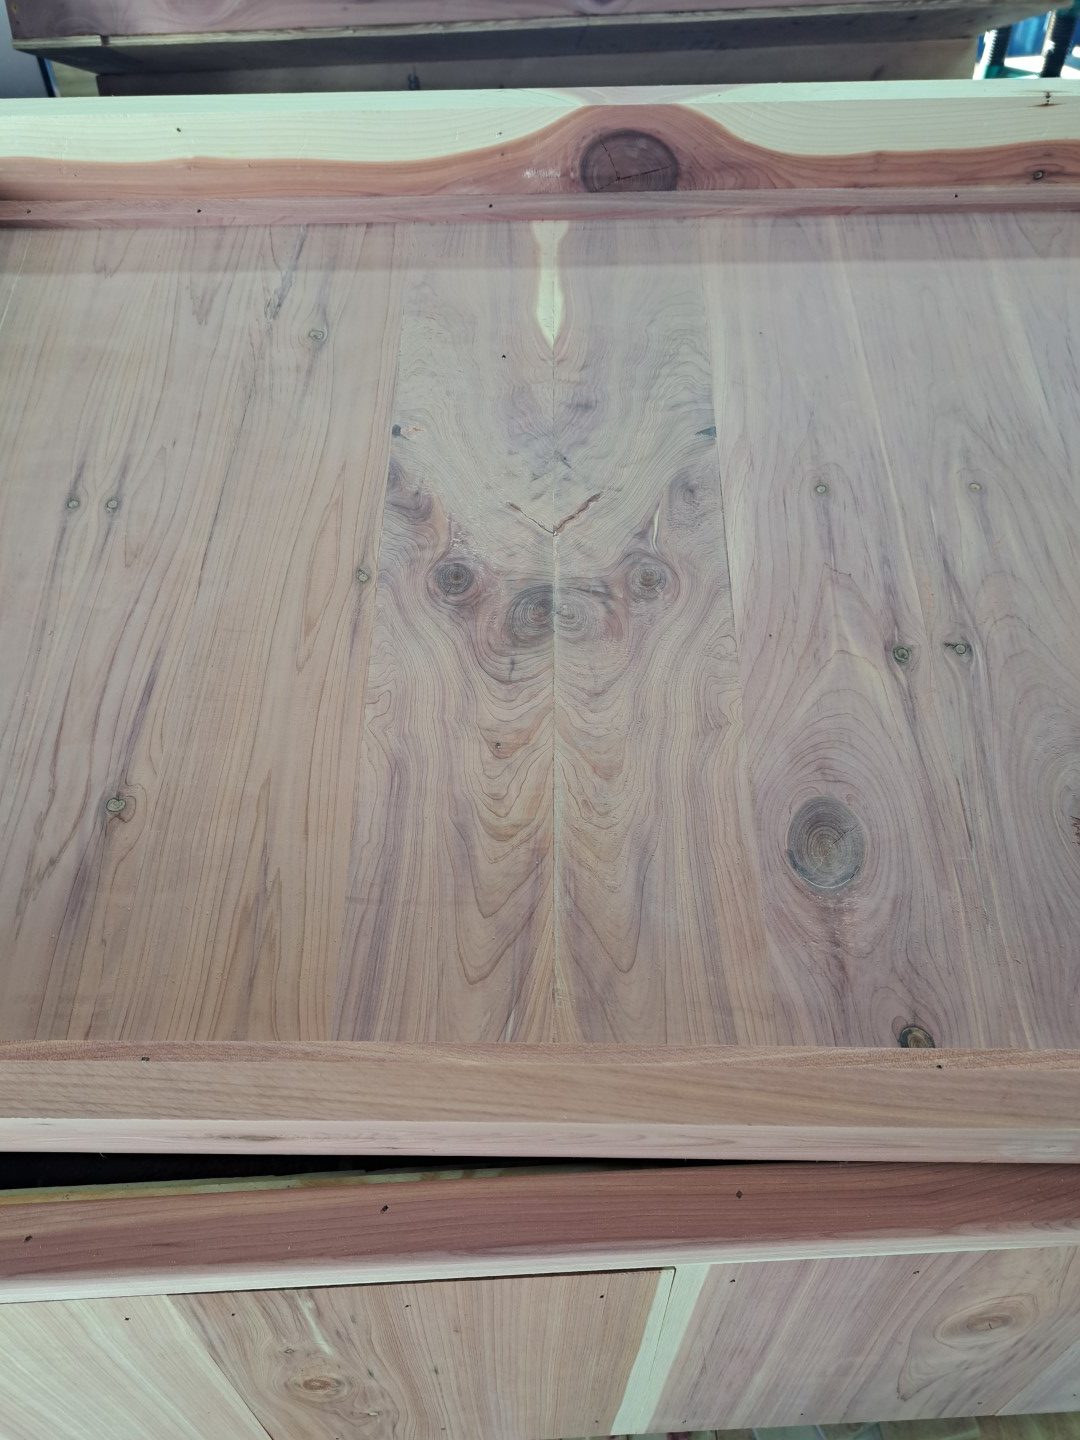
After the epoxy was dried it was time to do some glue-ups. Now that I have a larger planer I can make the glue-ups wider and then only have one or two glue joints inside the box. This makes for a cleaner look and far less messy.
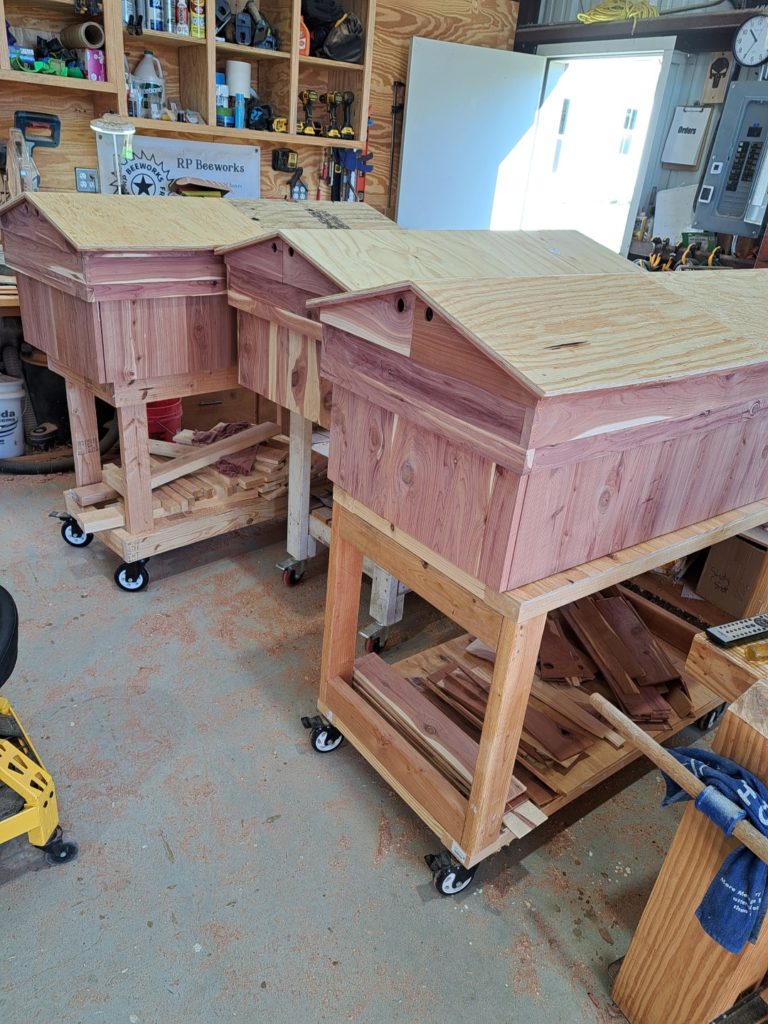
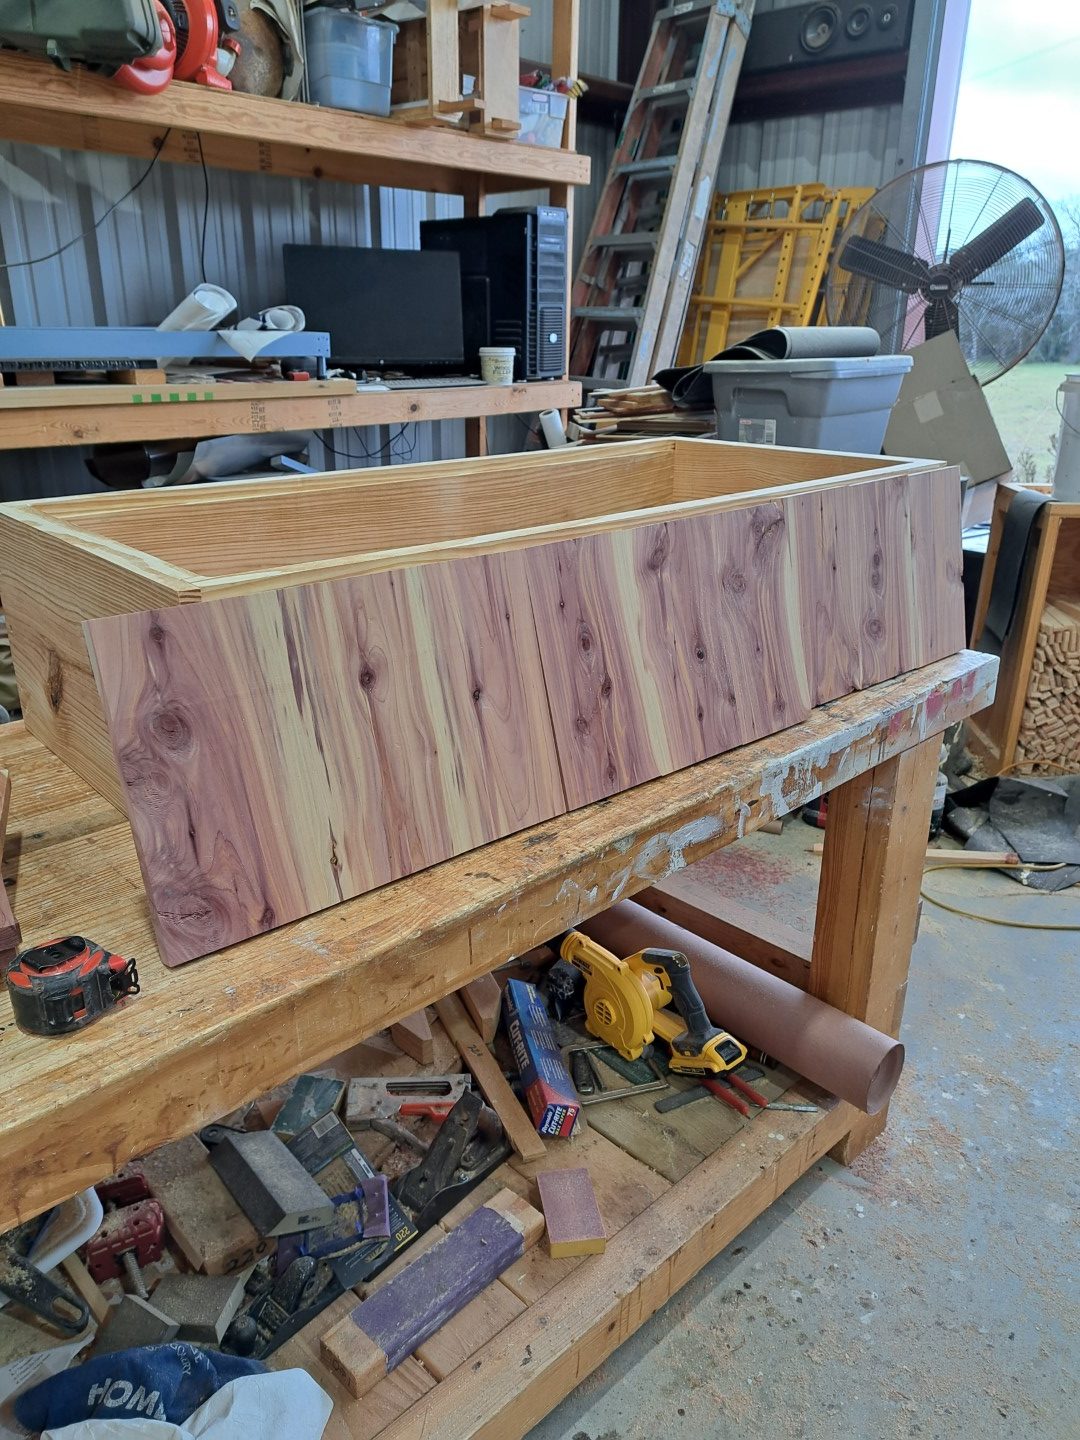
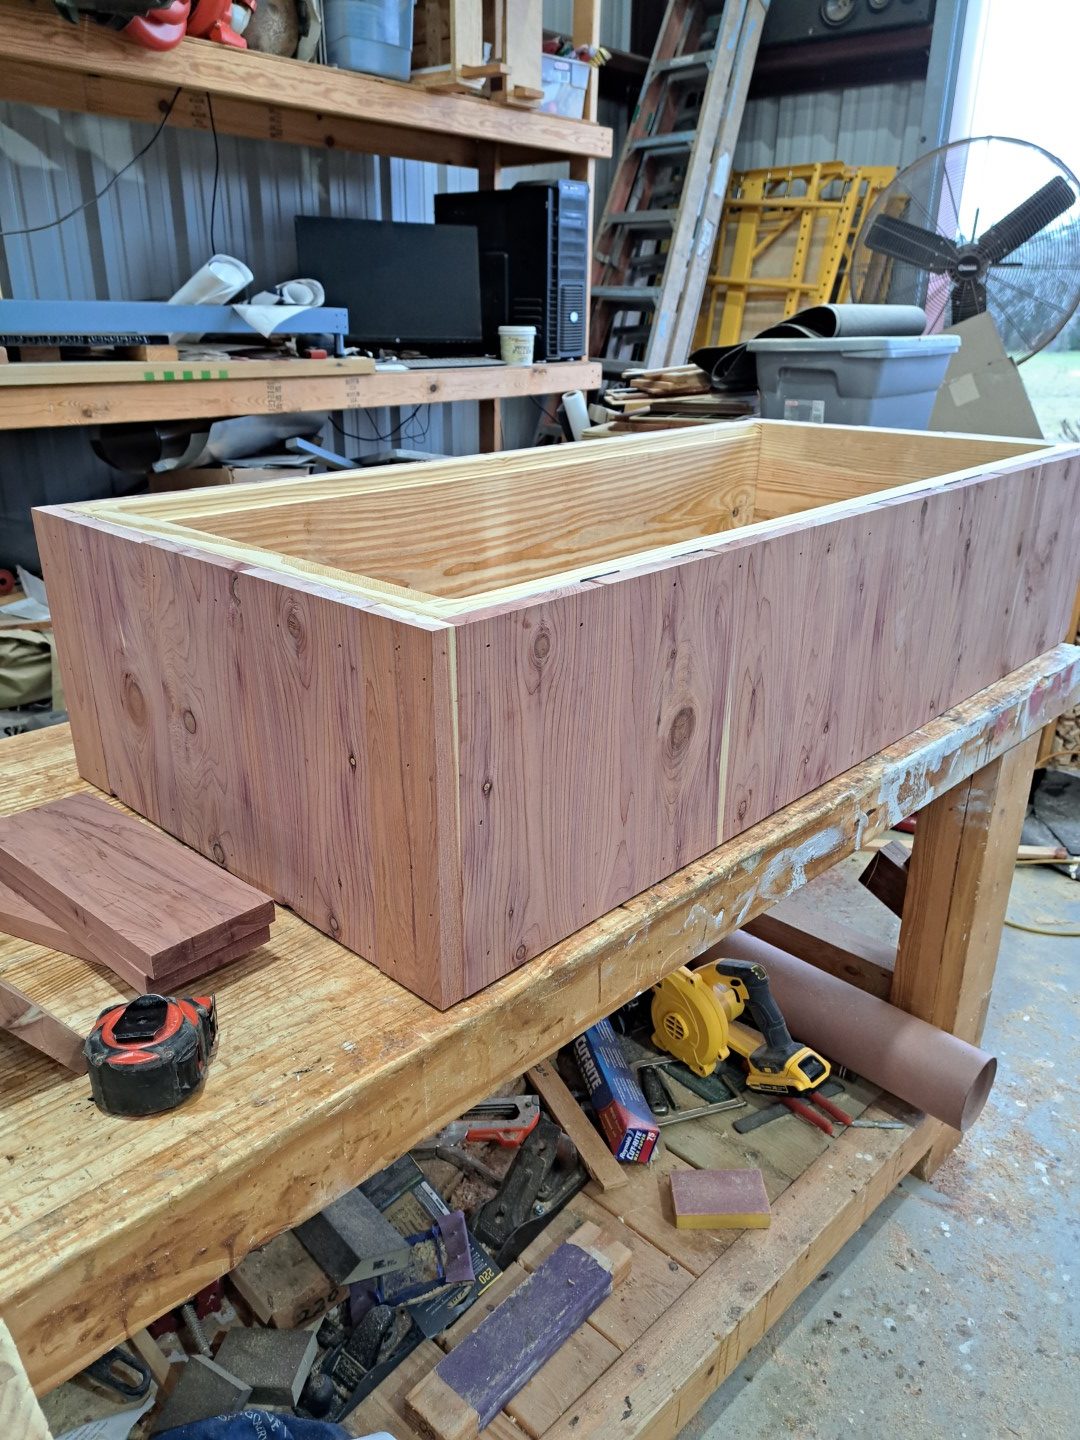
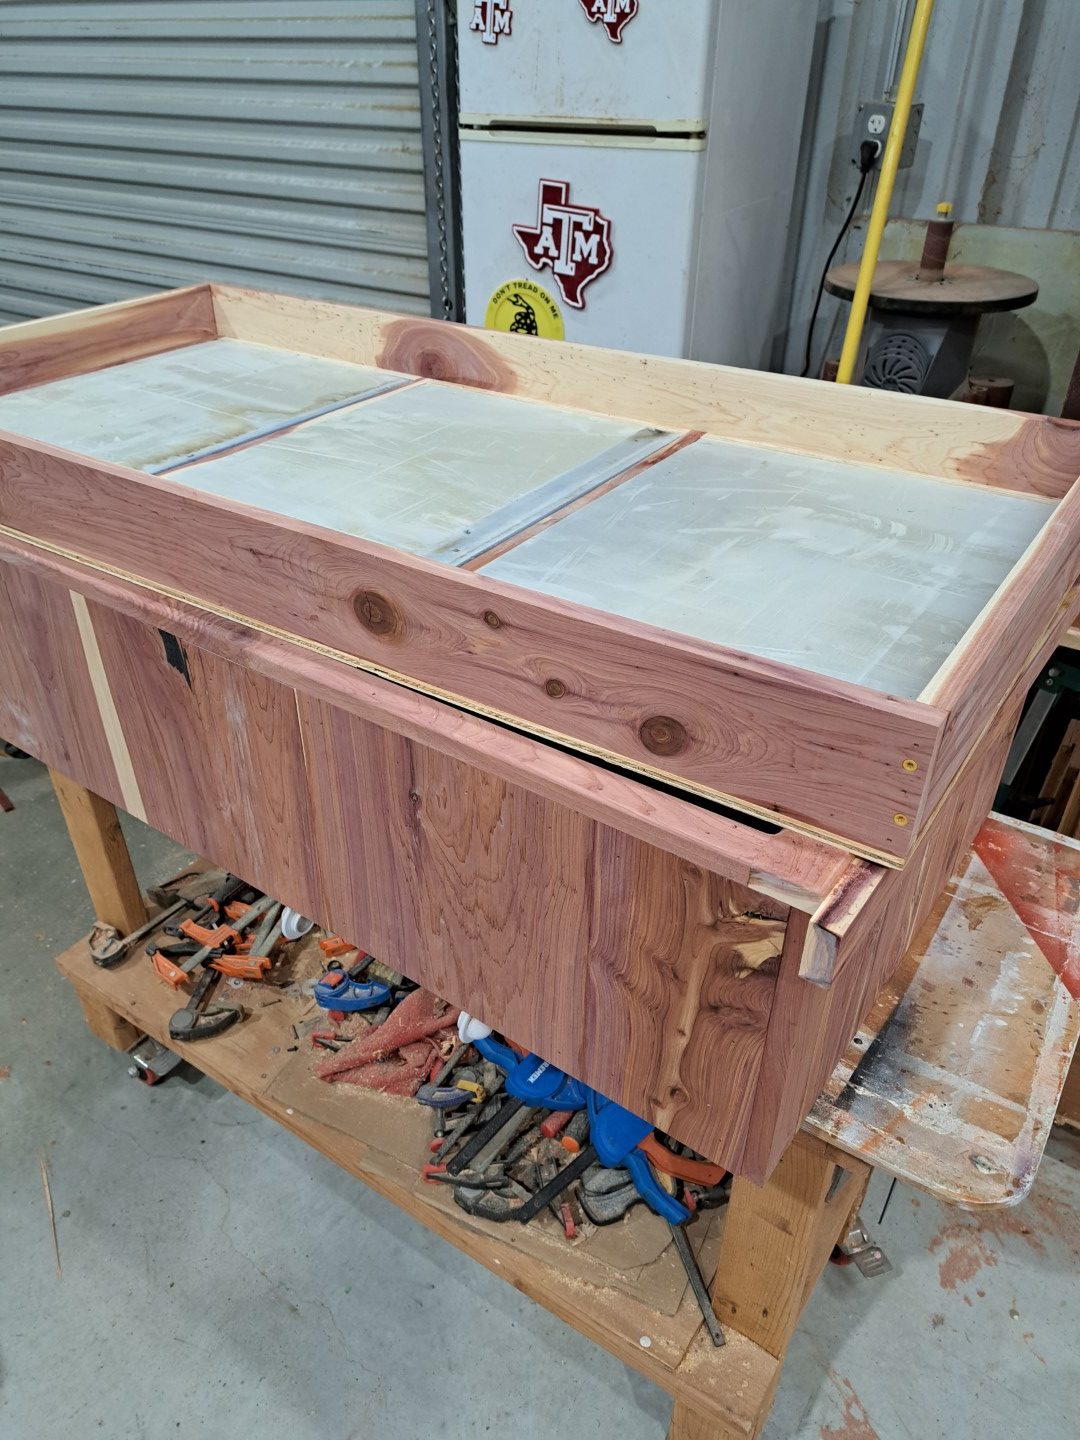
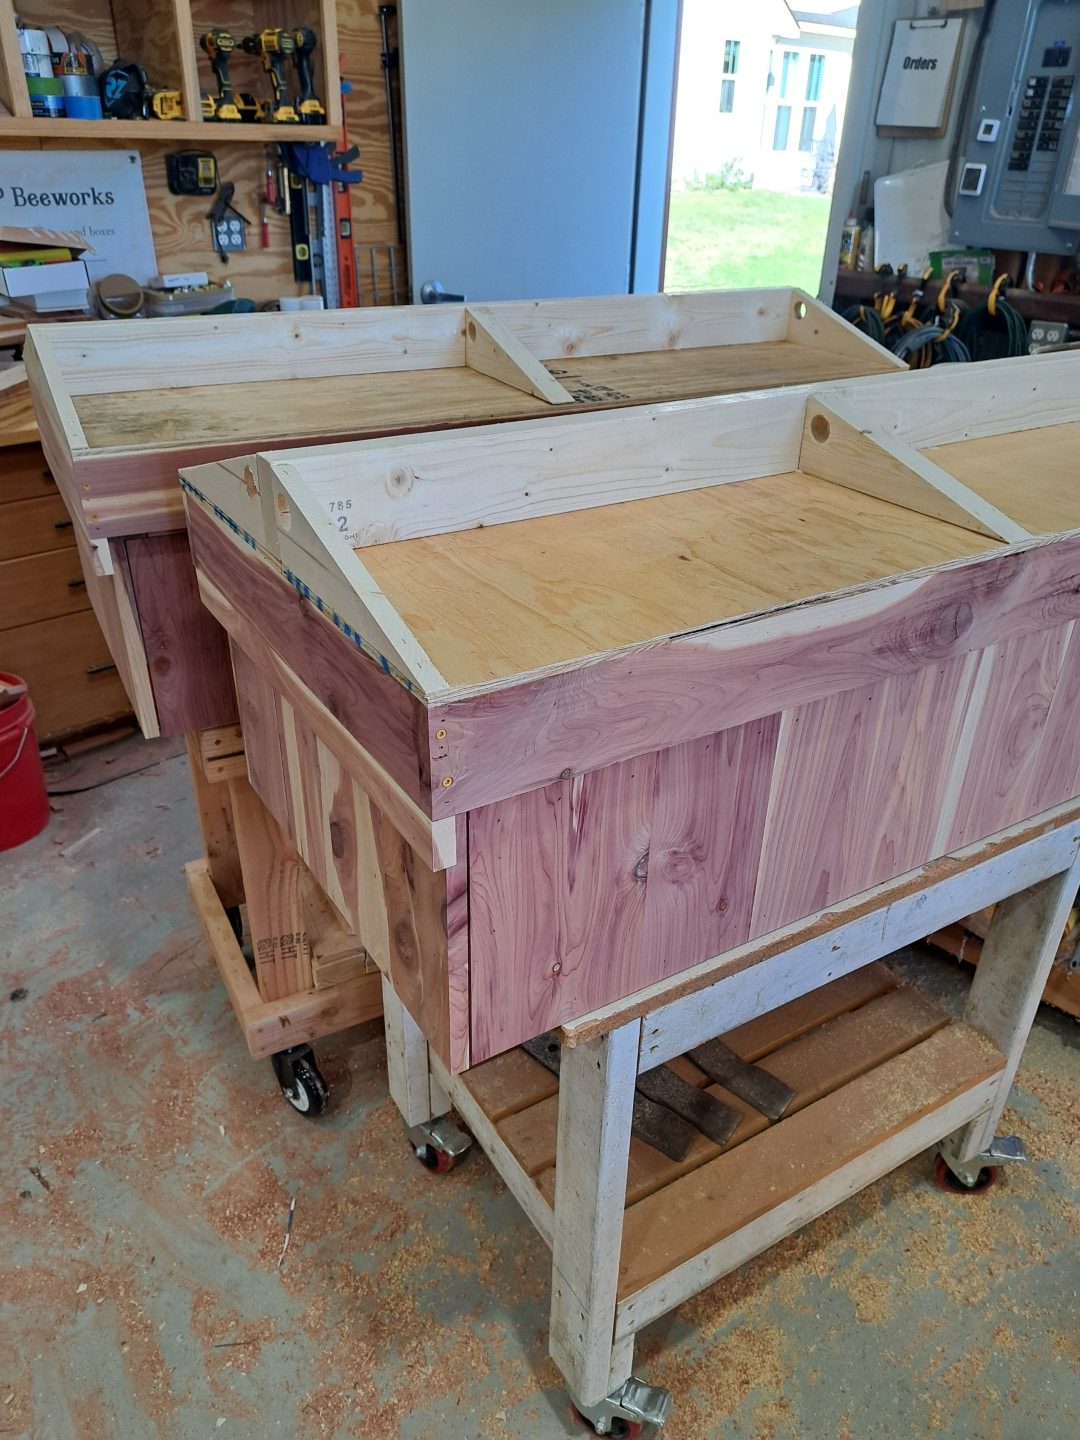
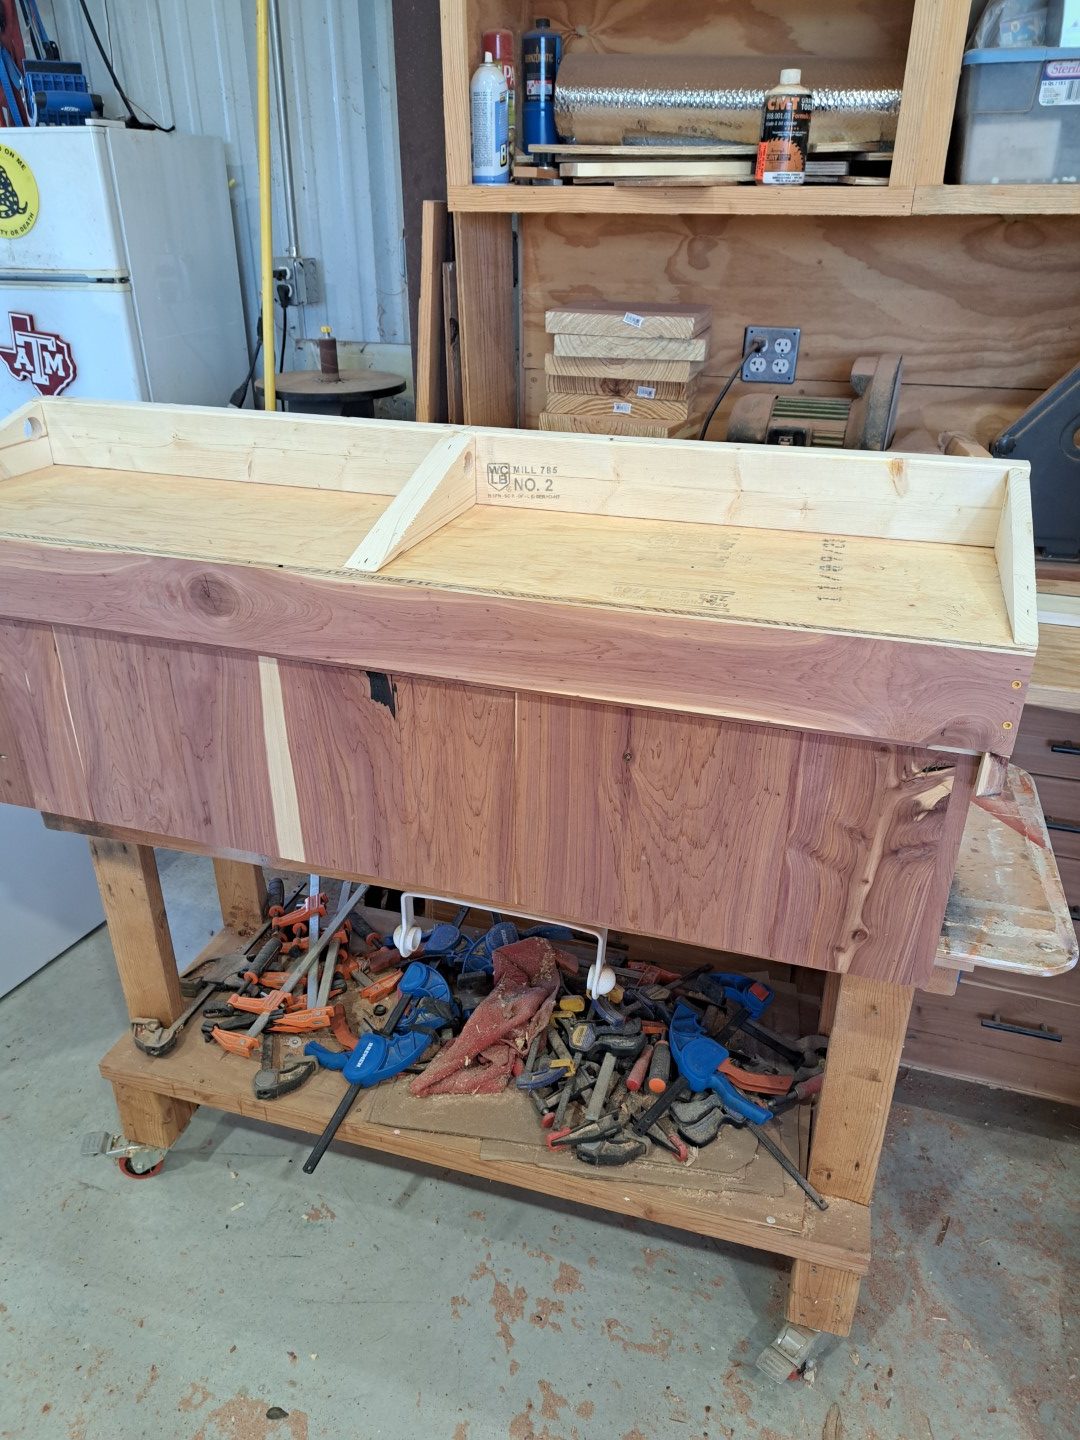
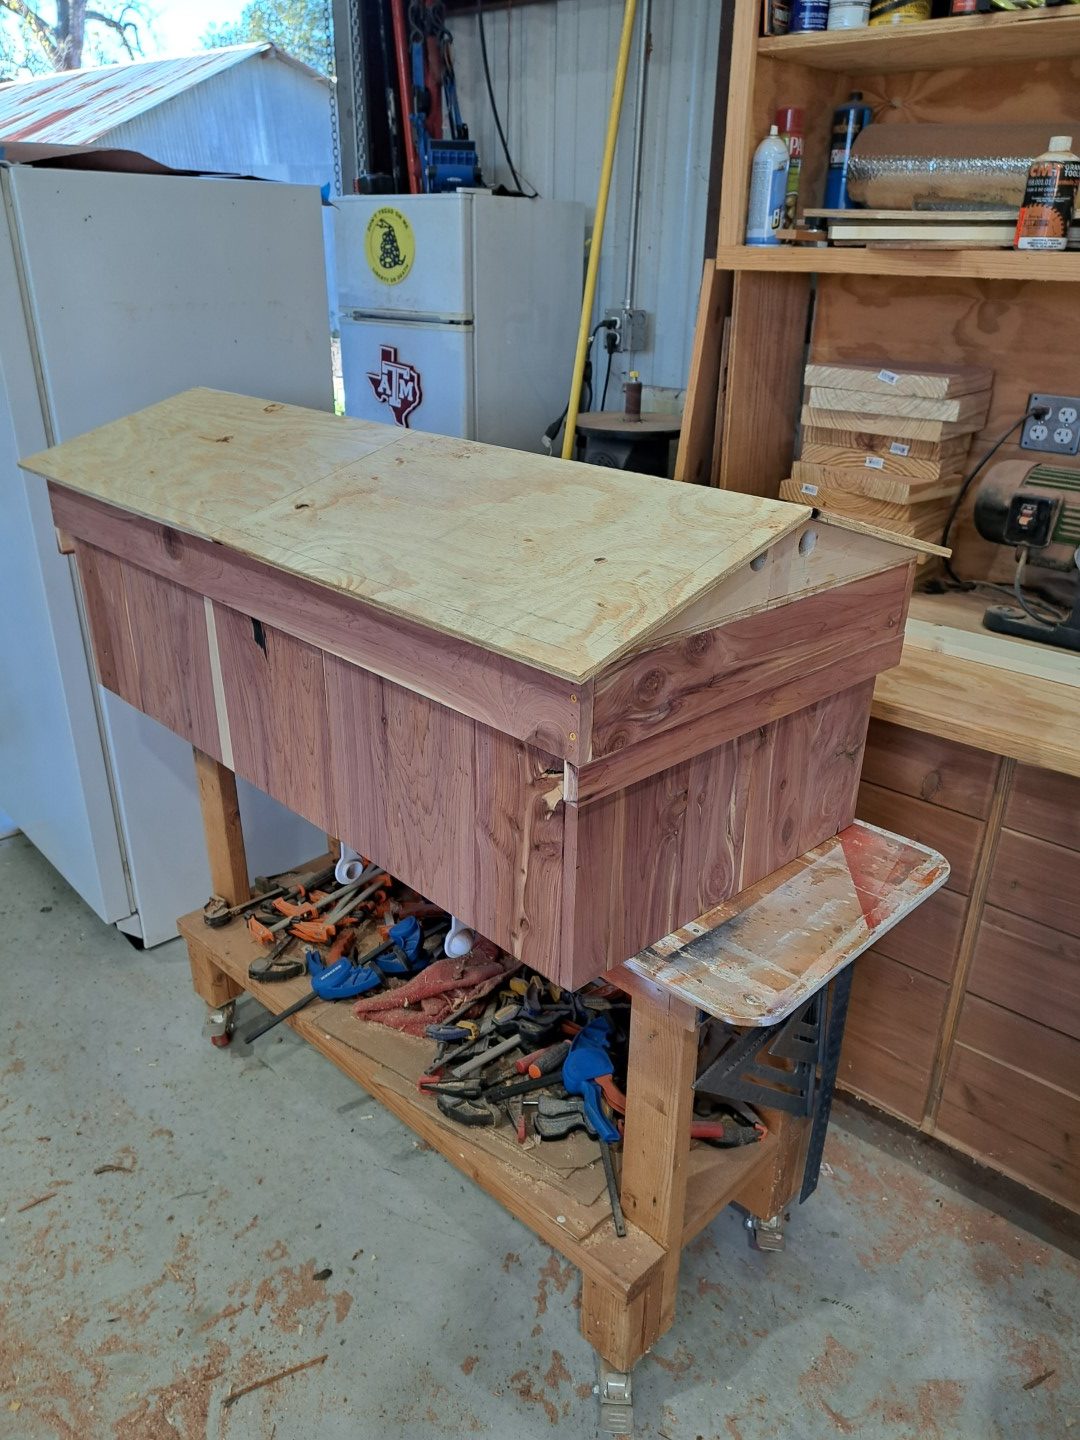
But as you can see the effort seems to pay off! I really like the black epoxy accents! This picture was after the cedar siding was added along with the top lip.
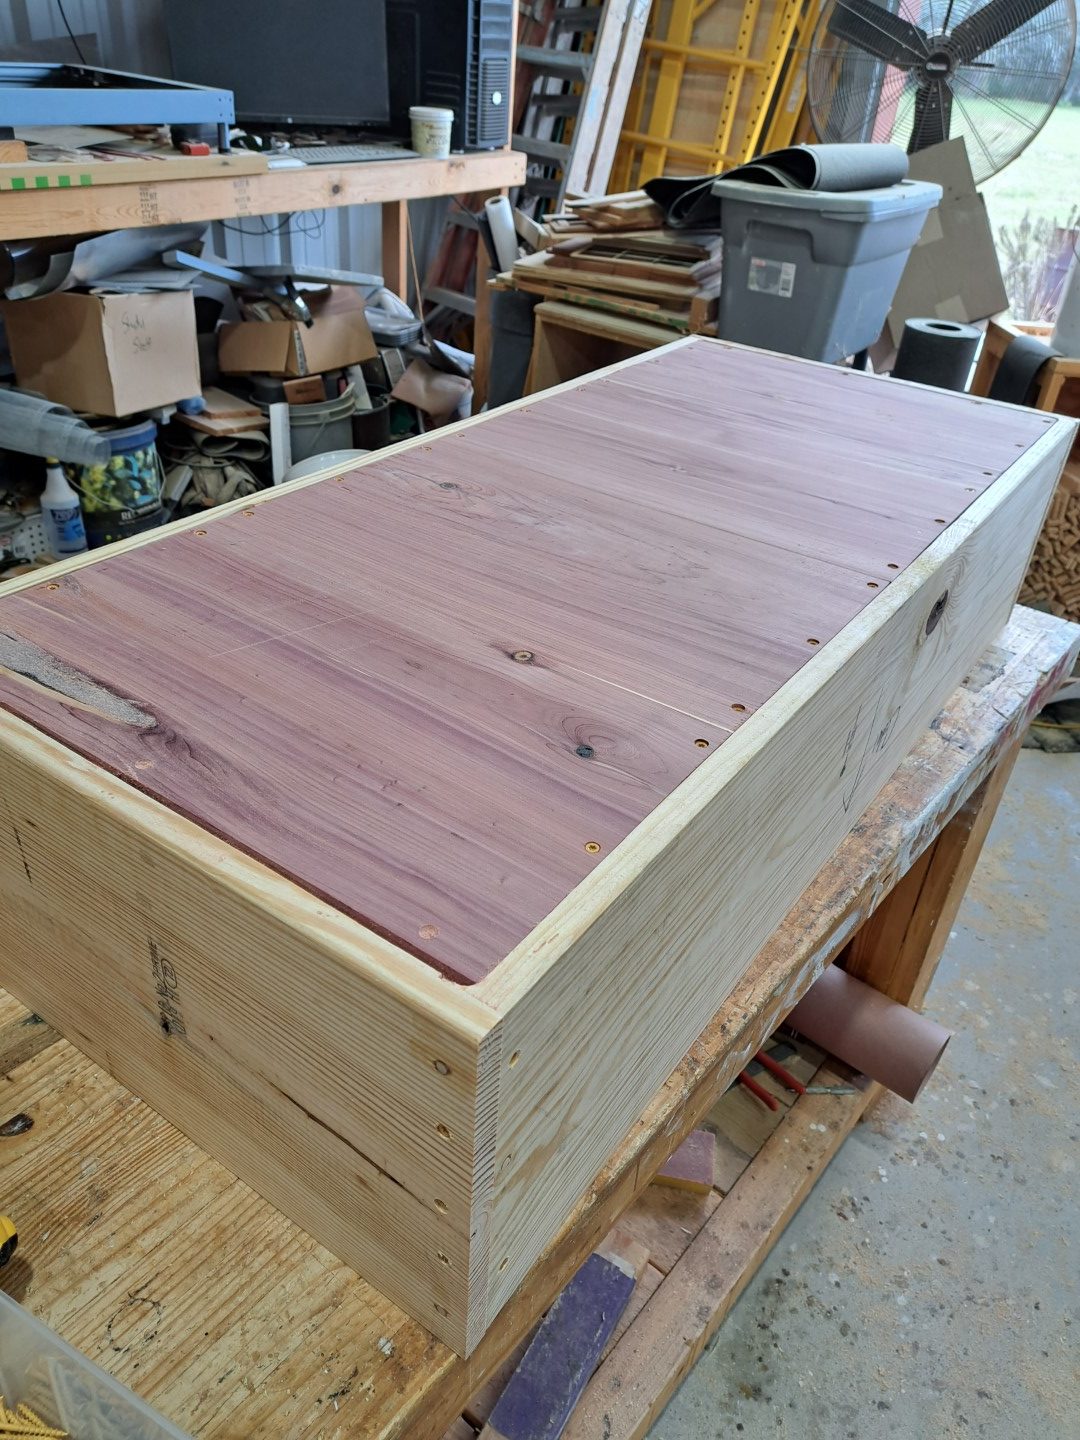
When the boxes are mostly done I build the lid. These lids are insulated with 1 inch of foam insulation.
Once the lid is almost done, I add the main 2×4 support and screw and glue it to the lid. I add rafters to support the decking mainly because I found that it is a huge waste to make the decking one sheet.
Once the decking goes in the rest of the trim work is added. The gable trim is done but the box corners are not yet finished in this picture.
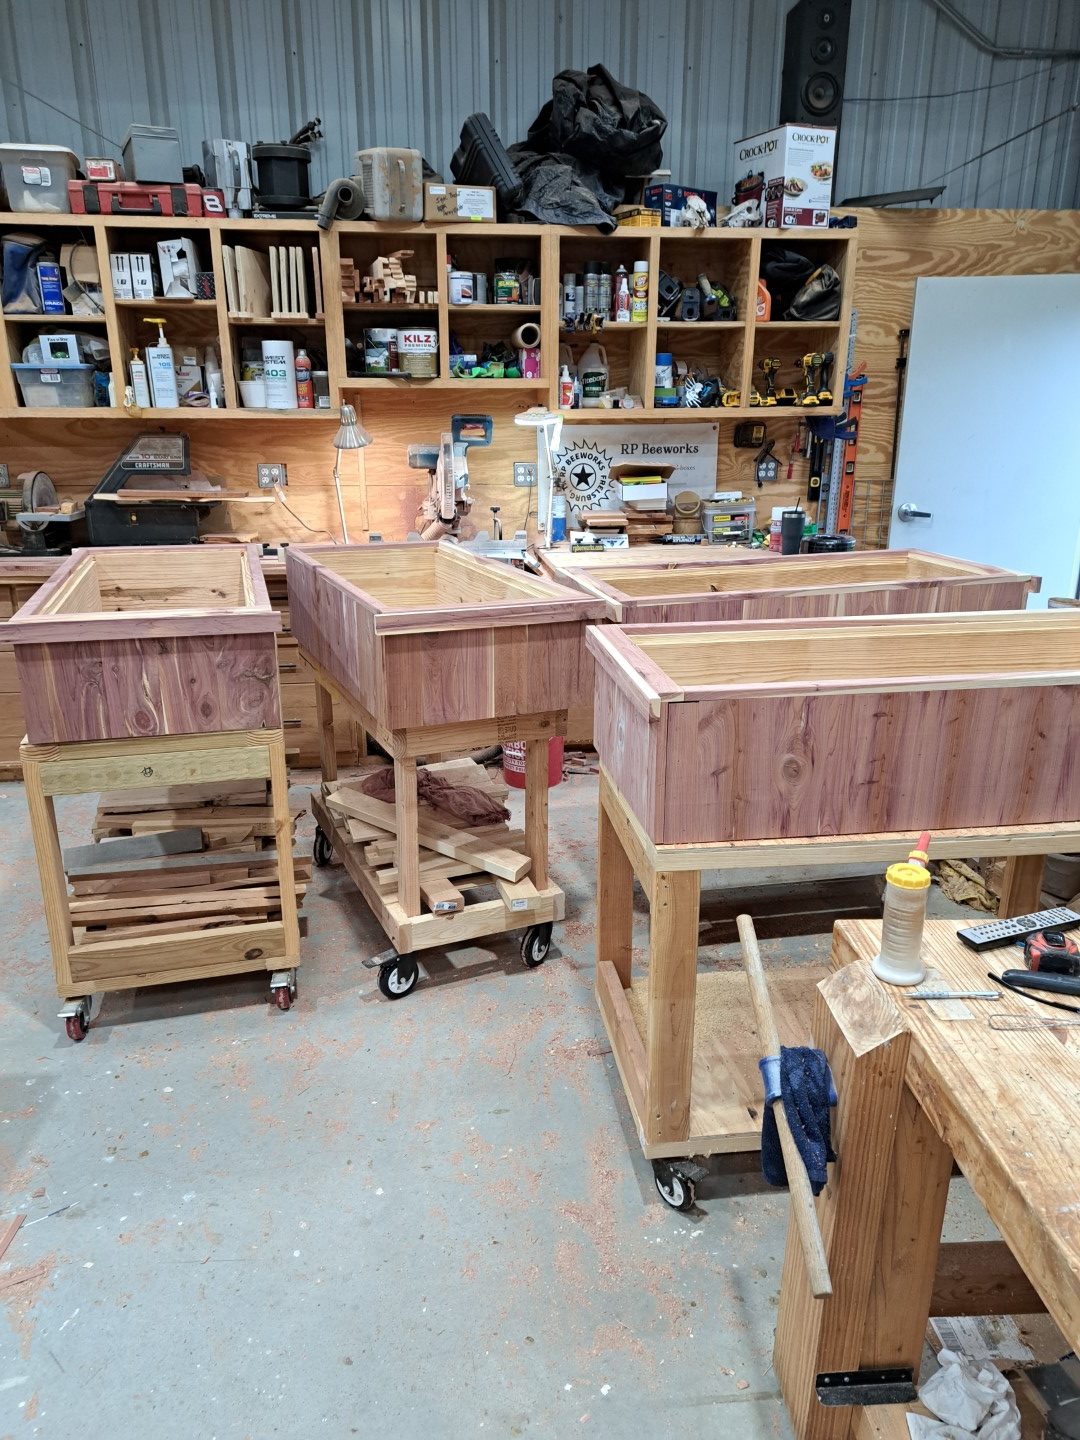
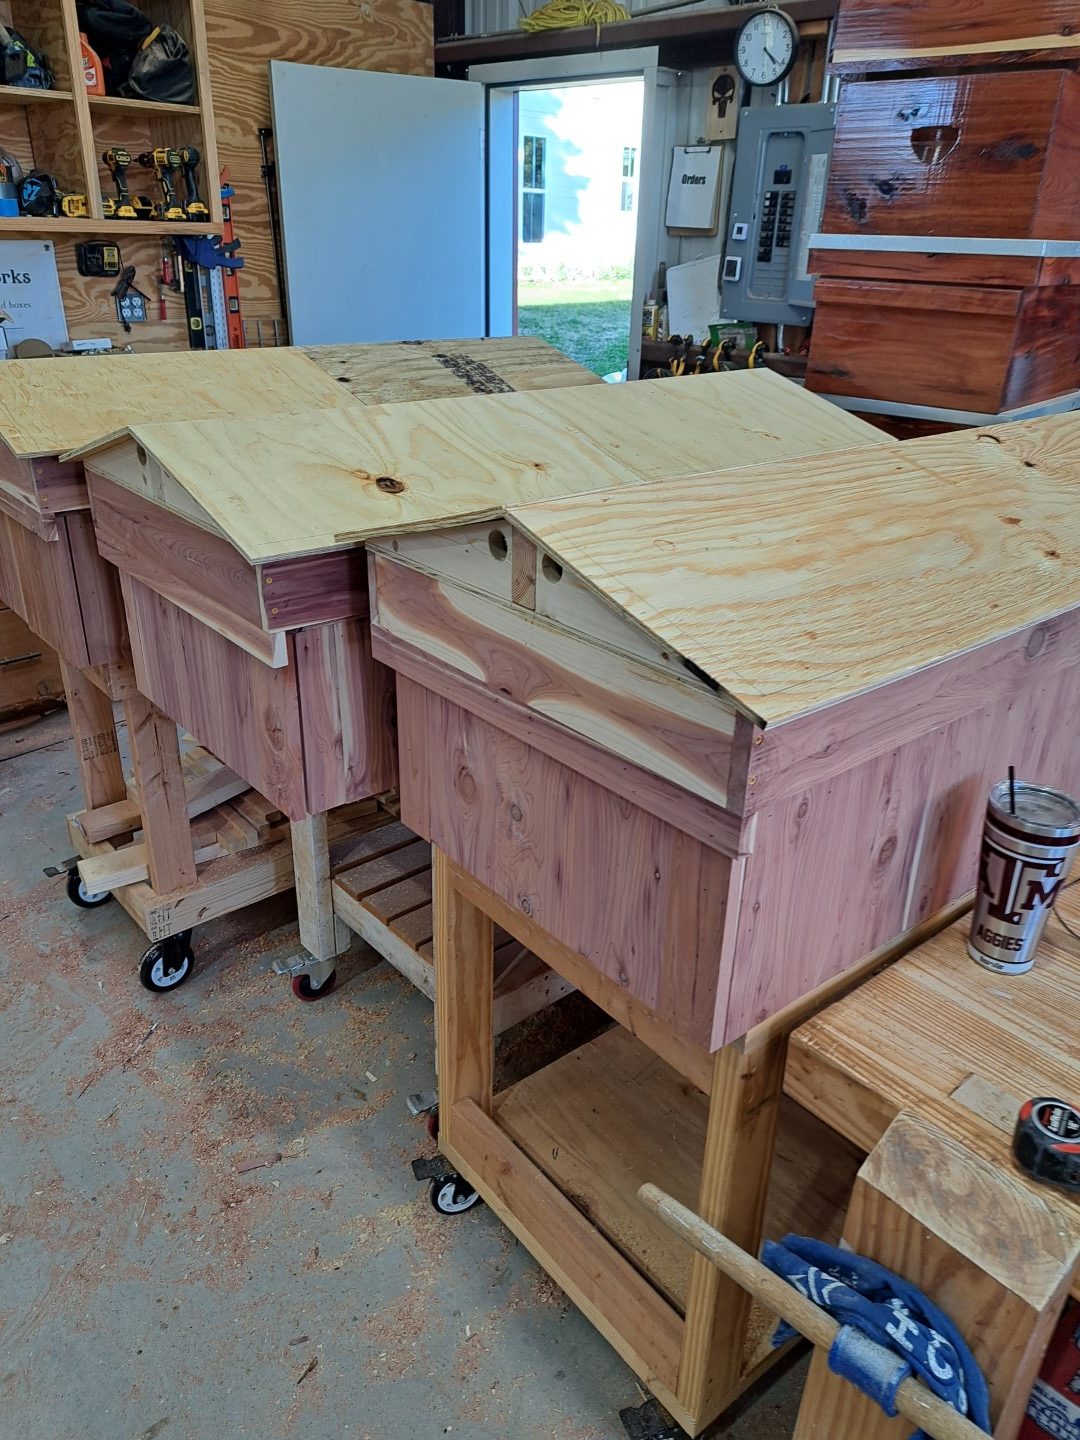
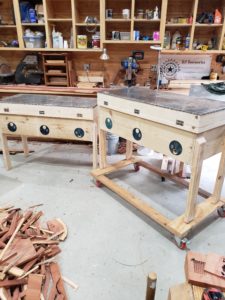
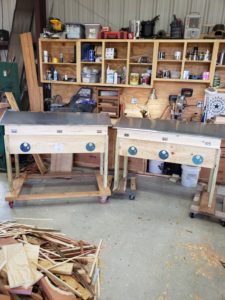
These four boxes are getting close now. I already finished the cover boards, the dividers, and cut the legs. Now I just need to cut the holes and then add the battens. I prefer to cut the holes first so I can make certain the battens will line up and look good. No one wants a hive that looks weird! Of course the hinges did not come in yet so still waiting for them.
Finally I will order the metal from our local metal shop. I decided since cedar long hives are my best hive, then they deserve the best roof they can get. Going to try a few different colors…more to come.