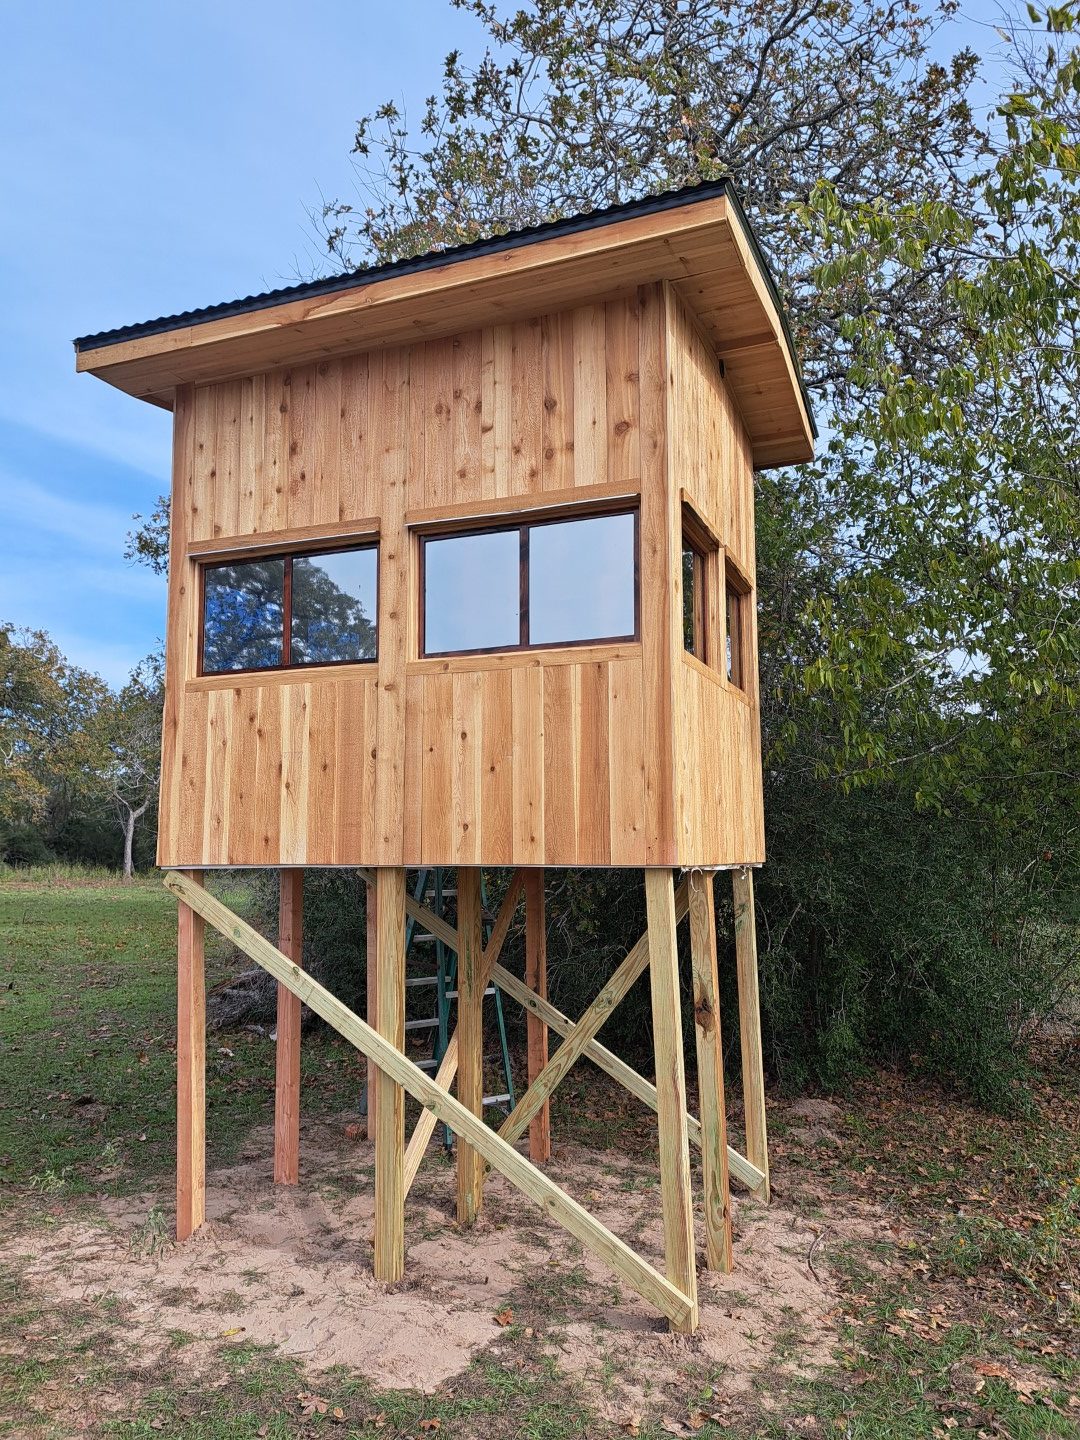
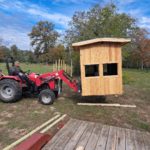
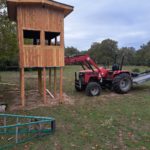
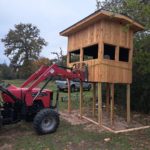
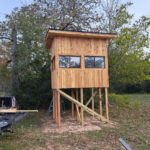
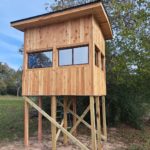
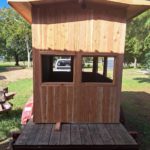
01/01/2024 Update: The stand is in place and I pretty much missed most of deer season for this year. We were able to use the forks to get the stand off the trailer but when we went to pick it up higher, it was too heavy. We need to put the shredder on the ba ck to add some counter weight and then it was able to lift onto the 4x4s.
After it was sitting on the posts then we screwed the 2x6s to the posts and added some cross-braces. Since there are 9 posts I would not expect any movement but the bracing helped clean up any swaying. I can always add some more if I feel like it is moving too much.
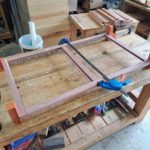
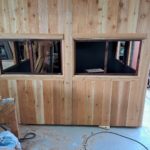
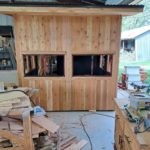
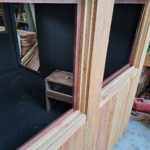
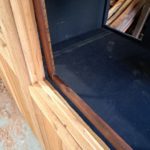
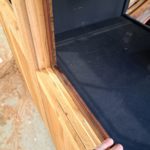
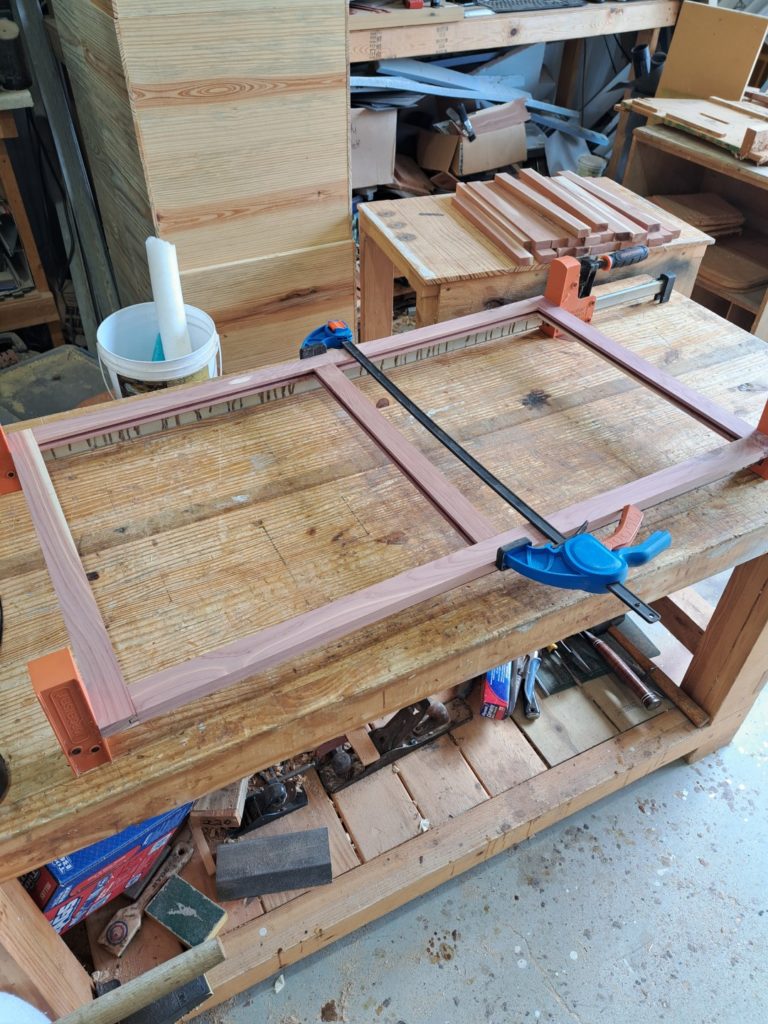
Added the flip-up windows into the stand. The windows have heavy duty magnets to keep them open and are pretty quiet to open. I built some frames for the glass and used black caulk to seal them in. Then added some window tinting. Never tinted a window myself and now I see why! It was pretty tedious…one little tiny hair and it had a bubble. It is definitely not a perfect tint job but as long as it keeps out most of the sun it should be great.
I will add some dark colored blinds to the sides just to keep any deer from seeing our outline.
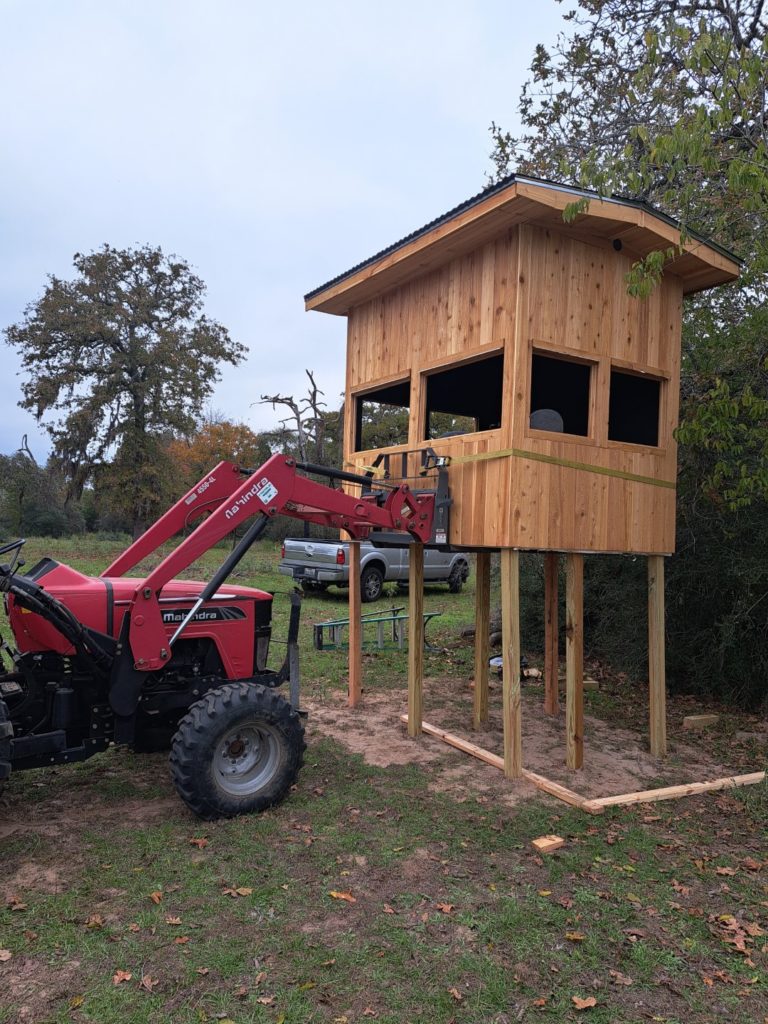
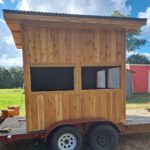
I needed to build a new deer stand since my old one was not designed for bowhunting and it is about 20 years old and starting to show it’s age. My old stand is a 4×6 and was perfect for two people if you are using a rifle or crossbow. However, you basically could not shoot a bow out of that stand because it was too short and the windows were too small. This stand is a 6×8 and it is 7ft tall inside with 2 foot tall windows on three sides. This gives you the option to sit or stand while shooting a bow.
I had planned to do this all year but needed to finish customer orders before tackling one of my projects. Unfortunately I did not get started until mid September and bow season in Texas starts in October. Here we are in early November so it is safe to say I missed ALL of bow season!
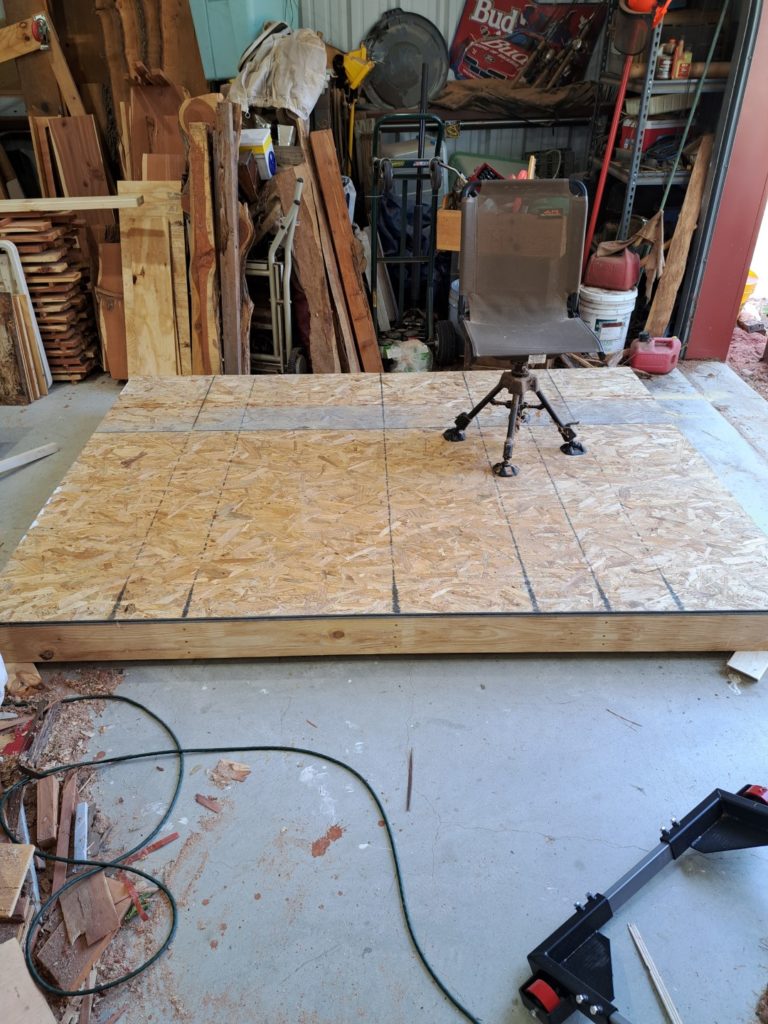
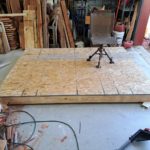
I barely had enough room in the shop but laid out the 2x6s on 24″ centers and added more bracing every 24″. The decking is 3/4″ plywood flooring and was glued and screwed to the 2x6s.
The platform will be mounted on nine 4x4s about 6ft off the ground. There is a slight rise in the property and the slight elevation has been perfect for years.
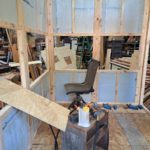
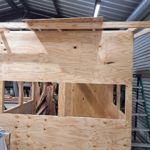
For the walls I ripped 2x4s and laid them sideways so all the walls are 1.5″ to keep the weight down. I then used 1″ thick foam insulation in the walls and ceiling. Yes, this is probably overkill since this is Texas but hoping it will help cut down on the heat in October and maybe help keep out the cold a bit in the winter. Both the inside and outside are lined with 3/8″ plywood and they were glued and stapled to the 2×2 walls. This makes the walls pretty strong with minimal flex. The original design was supposed to be modular, meaning the platform was separate from all the walls so we could assemble the stand on-site. However, my father recently got forklift arms for his tractor so I assembled everything in the shop and we plan to lift the entire stand up onto the 4x4s.
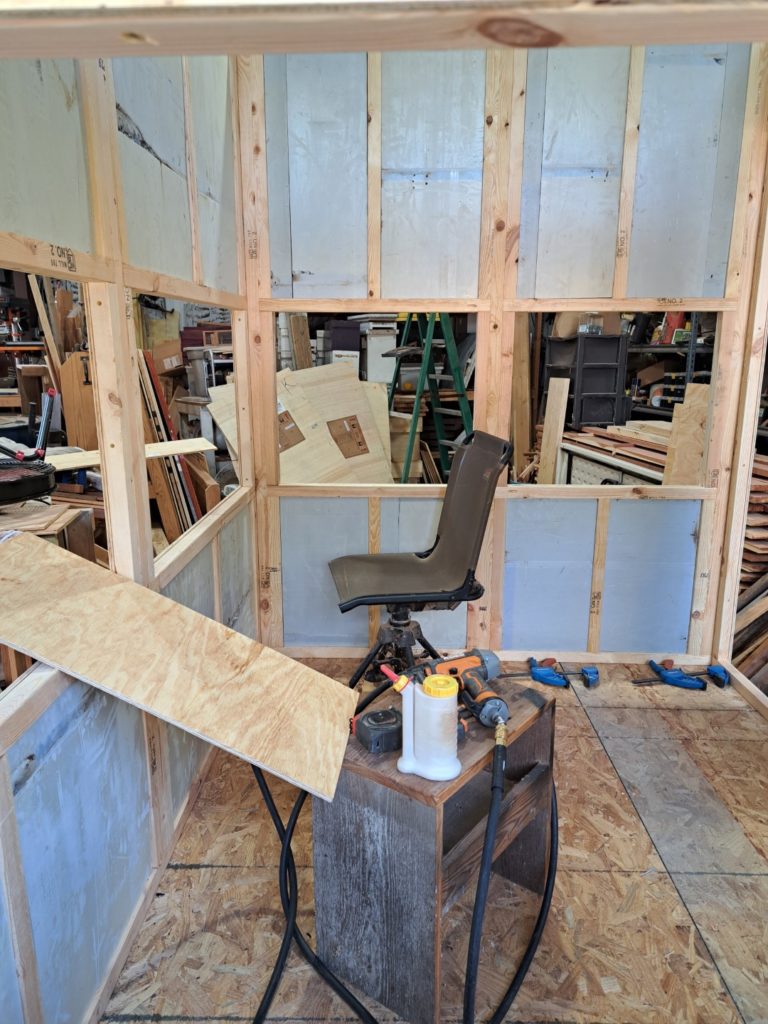
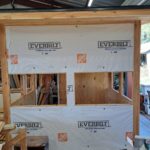
The exterior plywood was covered in tyvek (orange store knockoff) and the inside plywood was painted black. I was planning to line the entire inside in dark carpet but the price for carpet has gone crazy so a cheap wallyworld flat black was the answer. I still plan to find some cheap carpet for the floor and the walls below the windows…helps deaden the sound when you accidentally bump the walls.
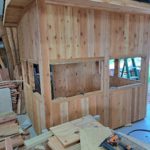
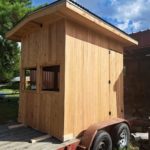
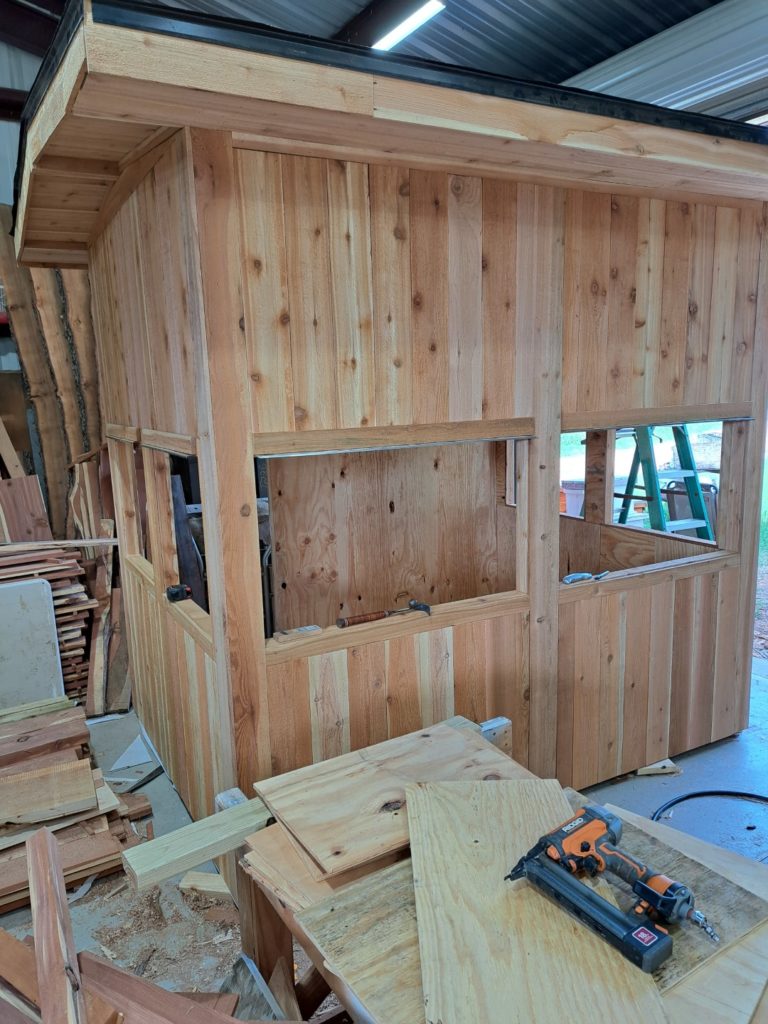
I hate wasps in my deer stand so I wanted this one sealed from those pests as much as possible. Since the eaves were open I had to fill the gables in to keep the bugs out and figured I would box out the eaves. I had about 25 cedar planks in the shop already so I trimmed out the eaves and was surprised how nice it looked. I really planned on using some leftover metal for the walls but could not figure out how to make it look good on the corners and next to the windows. Yeah, I kept trying to remind myself it is a deer stand but I just couldn’t make myself do it… This drove me to finishing everything in cedar planks. It was more than I wanted to spend but I sure like how it looks. The plan is to let the cedar age for a few years and if it gets too light colored, I can always stain and seal it later…from a ladder.
The next issue was windows. I have been checking window designs for years. Even looked at buying premade windows but they were either too much or not quite what I think I wanted. I finally settled on windows that hinge at the top and flip open. I am using magnets to hold the window open and printed some latches to hold the window frame tight to the trims. This SHOULD keep bugs out and should also help keep the rain out.
My plan all along was tinted windows because I MUST keep the deer from seeing my profile from the sides. Notice the side profile picture below. I found out that tinting plastic windows (lexan) is a pain and lexan prices are about double glass windows. I called my local glass company but that was a mistake because they wanted MORE money for the glass than the entire deer stand! So I will just cut the glass myself and mount them in my frames…that fun is yet to come.
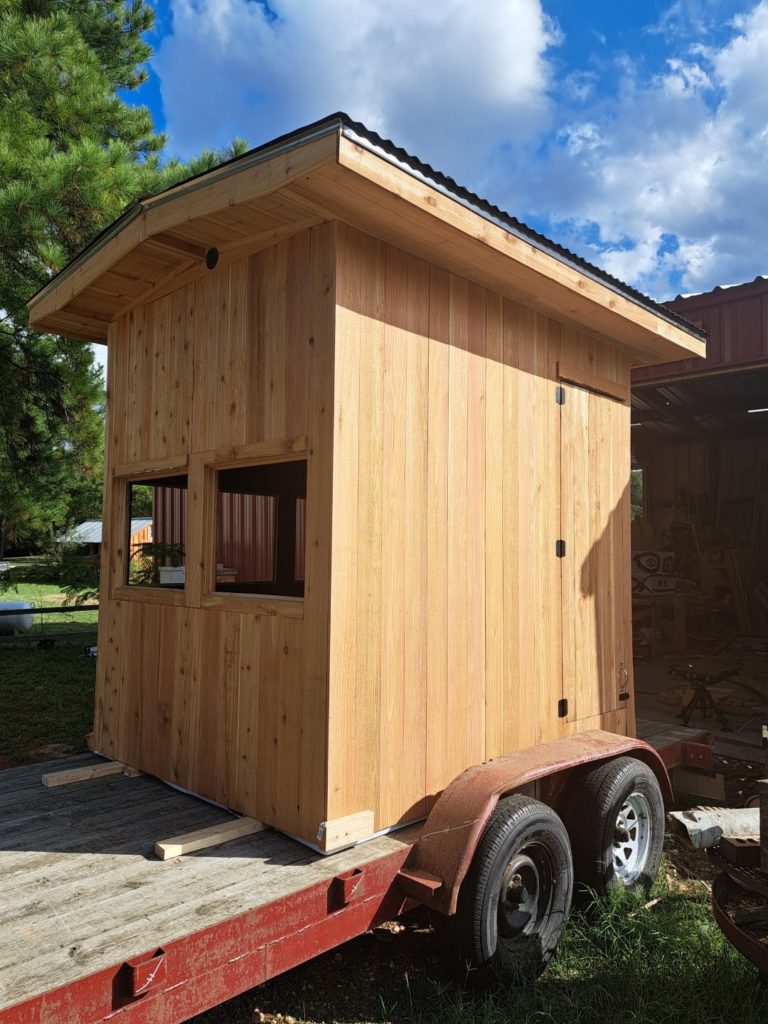
I really should have taken a picture when I had multiple straps and the come-along out to pull the stand onto the trailer. It was a nice cool 62 degrees and I was covered in sweat. Let’s just say I really want to get an electric winch! And you can see I need to pull it forward another couple feet. I needed to hang the door and it would have hit the wheel wells of the trailer.
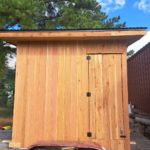
I am not a fan of hanging doors. I know it is inexperience but always had trouble with them. But the door is hung and added latches inside and out. Planning to pull the door handle back off and paint it black….the stainless handle just doesn’t match the black hardware…overkill? Yep!
Planning to transport the stand to the property and hopefully get it mounted this weekend on the 4x4s. Will have to get some pictures while that is going on.
Still need to cut and mount the glass in the frames. Should be able to get that done this weekend as well if I can get to the store and they have enough unbroken glass…and I dont screw up the cutting!
