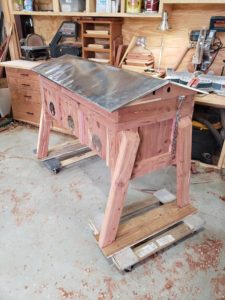
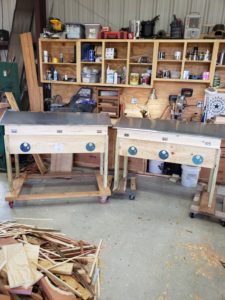
Cottonwood holds a LOT of water! Last year my neighbor had a large cottonwood cut down in his backyard and I took the log to the sawmill. The two inch slabs were very heavy. So heavy that it was all I could do to lift one end. Unfortunately I do not have a lift system in the shop so I used a furniture dolly and dragged the slabs onto stickers.
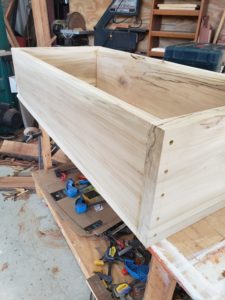
After drying out in the shop I could lift the entire slab without issue to get them cut and planed to size. Was pleasantly surprised how pretty it is but wow cottonwood smells when you cut into it! I am loving all the patterns in the wood and it is a nice pretty white wood but fairly hard as well. Built the box with glue and screws and the bottom was done in cedar.
It just so happens that I already had some cedar cut up and sized to 3/4″ so it was just a matter of picking the best ones and cutting them to length. The bad part about these 11 1/4″ cuts is the waste since most of the logs I cut for this were 30″. I need to do a better job of planning and only cutting them to 24″ to 26″ so there is not five inches of waste.
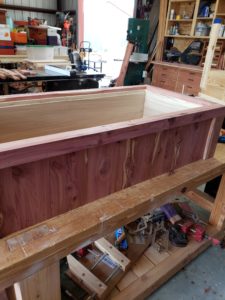
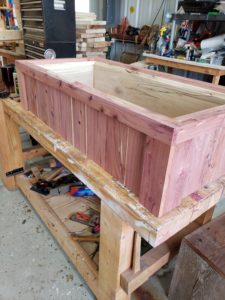
I am joining these boards on the side as I go rather than joining the boards on a jig and then adding them all at once. Is that best? No clue at this point. I built a couple long langs like this and they have been in bee yard for over a year and have noticed no issues so far…but we will watch them as they age. Since we are going with the “board and batten” look, I think it does add a little character to have a few misaligned seems assuming they are not excessive. Originally with boards and battens, were put on walls straight from the sawmill…most people did not bother planing their boards perfect. So they kept a gap to allow the “wet” lumber to shrink when it dried. It also allowed for some seasonal movement. The battens were put over the gaps to close in the wall and clean up the look. You can still see many people do this when building barns.
For this box the battens will be added later once I know how many holes the customer wants. Three holes is the most popular and with entrance gates we want to make sure it appeals to the eye as well as functional.
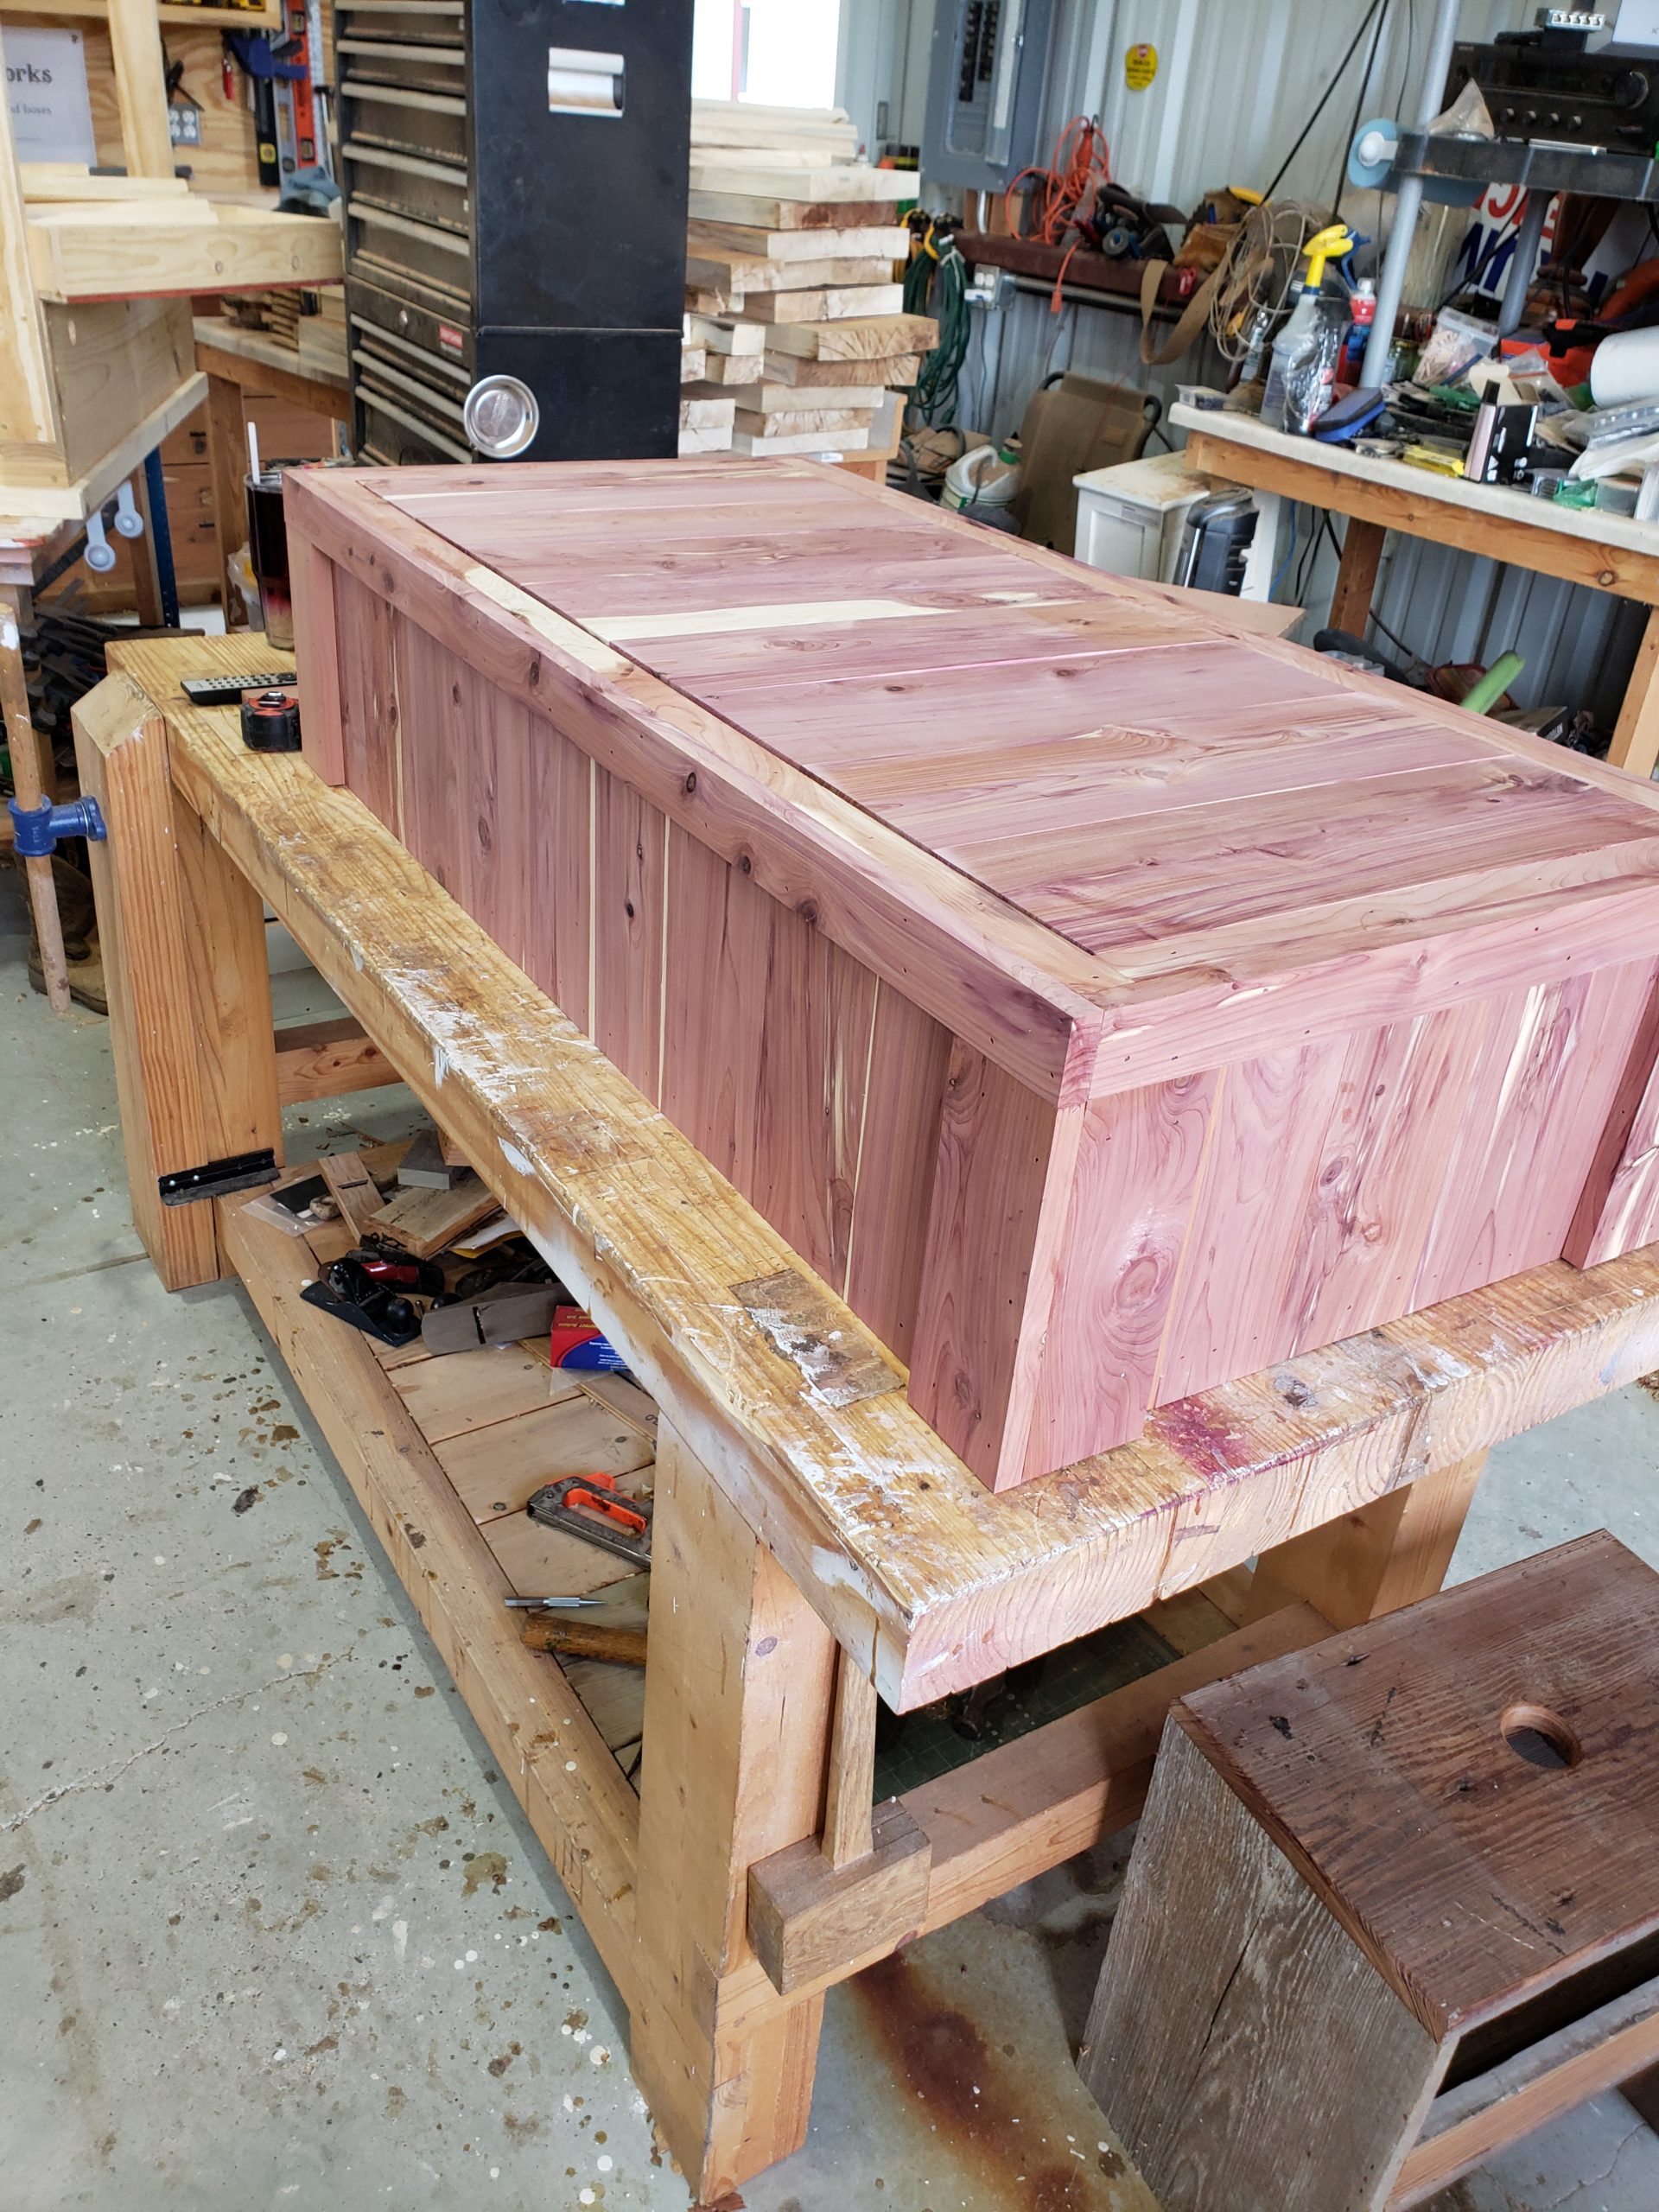
The corner trim is simply 1x4s to dress up the look. The top trim is a 2″ strip to give the hinges some support. I also add a strip across the top to give a reference / stop for the cover boards. It also hides the cottonwood a bit more as well.
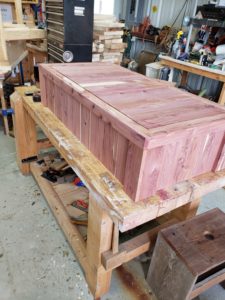
When the cover boards are added the whole thing almost looks like pink overload! The natural pink color will not stick around and naturally fades to a reddish brown.
The nice part about this is that the bottom, and the cover boards are both cedar.
