The eight cedar Layens hives are getting close to being done. With these pictures we will try to explain the build.
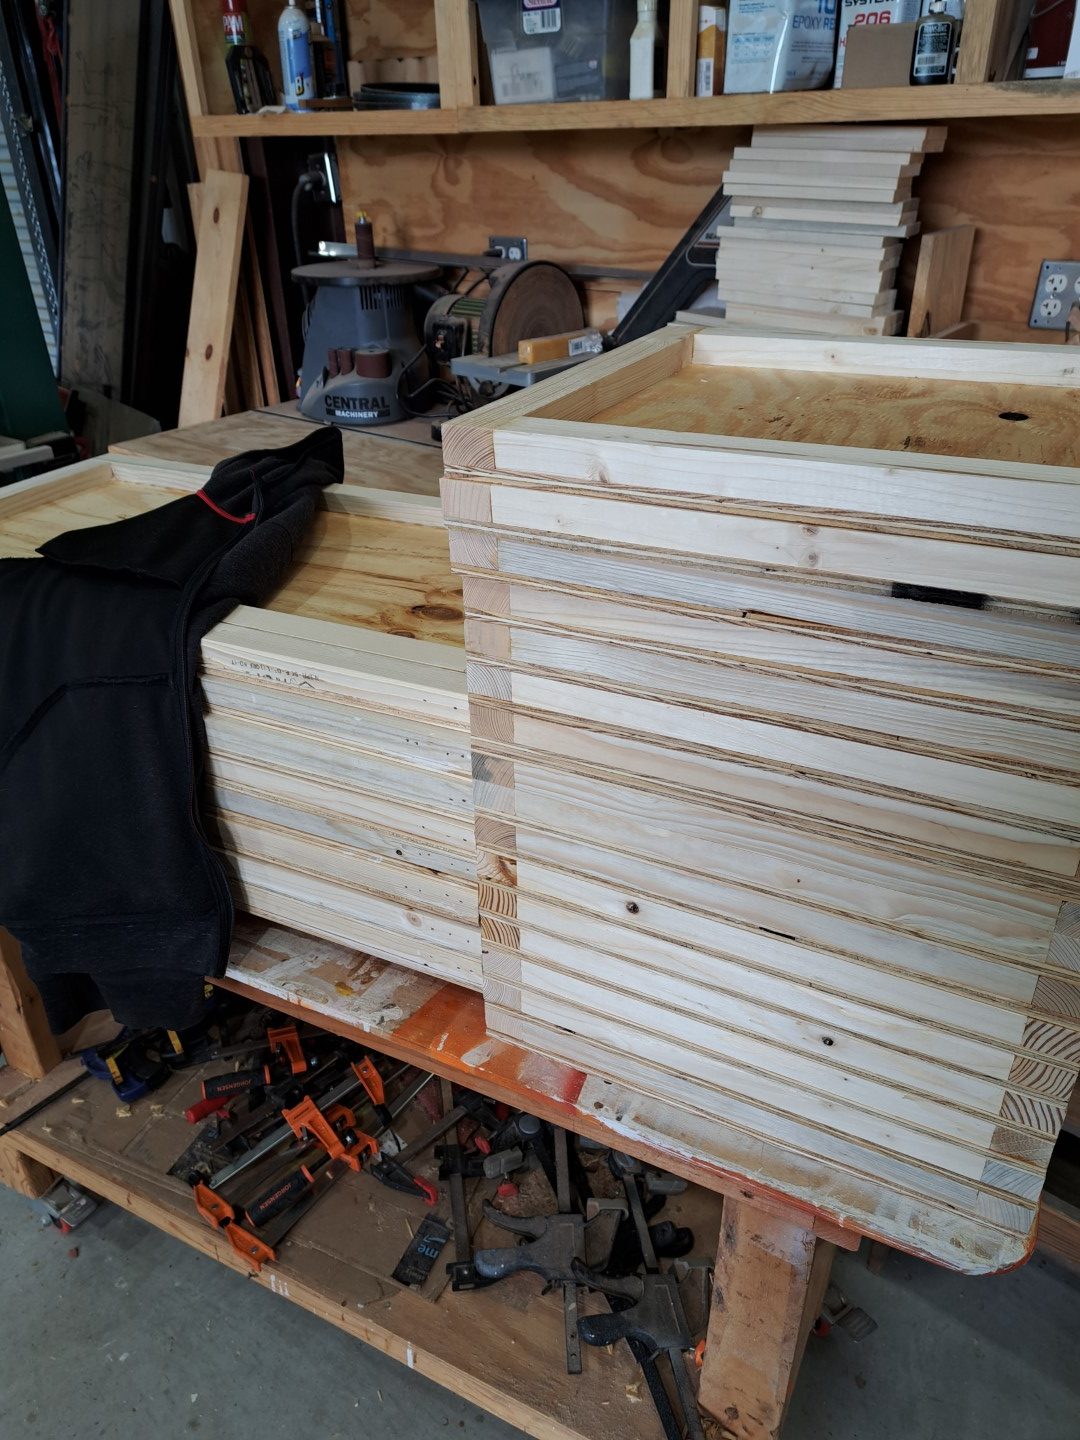
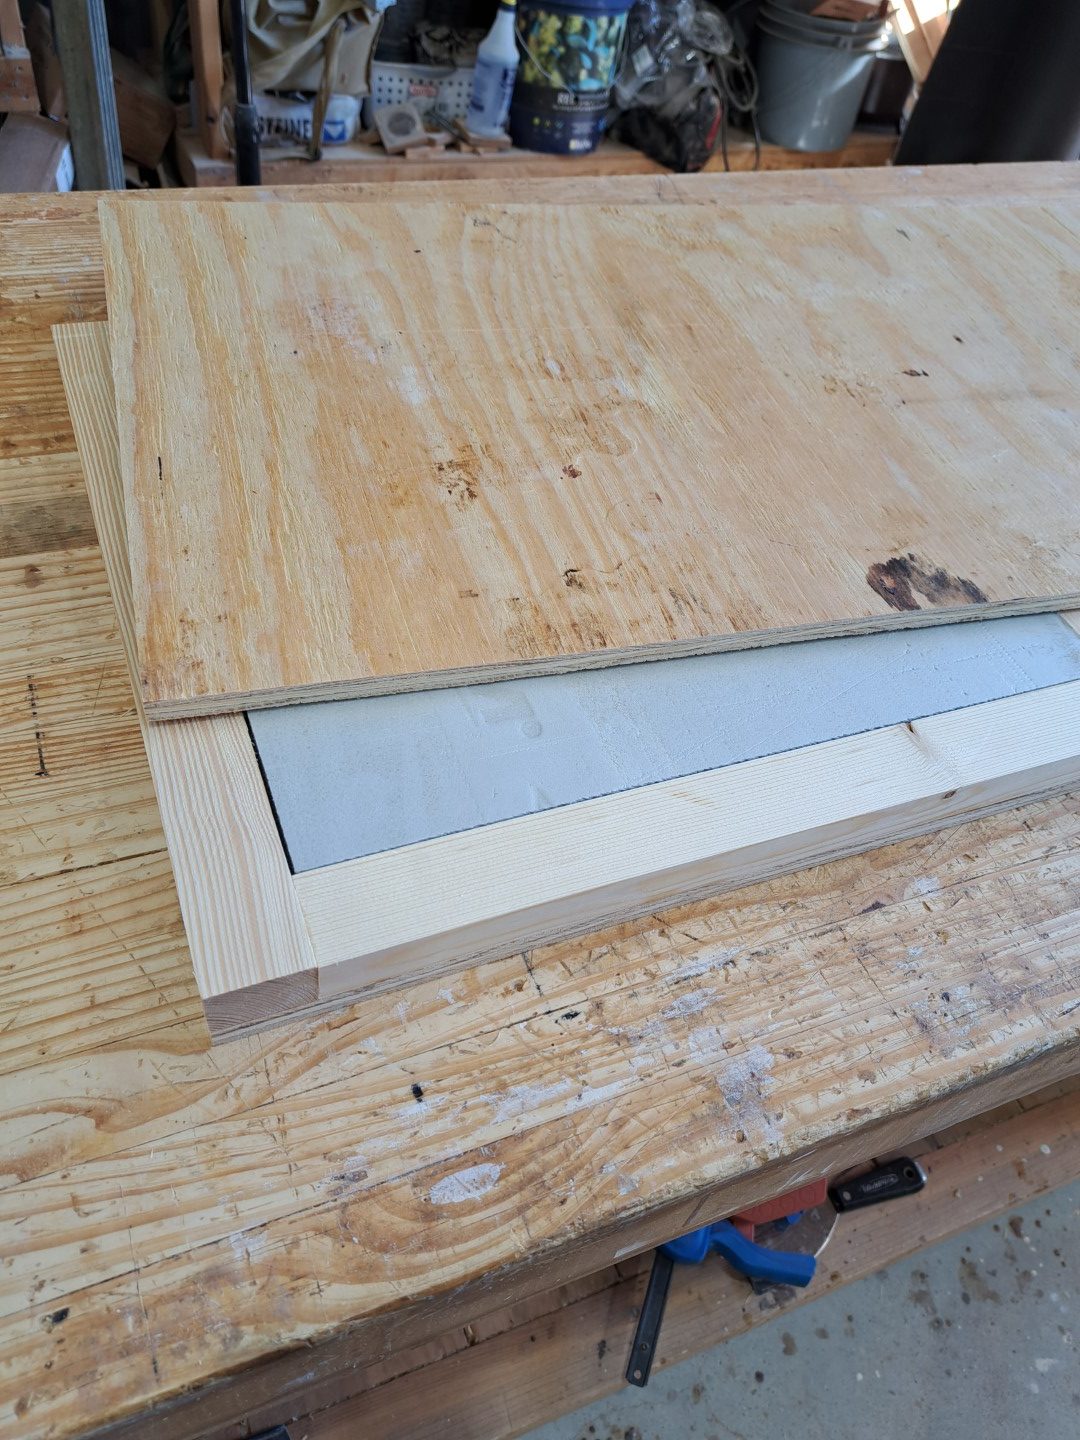
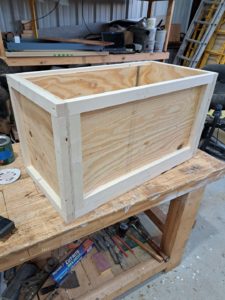
After building some of Dr Leo’s hives with his plans I ran across the borrowed vessel beeworks site and liked that idea. Unfortunately those plans did not work out because we do not need 2″ of insulation in Texas and did not need a huge gap in the framing. Since I only wanted 1″ of foam insulation, I ripped up some straight 2x4s and created 1.5″x 1″ boards as the framing. For the front we doubled up where we will drill the holes. Keeping track on the front was VERY important. So we started building walls…32 of them in total! Then created bottoms. Since the bottoms would be sealed, we added the insulation before closing them up. All these connections were stapled with titebond3 glue.
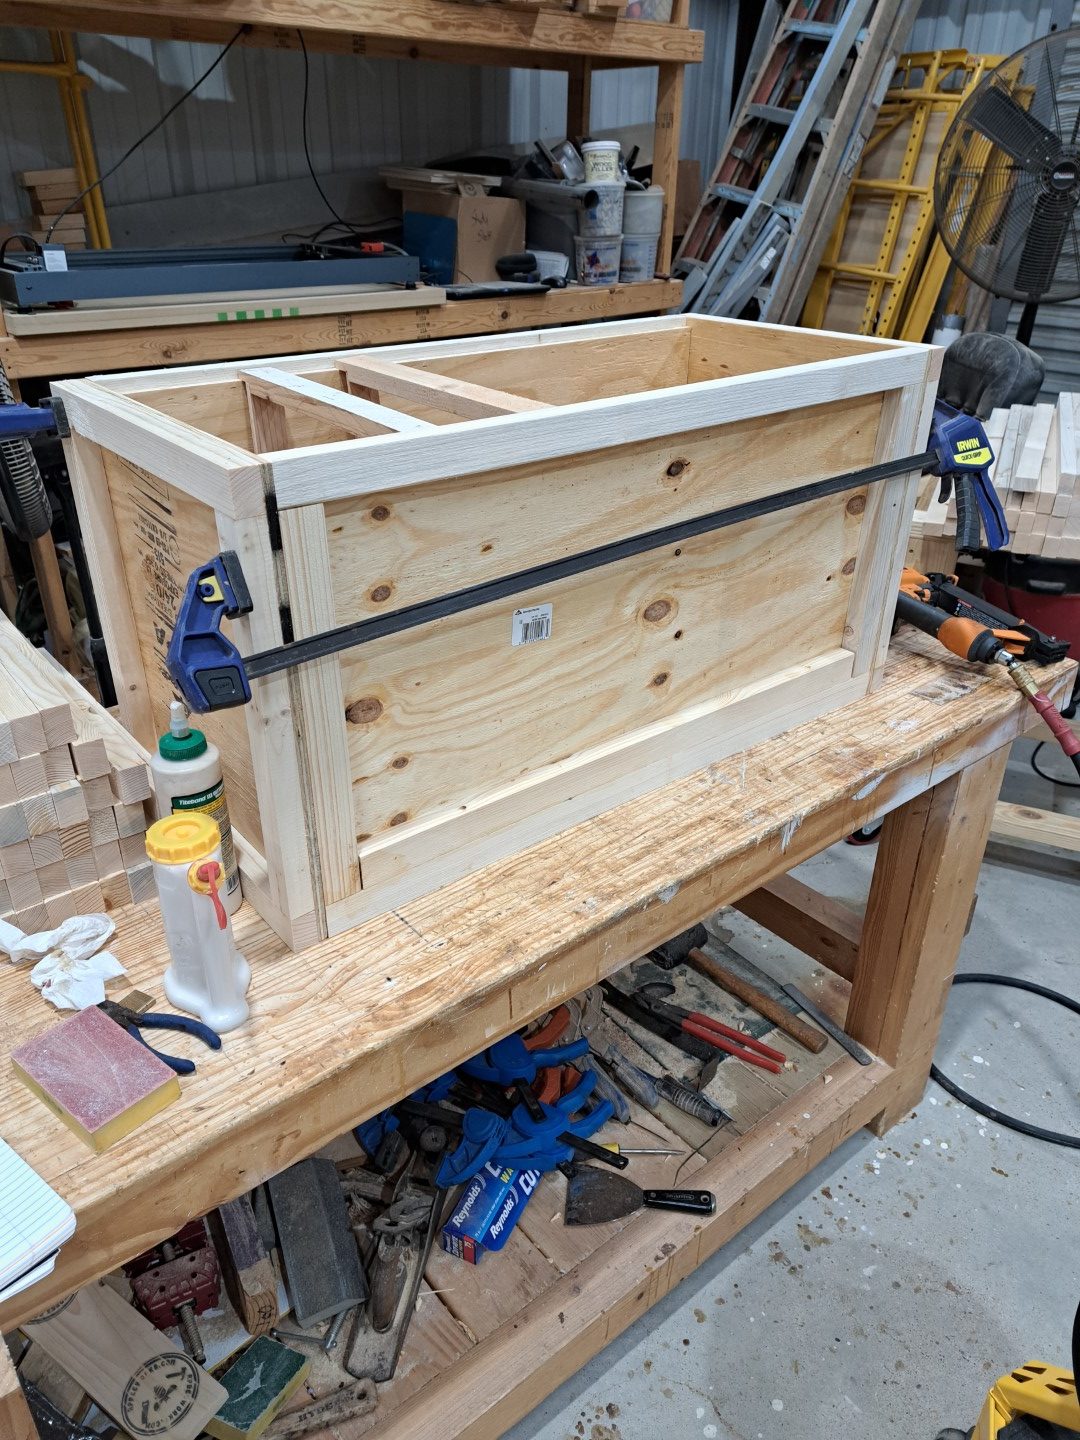
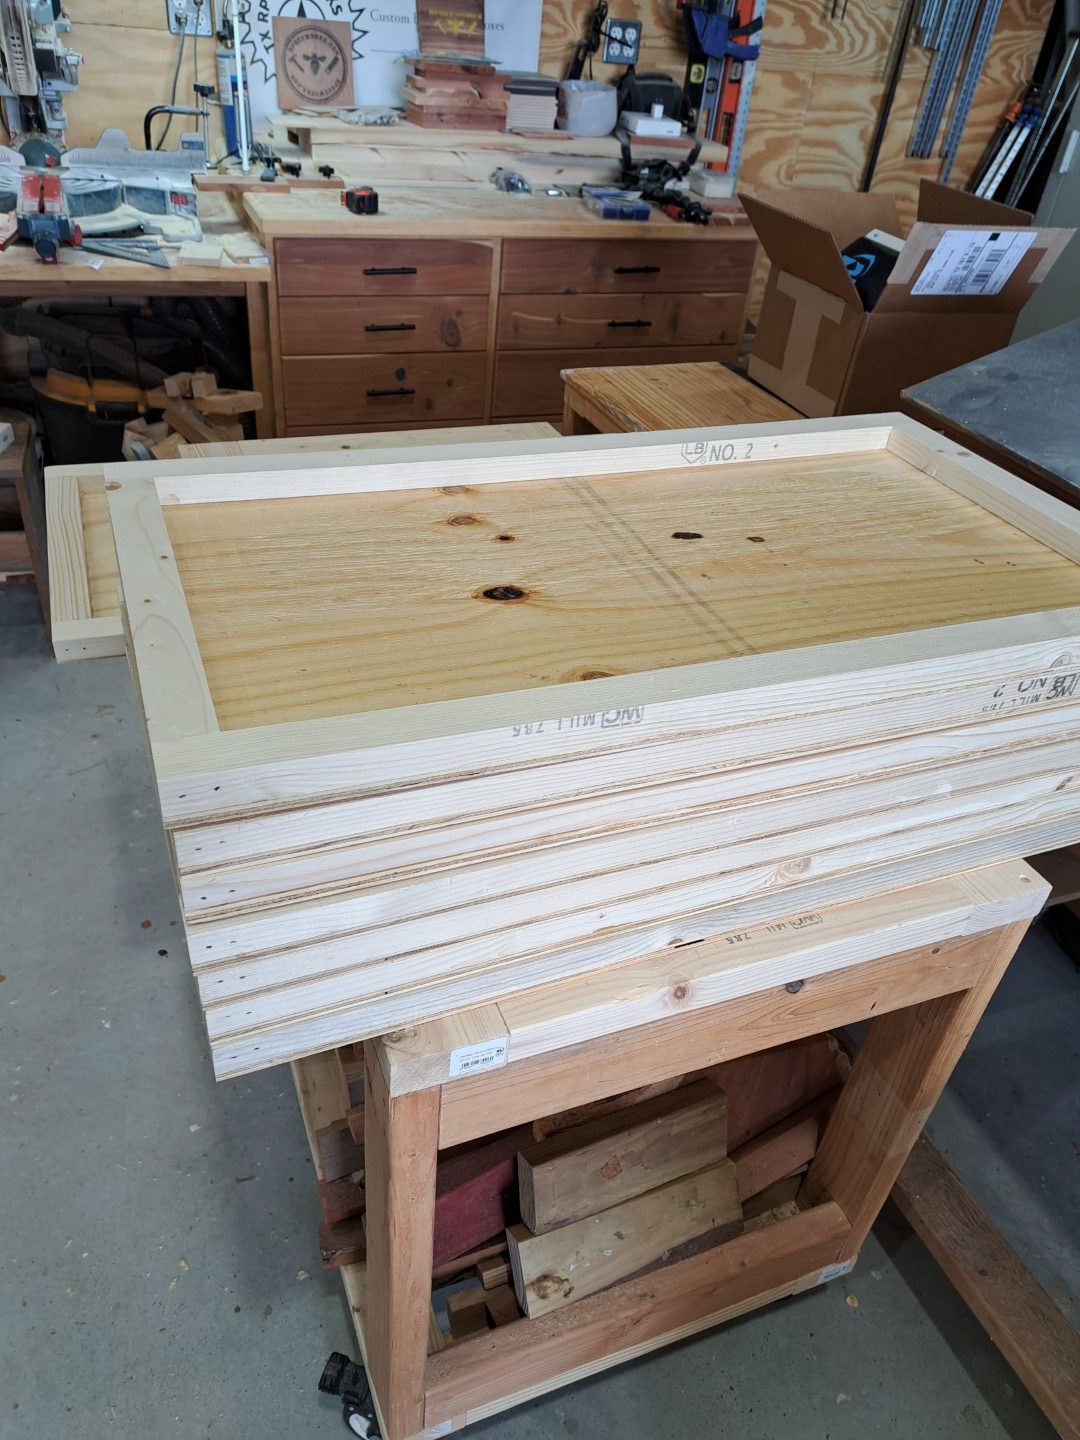
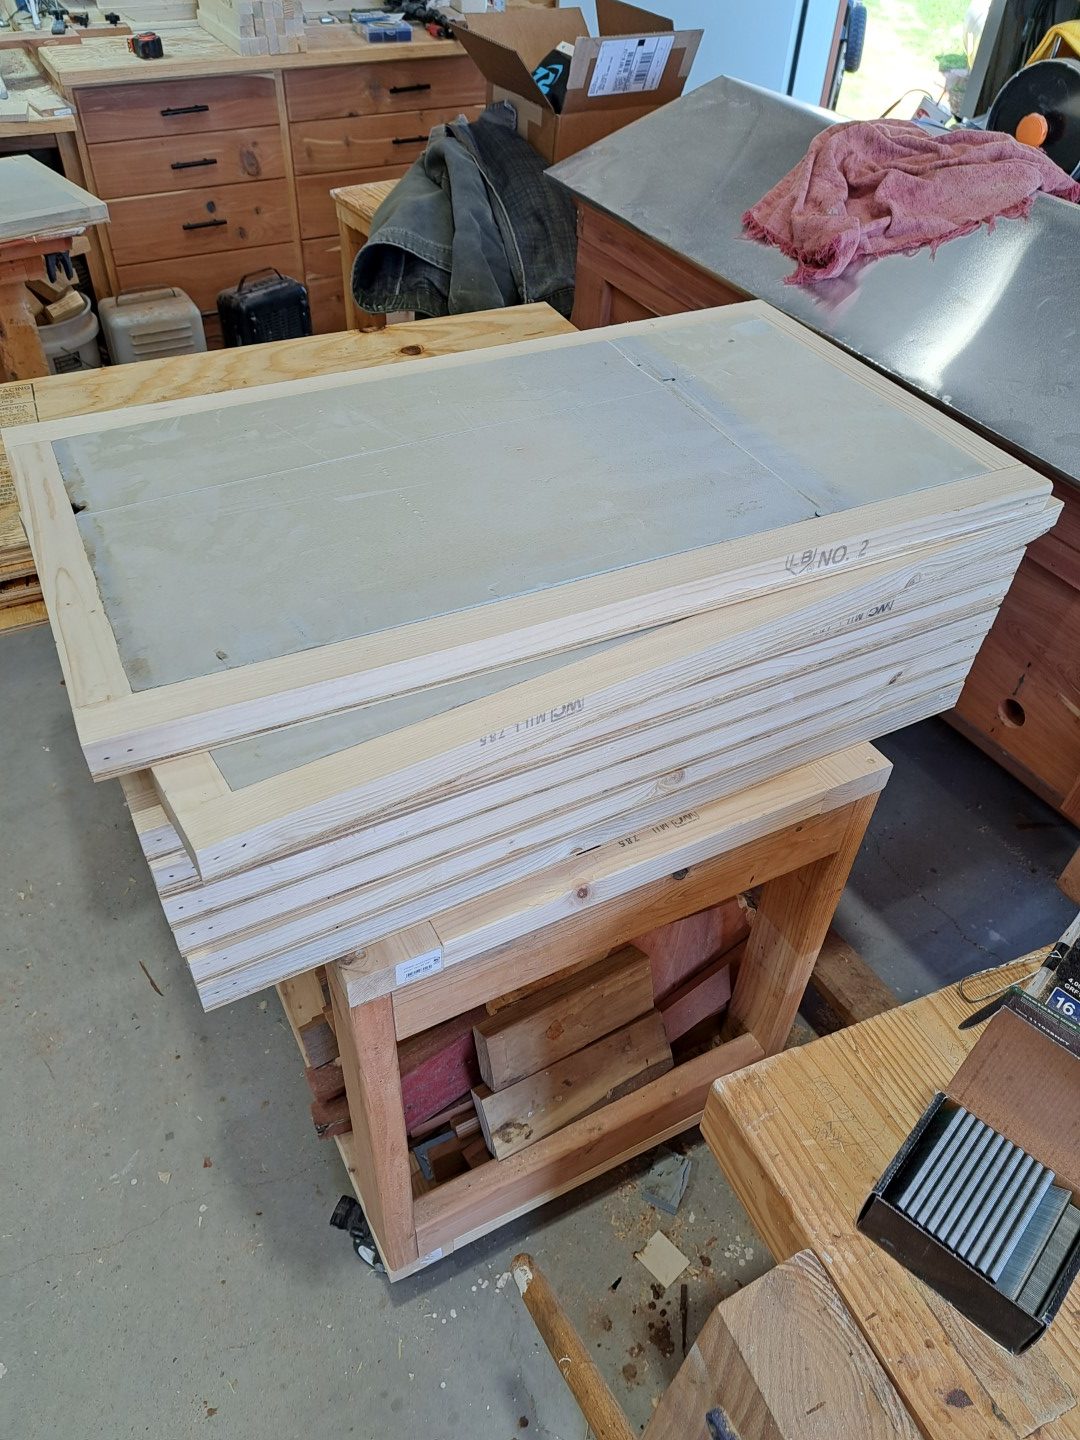
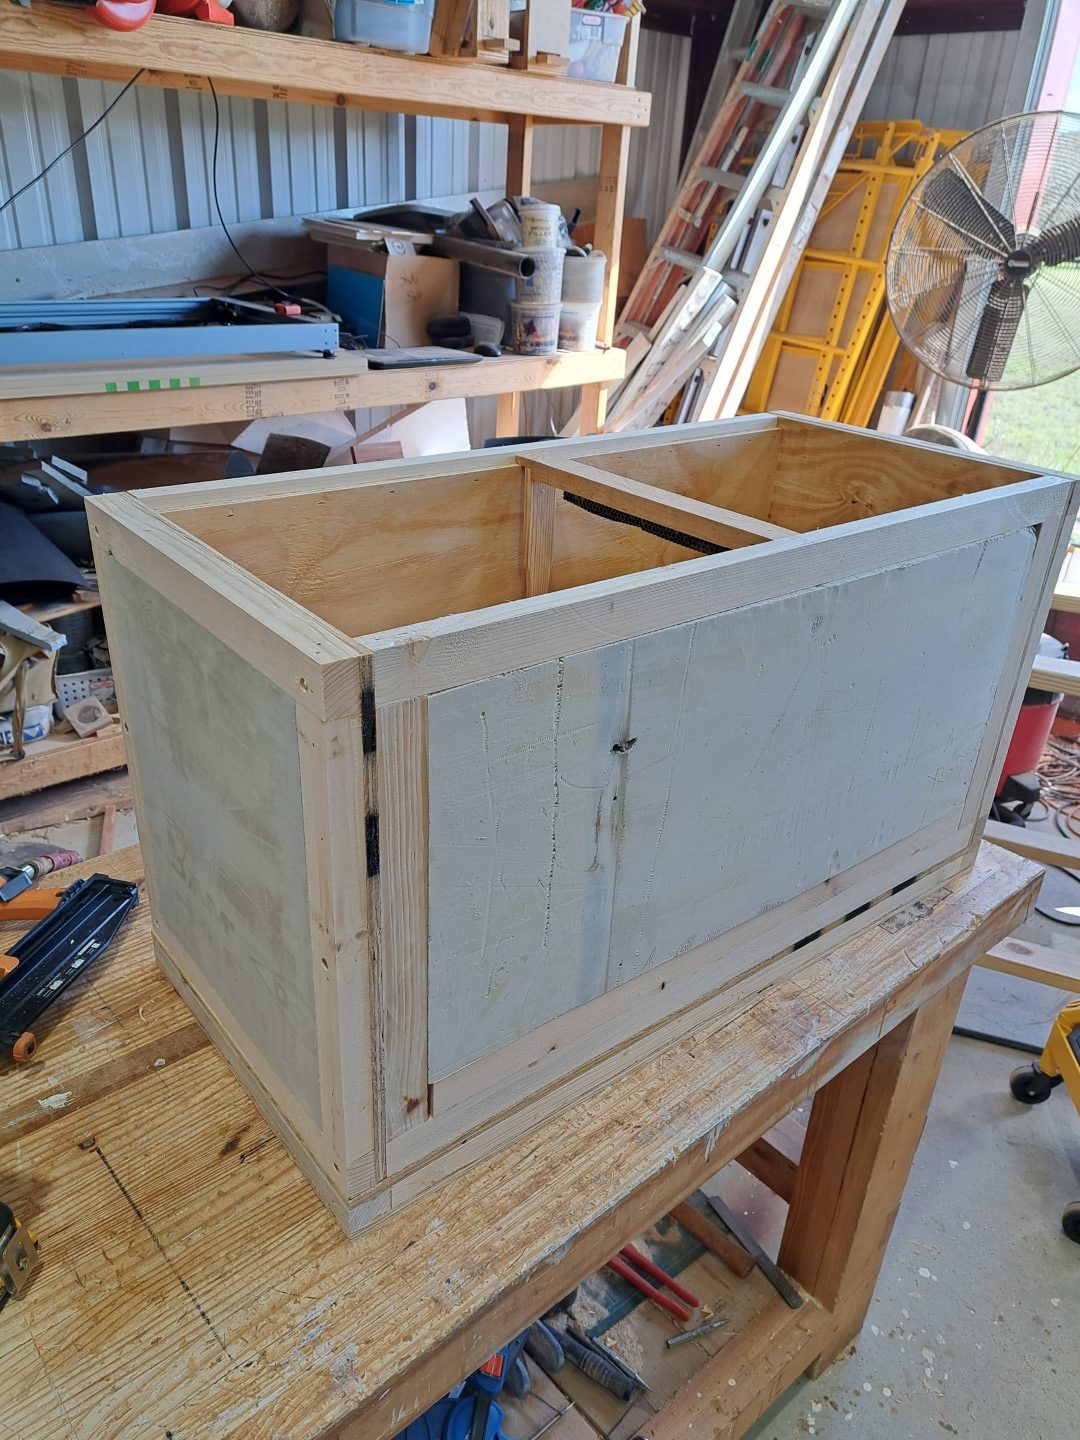
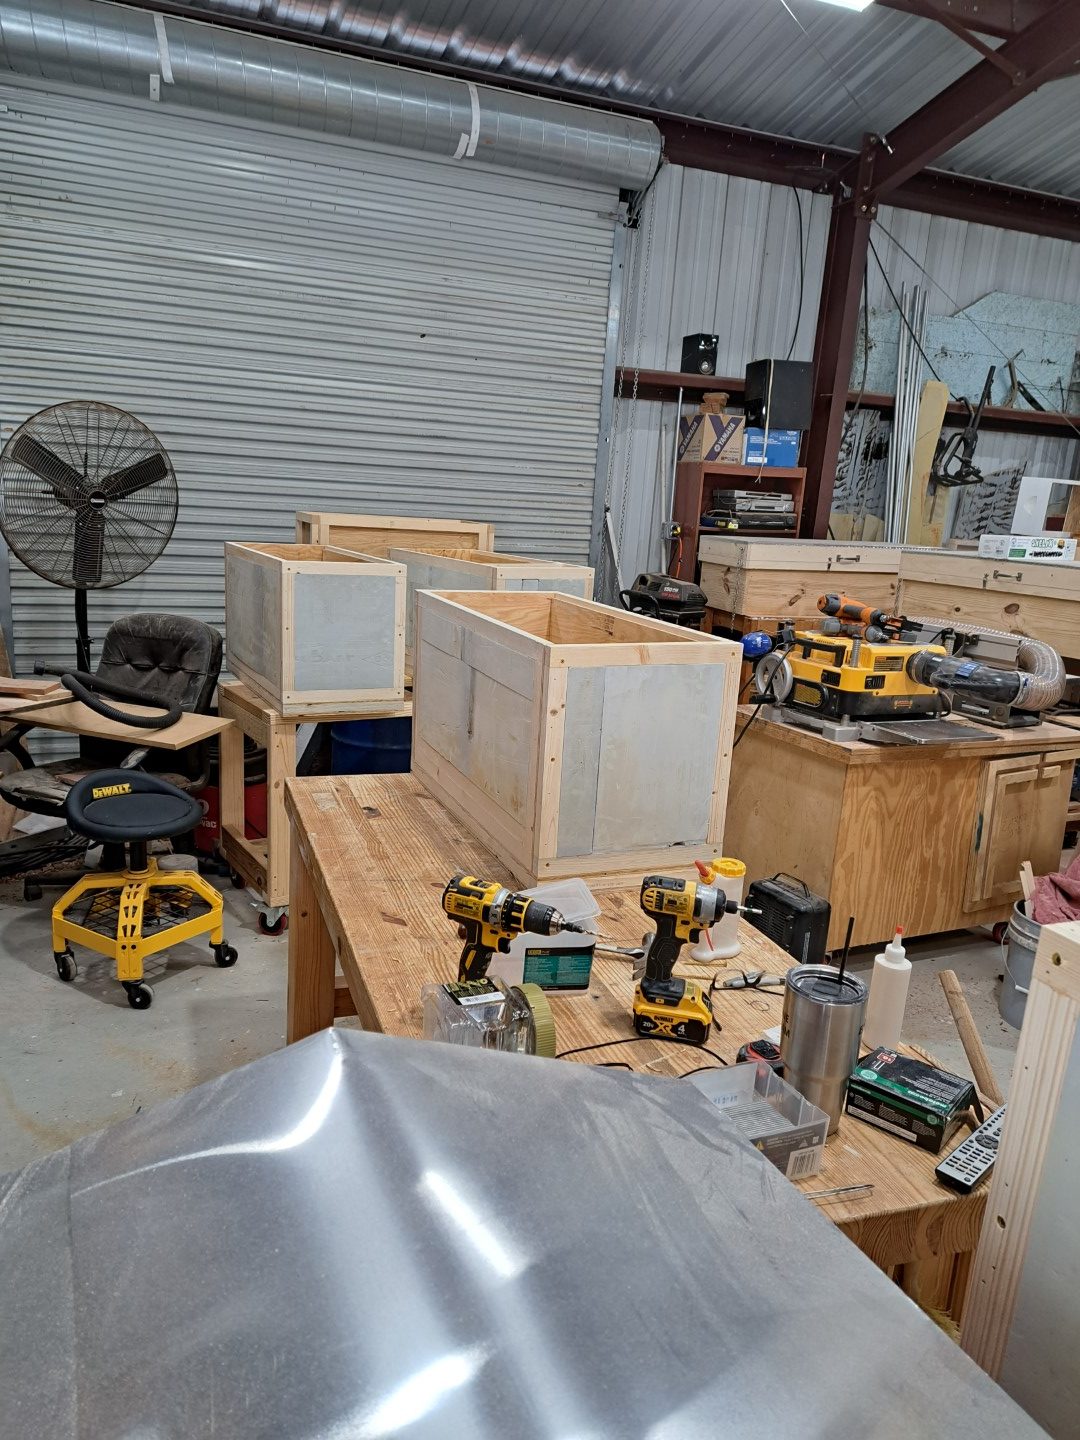
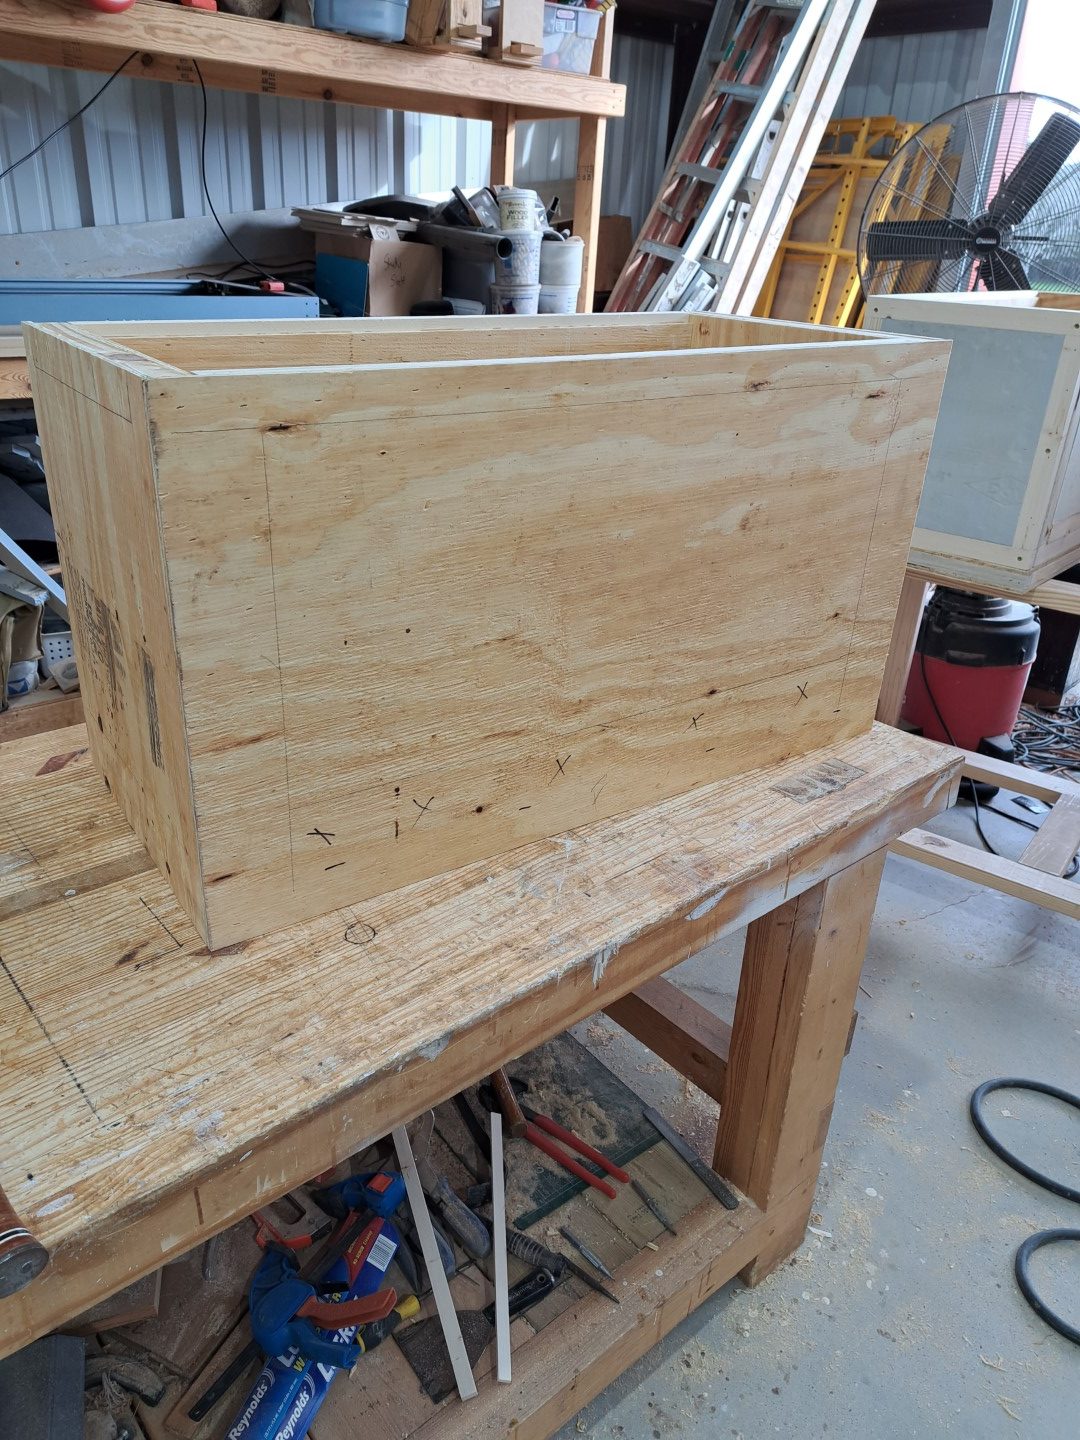
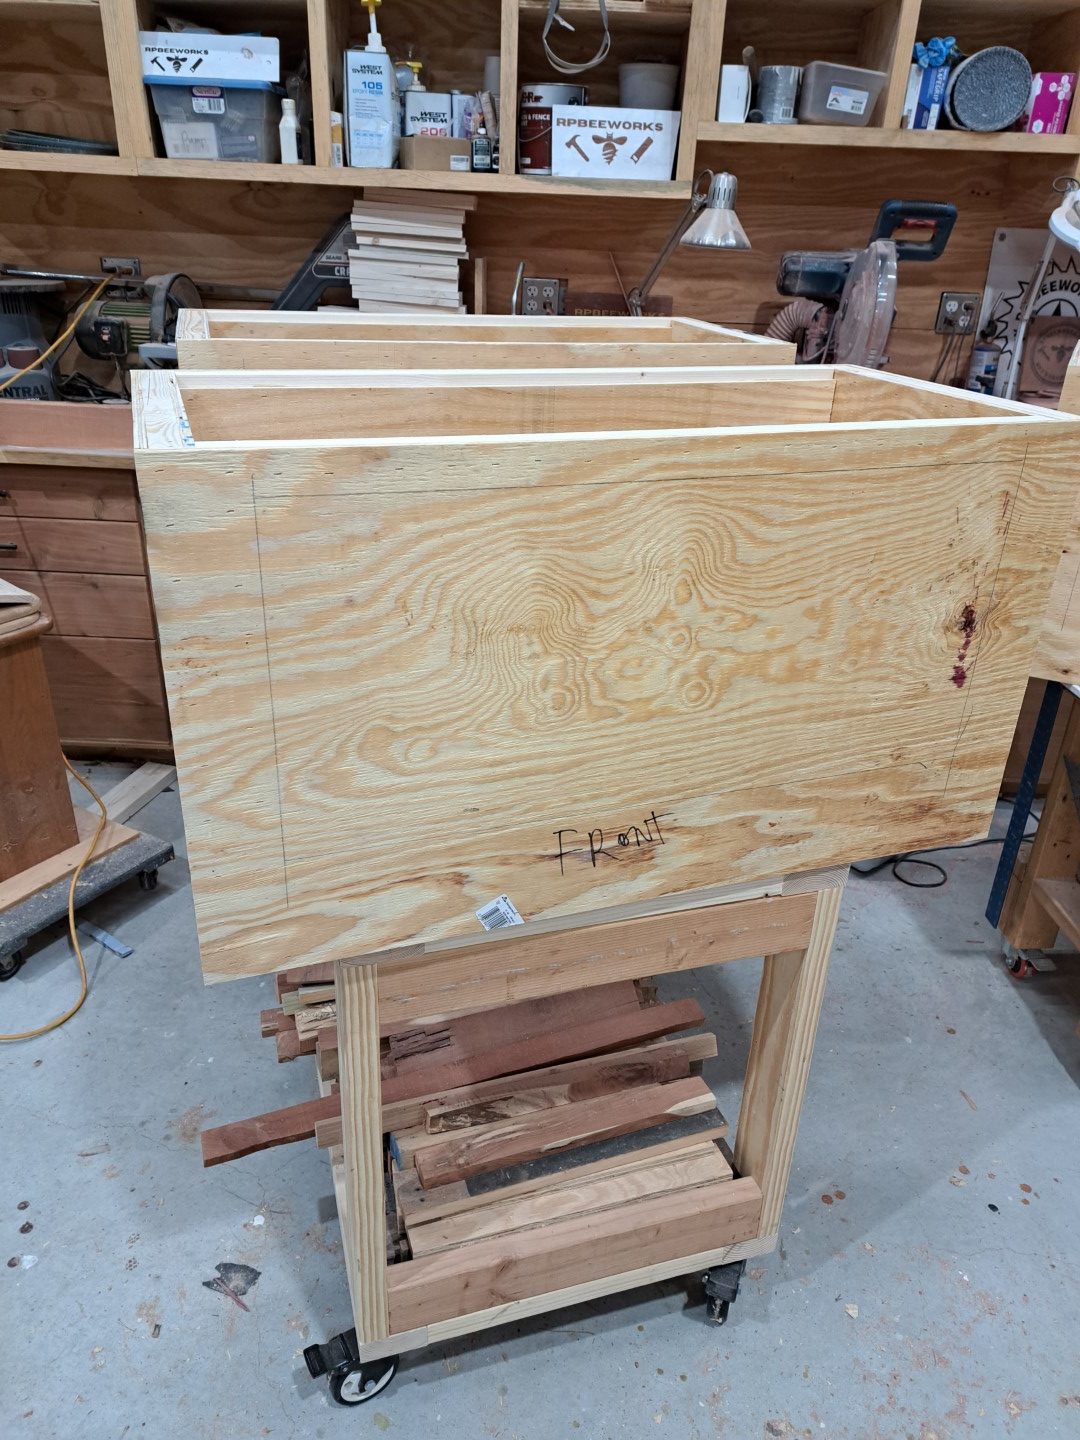
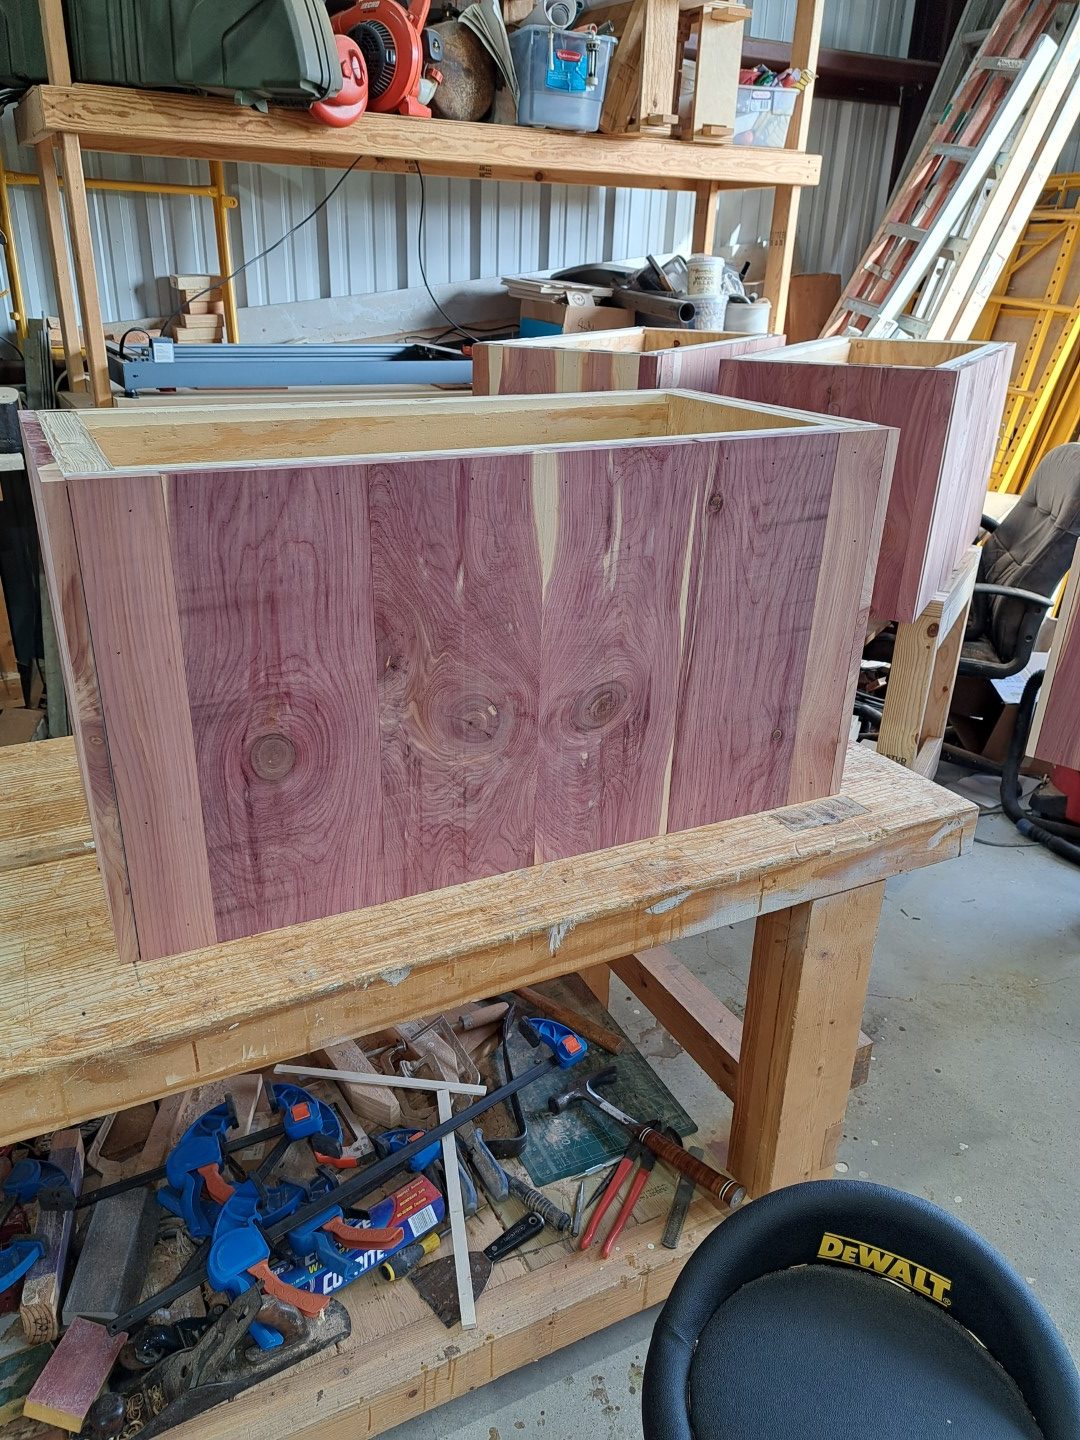
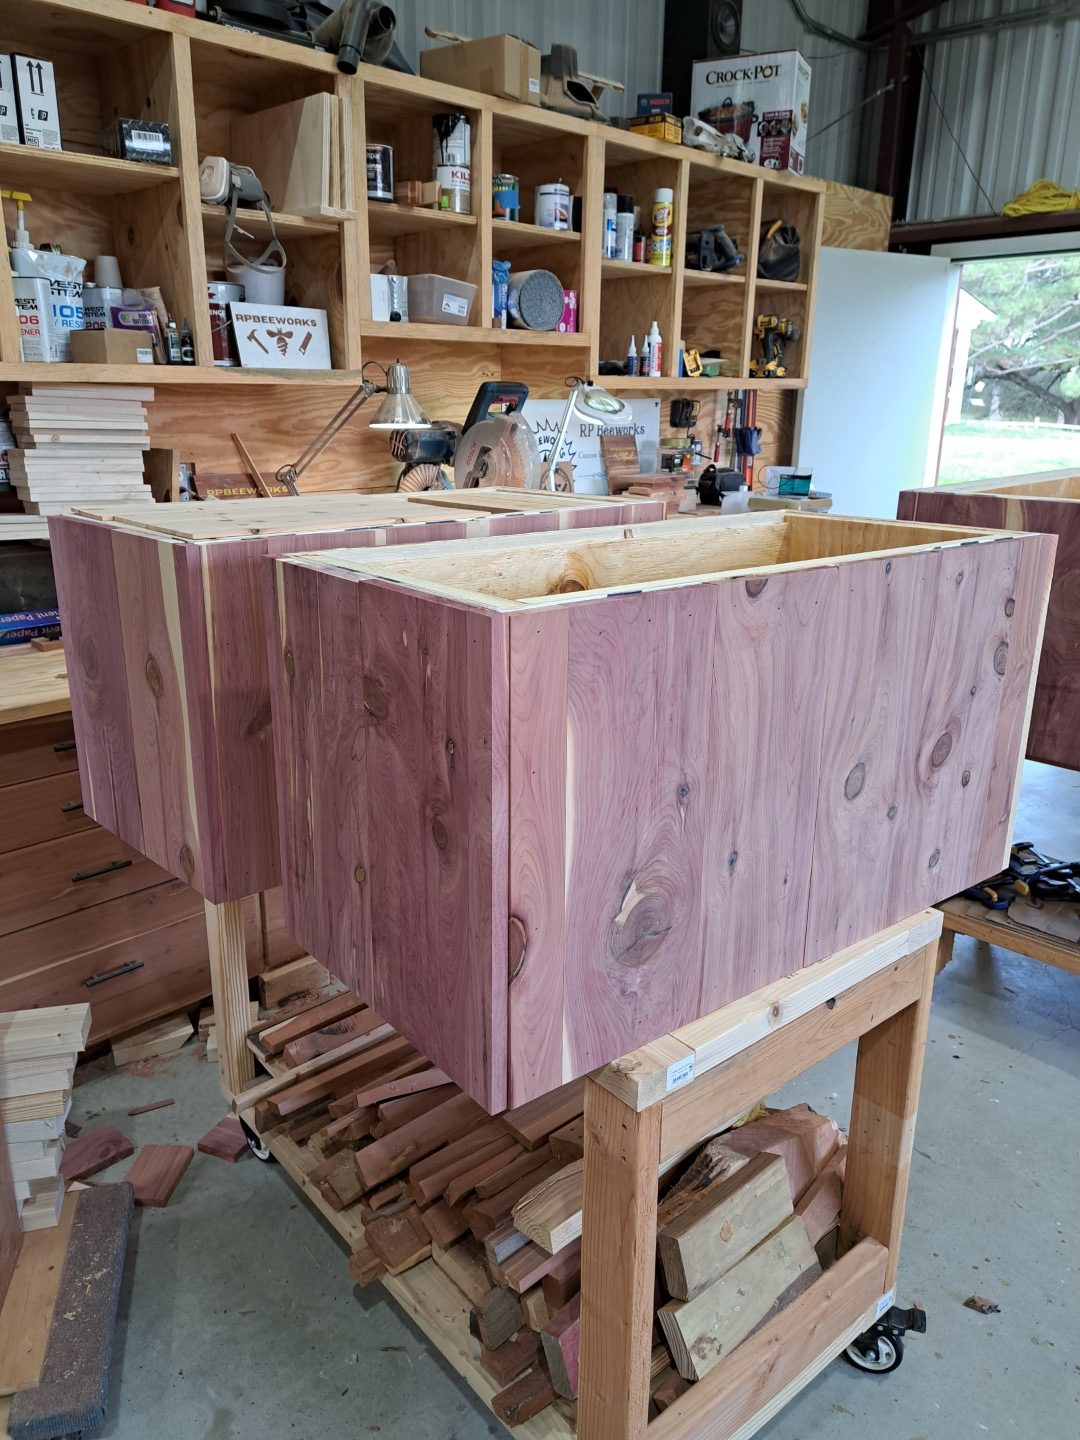
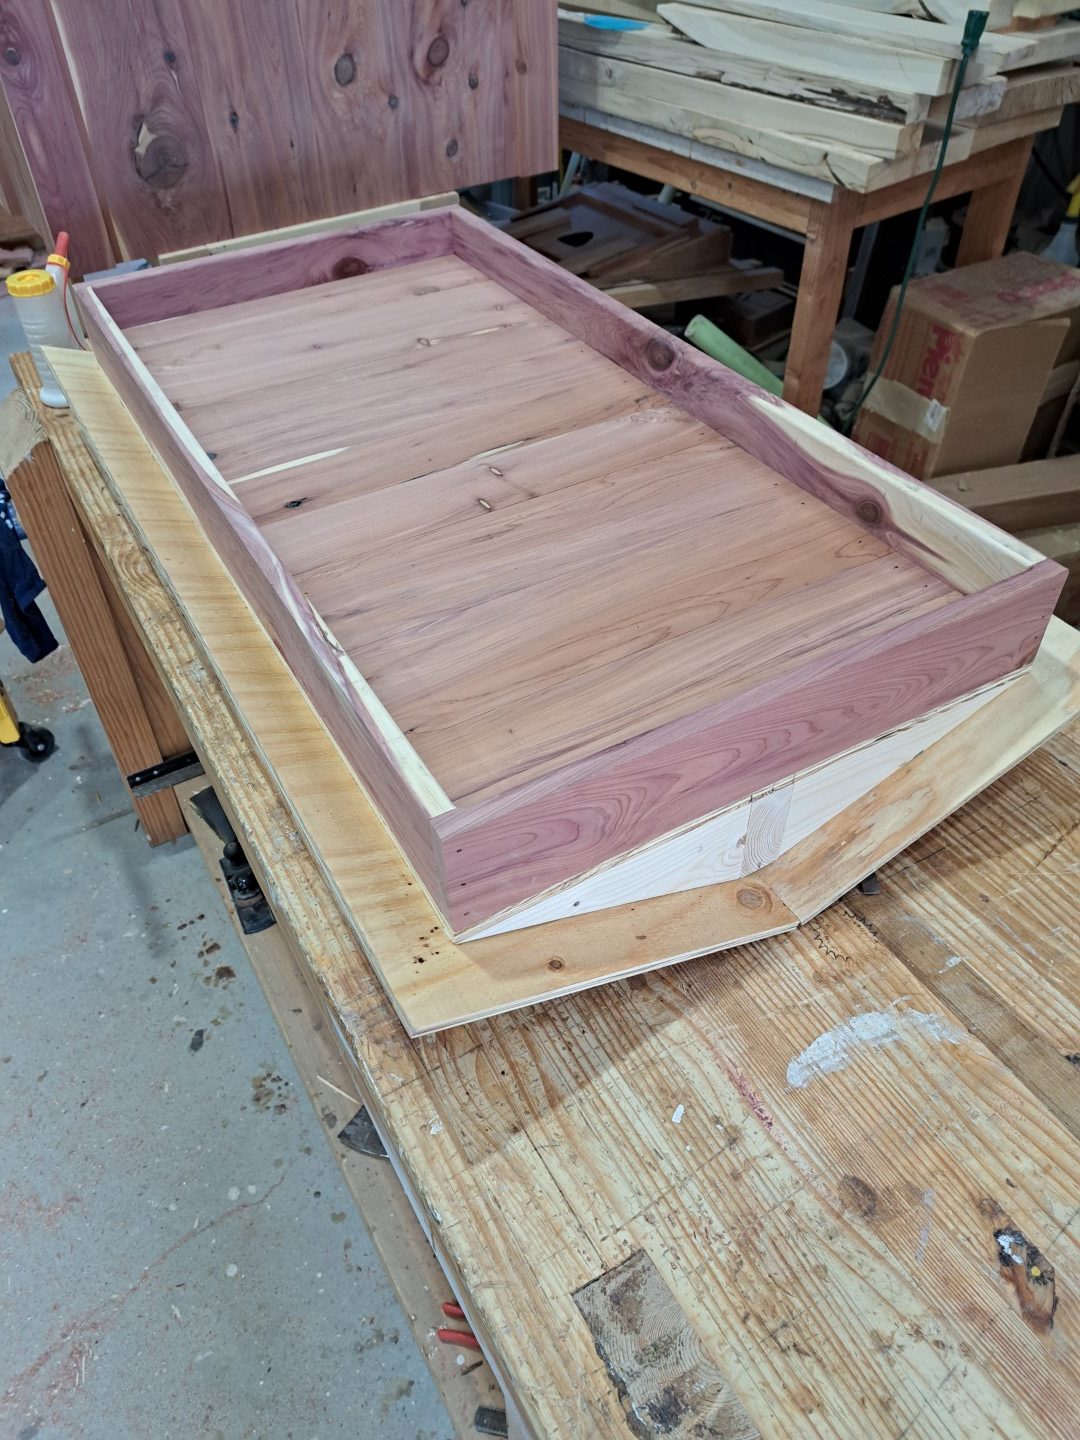
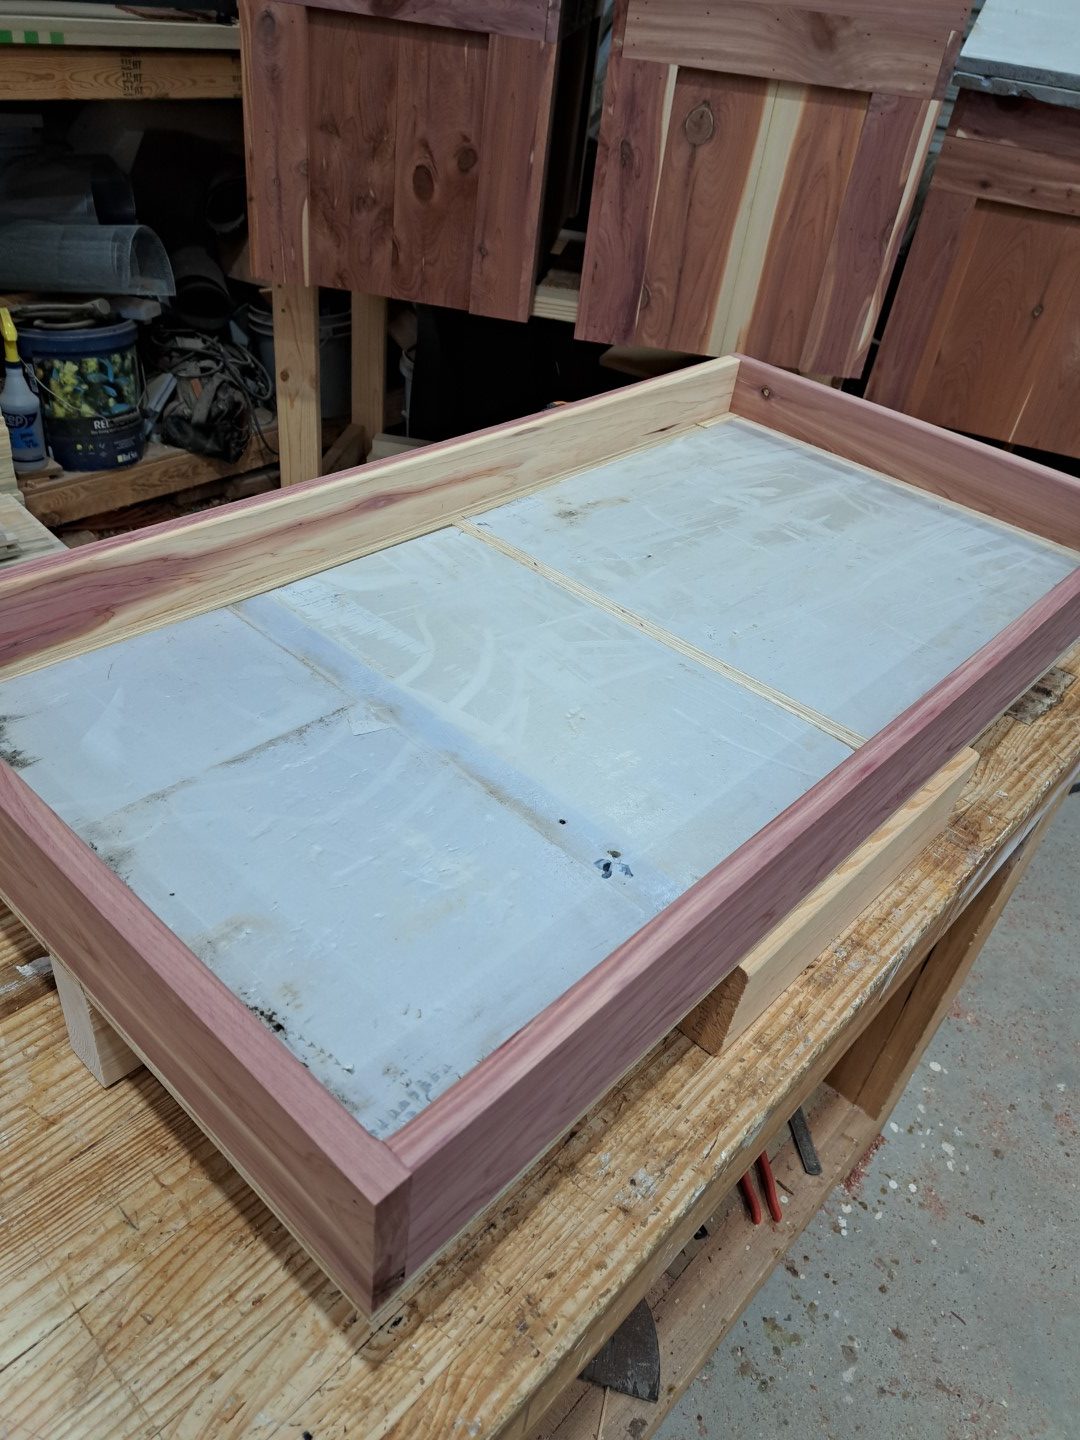
When it was time to assemble the boxes we started with one and test fit it and added some frames just to double-check. After gluing and screwing the walls together, we glued and screwed the bottoms on. Again added a big F to the bottom of the box to mark the fronts….used, this F throughout the rest of the build. After the boxes were assembled then cut all the insulation and then the “exterior” plywood. If this was a normal painted hive, the box would be done at this point.
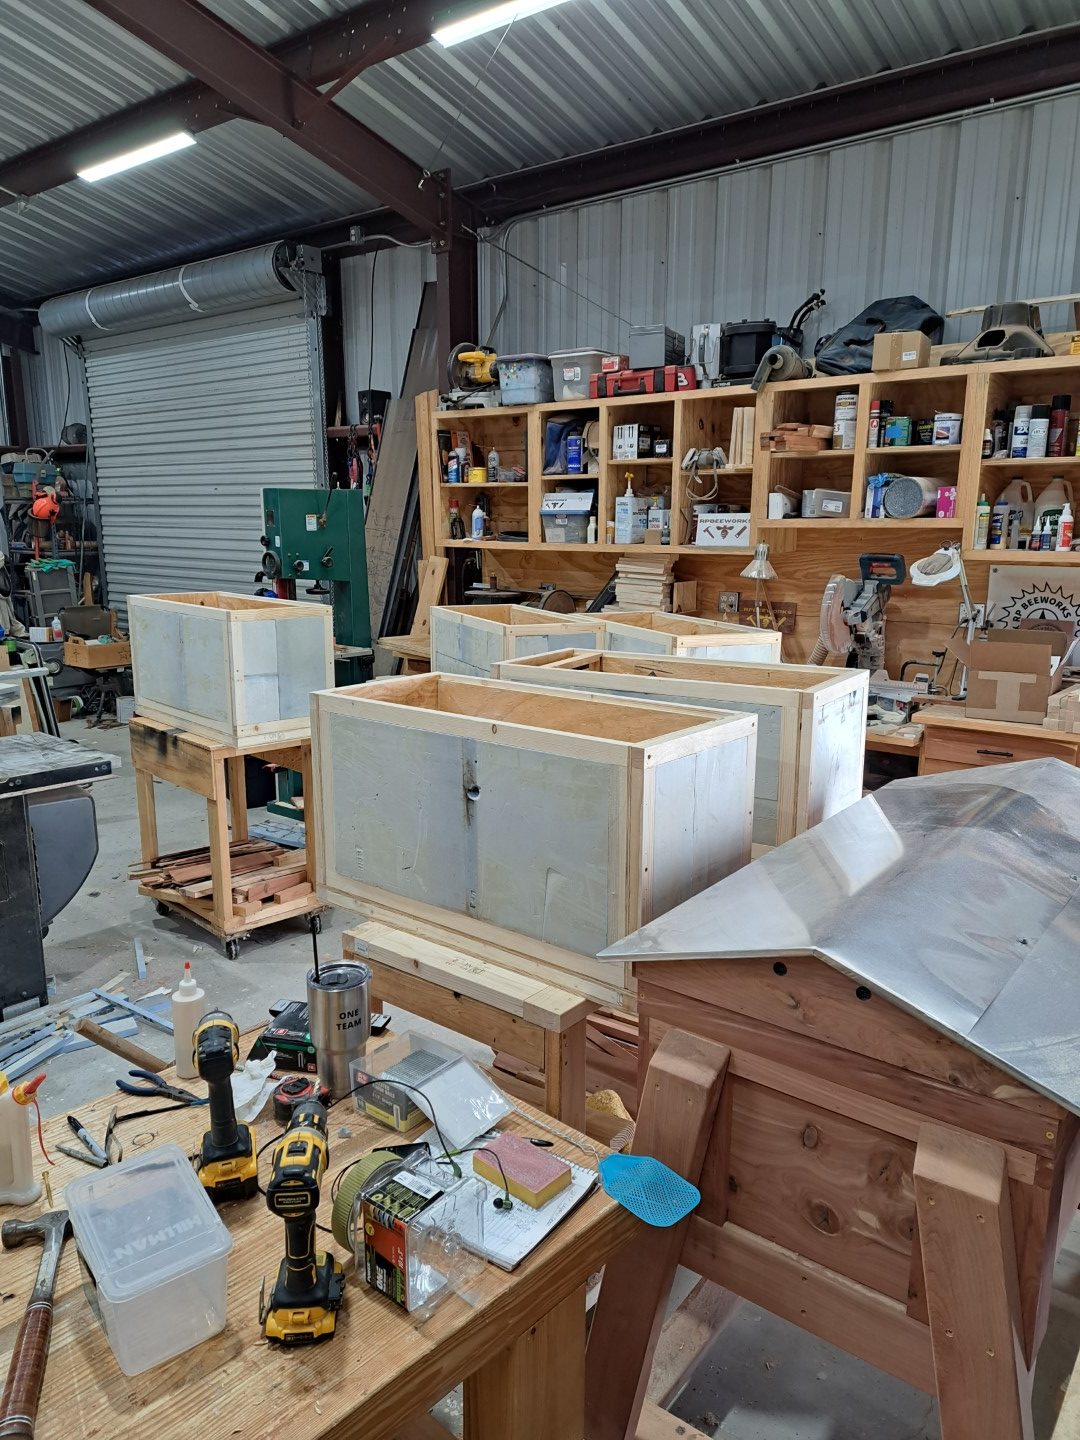
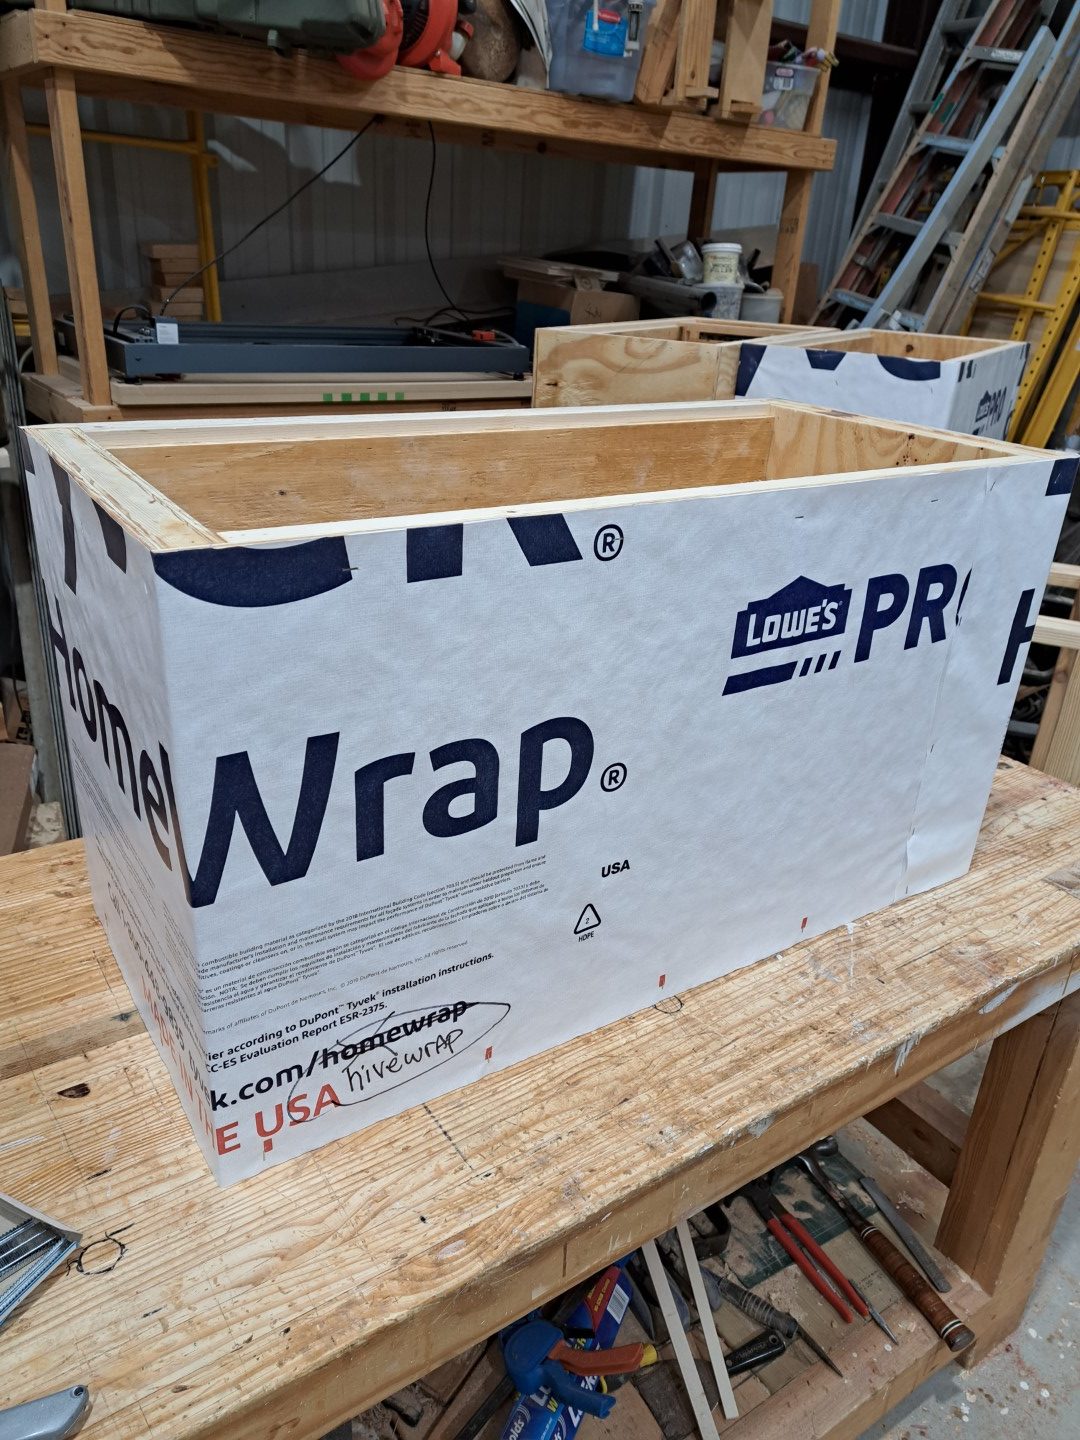
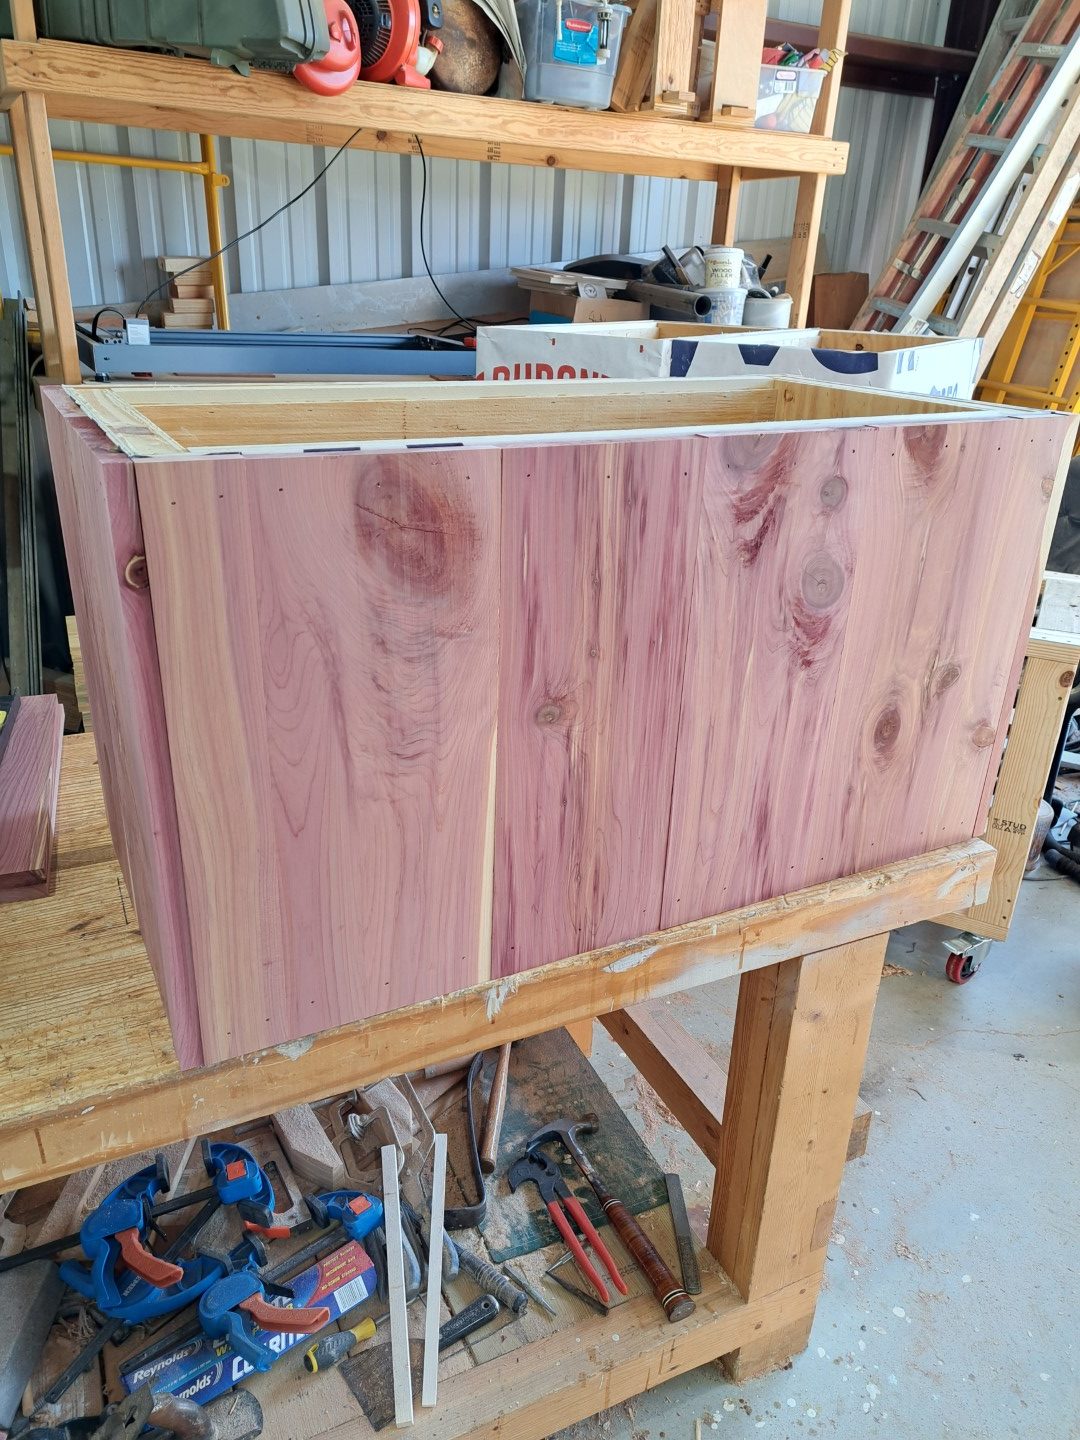
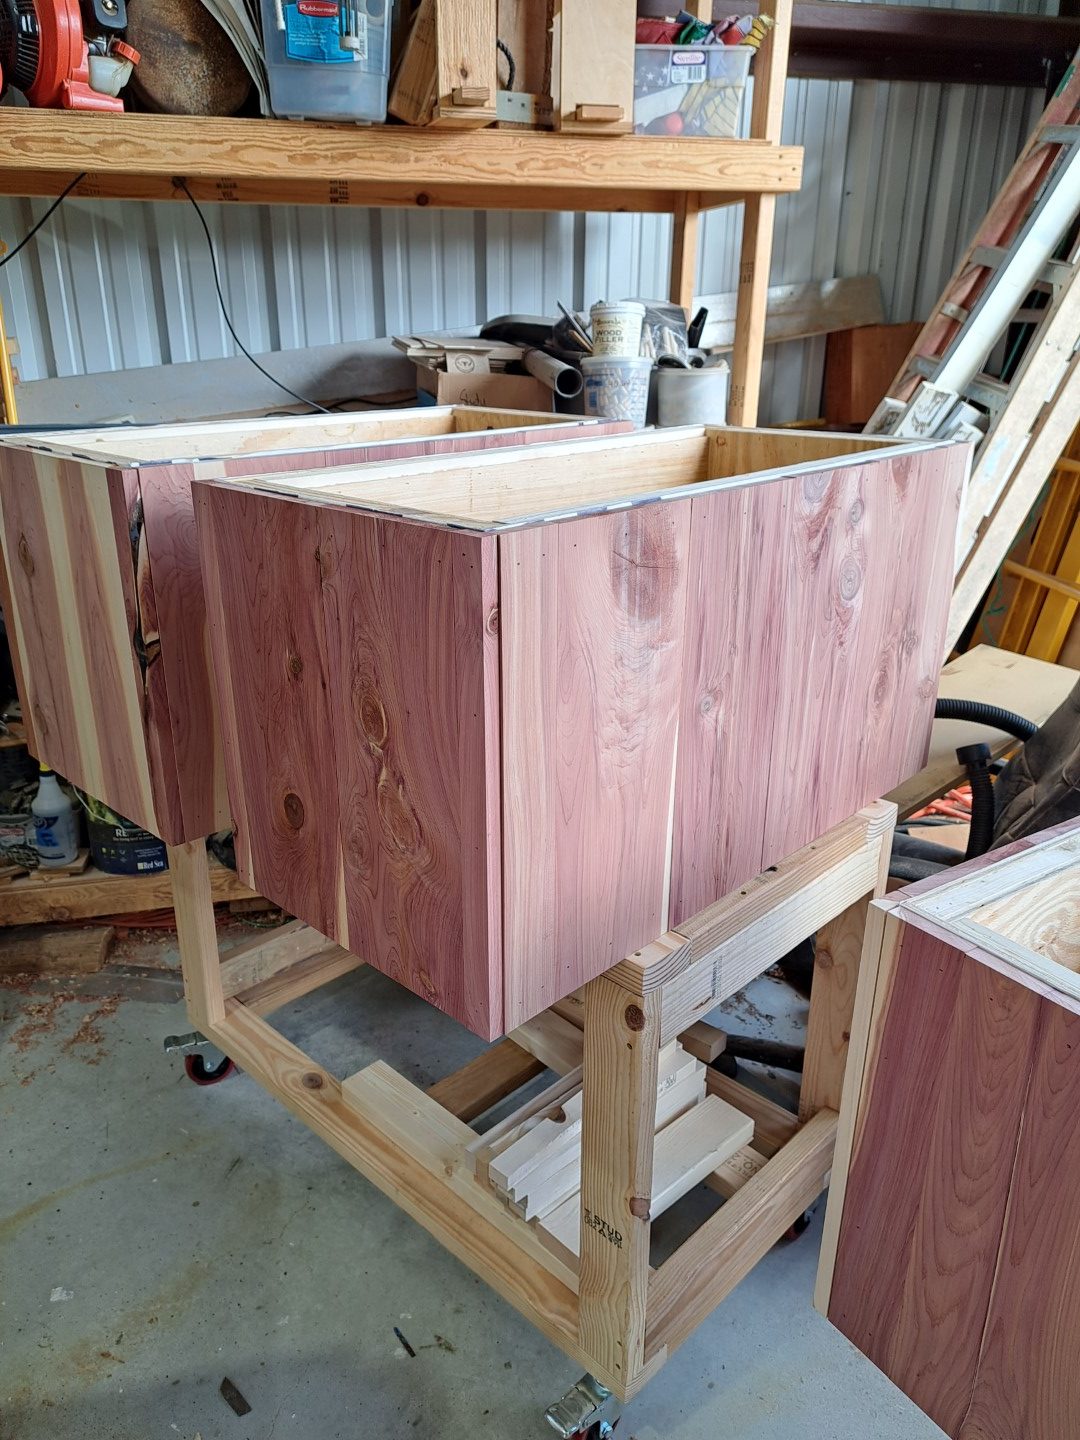
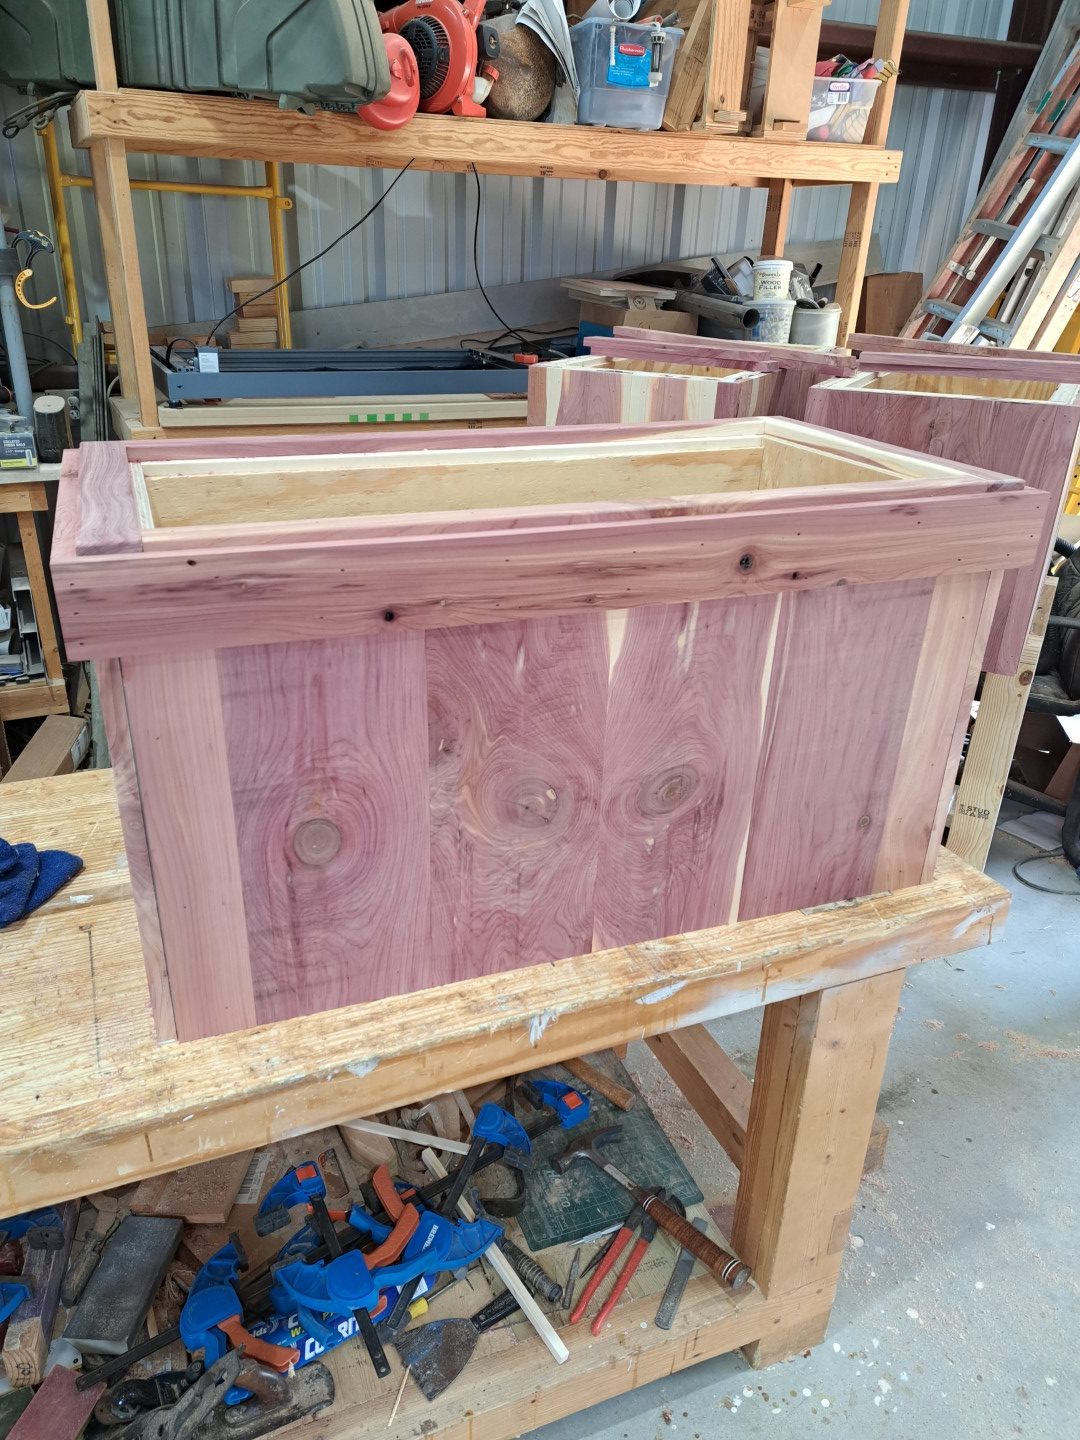
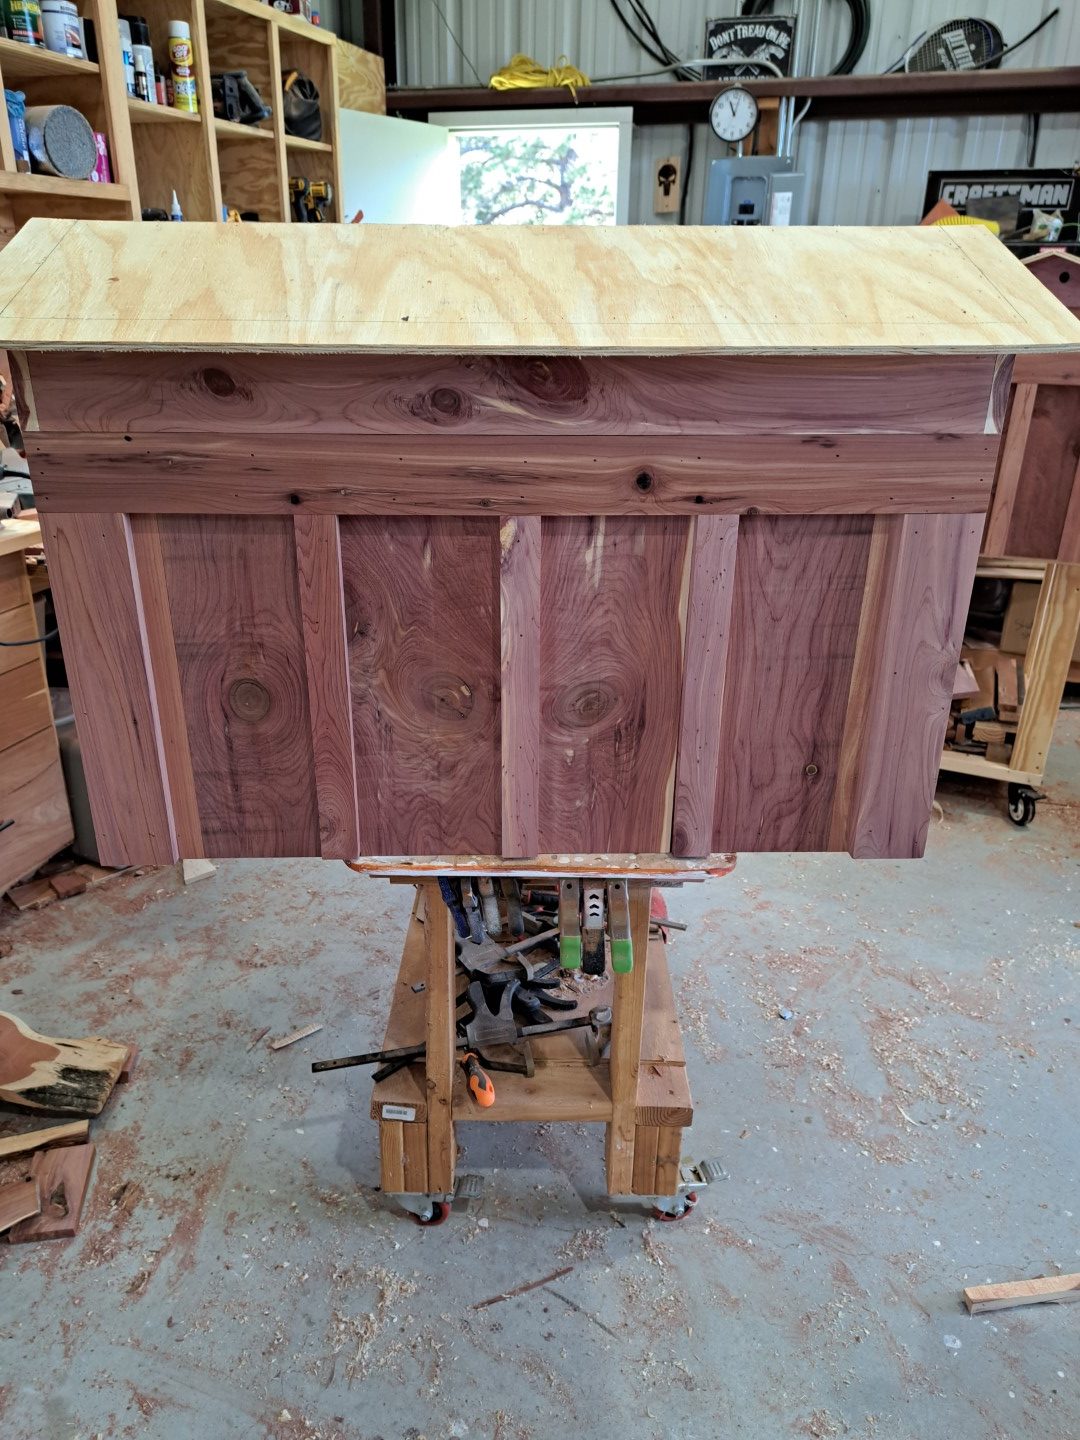
Adding cedar….well after we planed down all the 1x8s. My benchtop planer got a serious workout. Before adding any cedar we wrapped it all in Tyvek. This stuff allows moisture to escape for prevents rain from coming in. Since cedar can and usually does move and crack over time, this becomes very important. The plan was for battens all along and knowing that helps so we know how to lay out the boards. Battens were originally designed to hide gaps in the boards and allow the board to move. In this case it is not as important but it can help hide gaps between the boards…though not always.
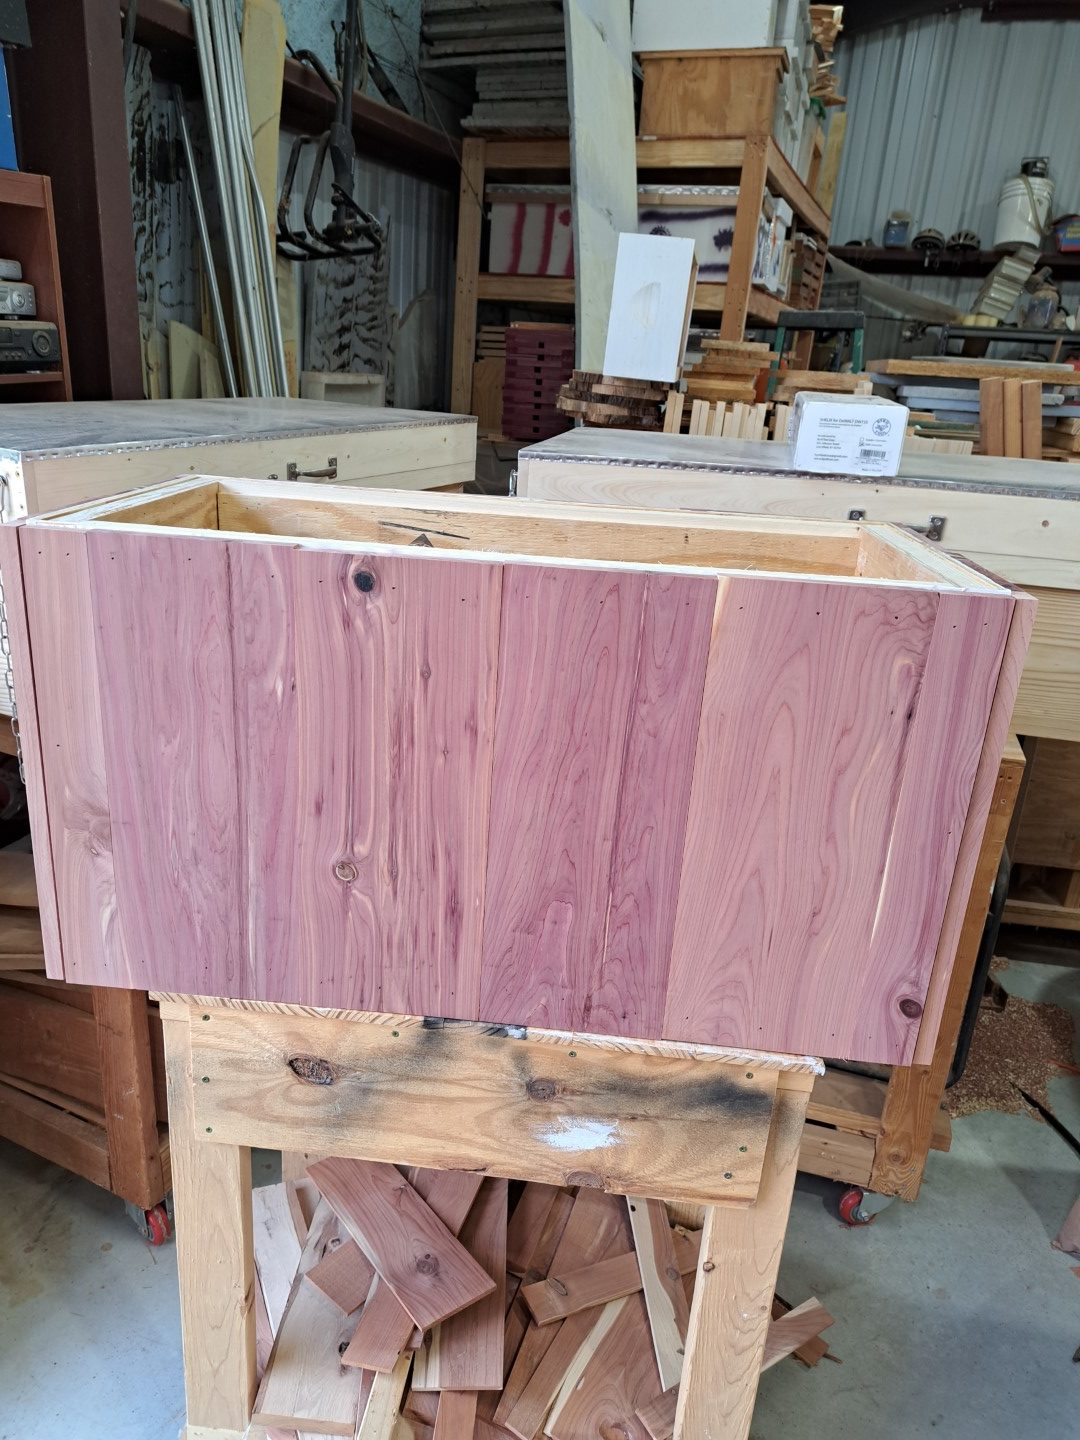
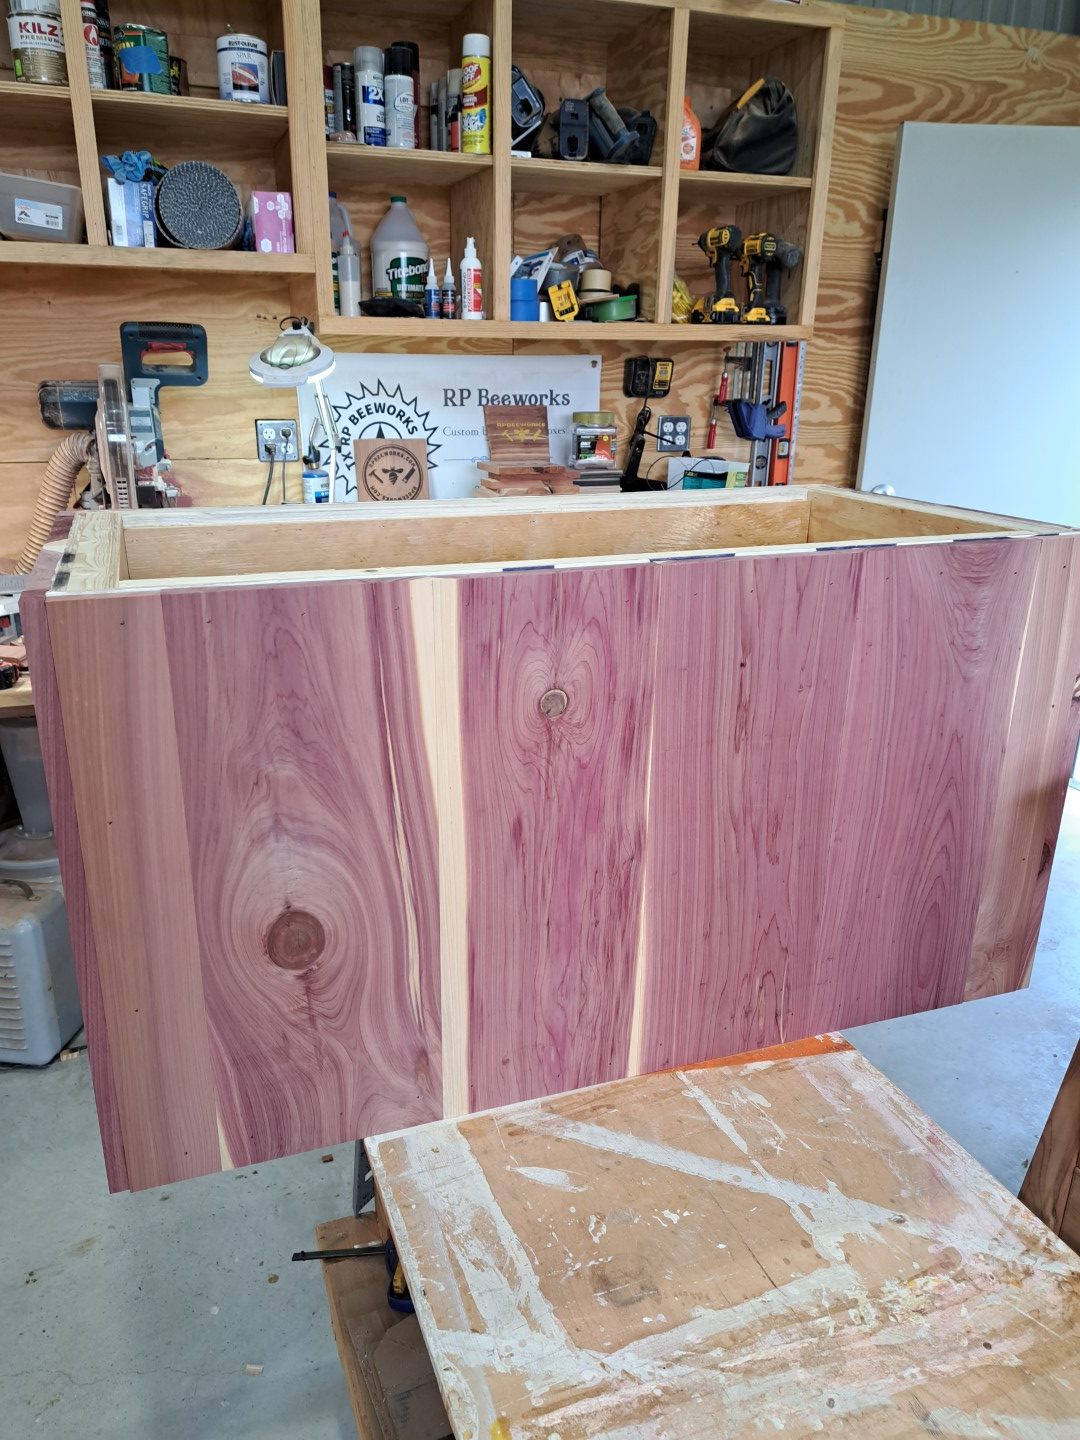
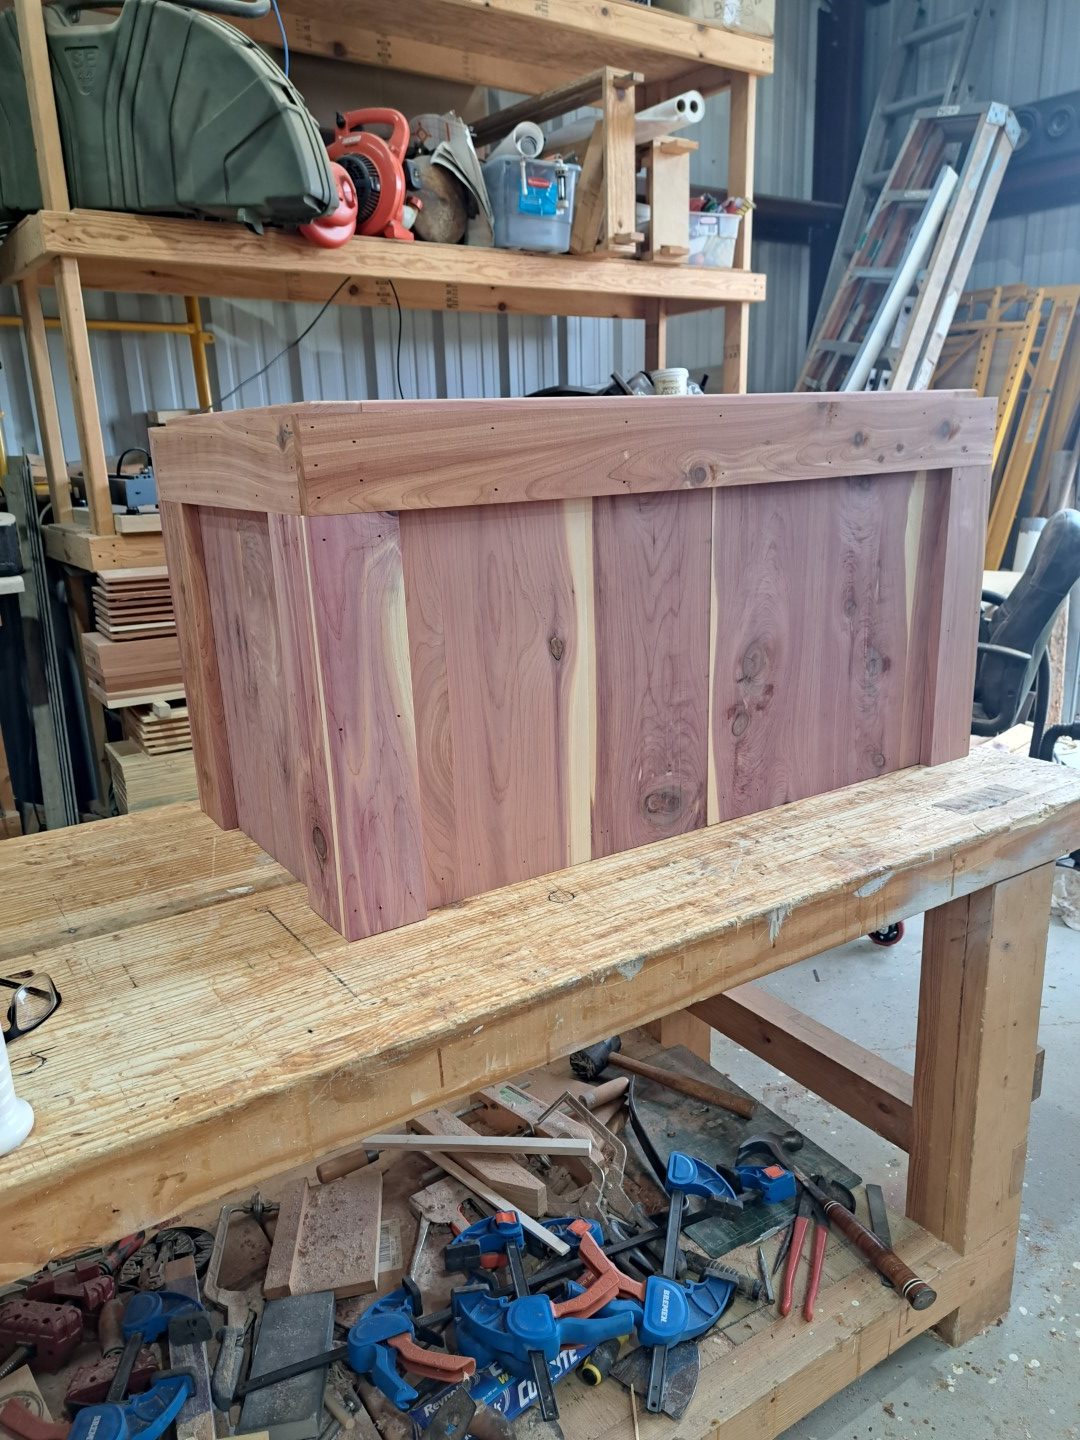
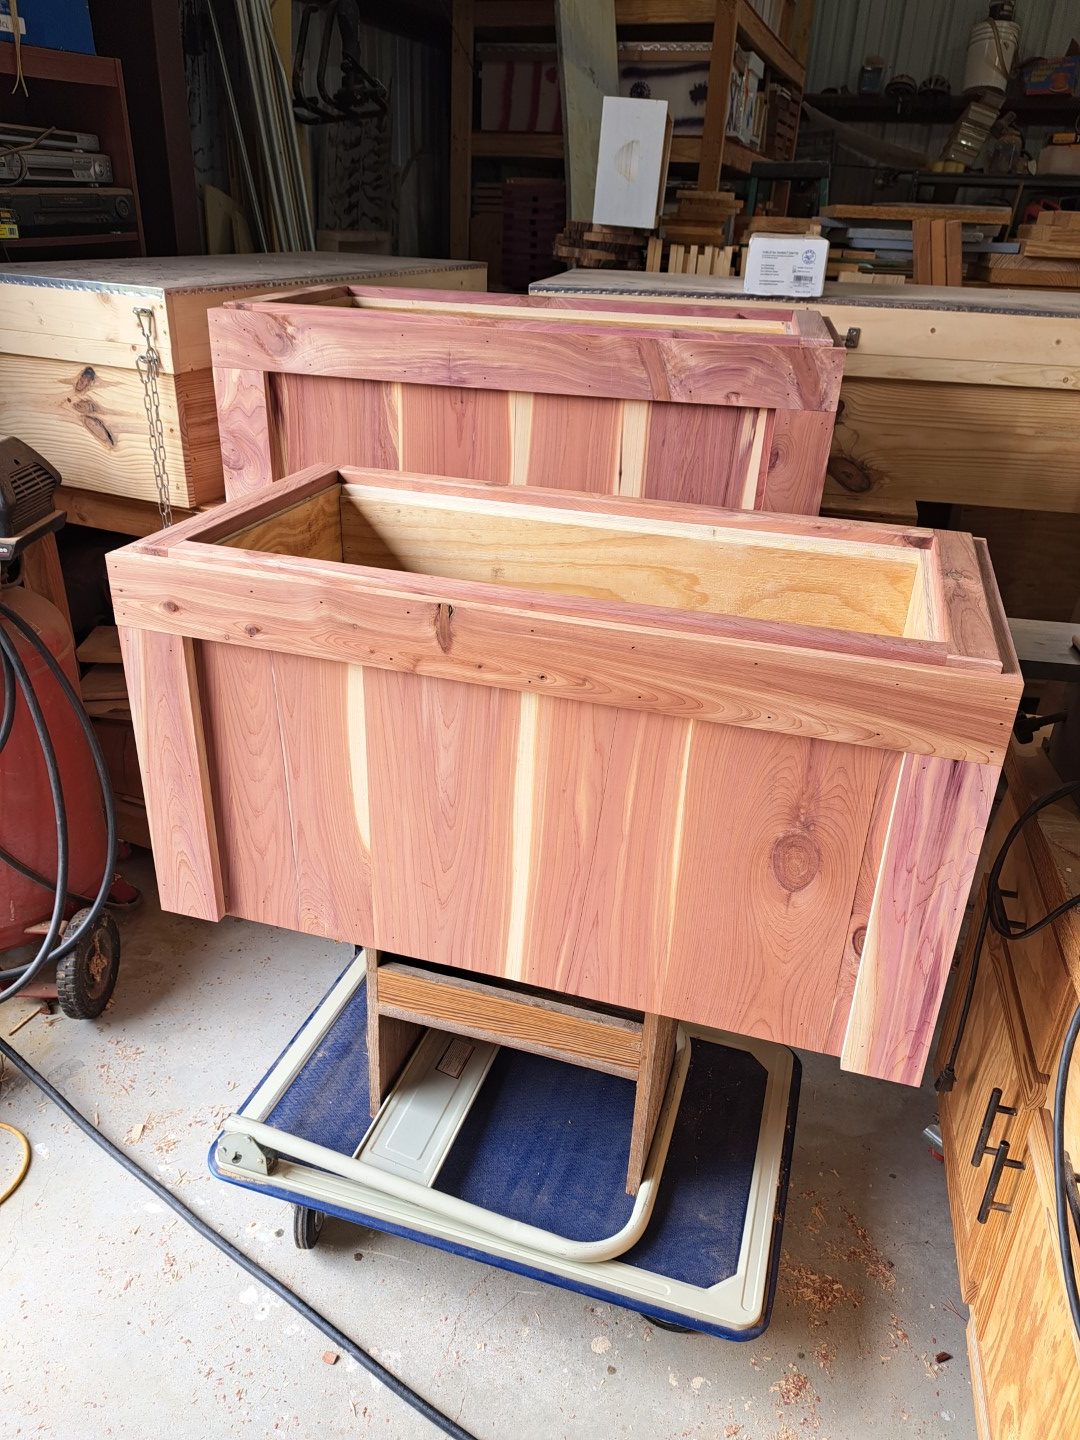
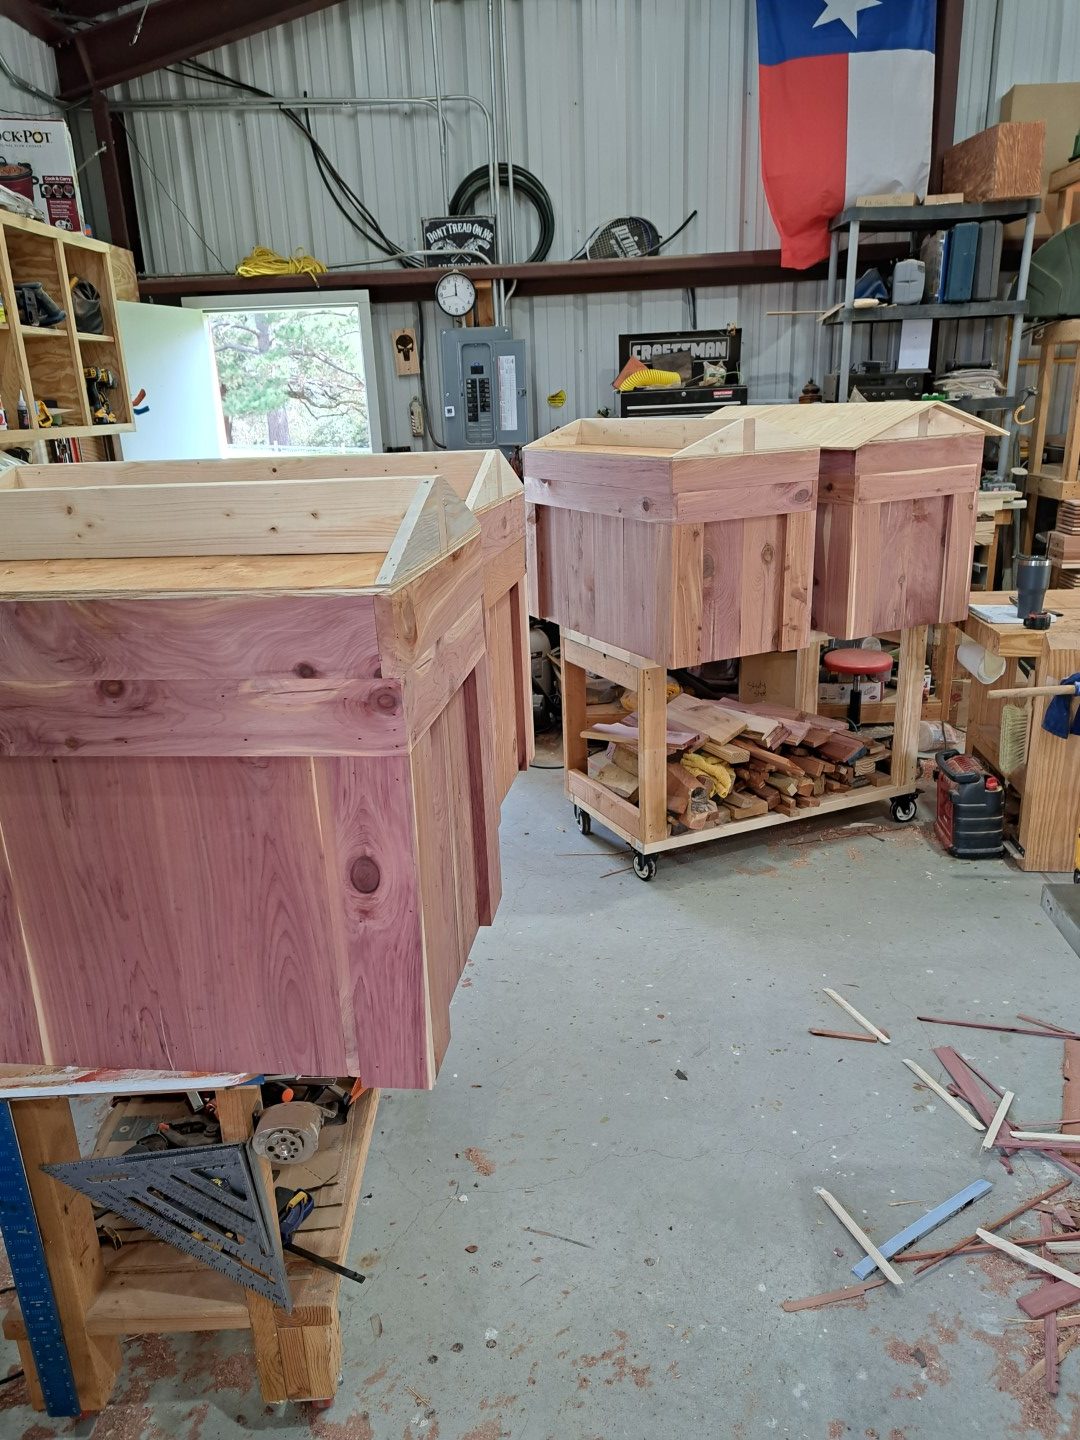
After wrapping the boxes in cedar we then added a top rail to help hide the pine and give a reference for the cover boards. The top trim is what the lid will sit on and hides the side of the rails. Then we added the corner trim. This hides gaps in the corners which is normal. All the trim was added with glue and finish nails.
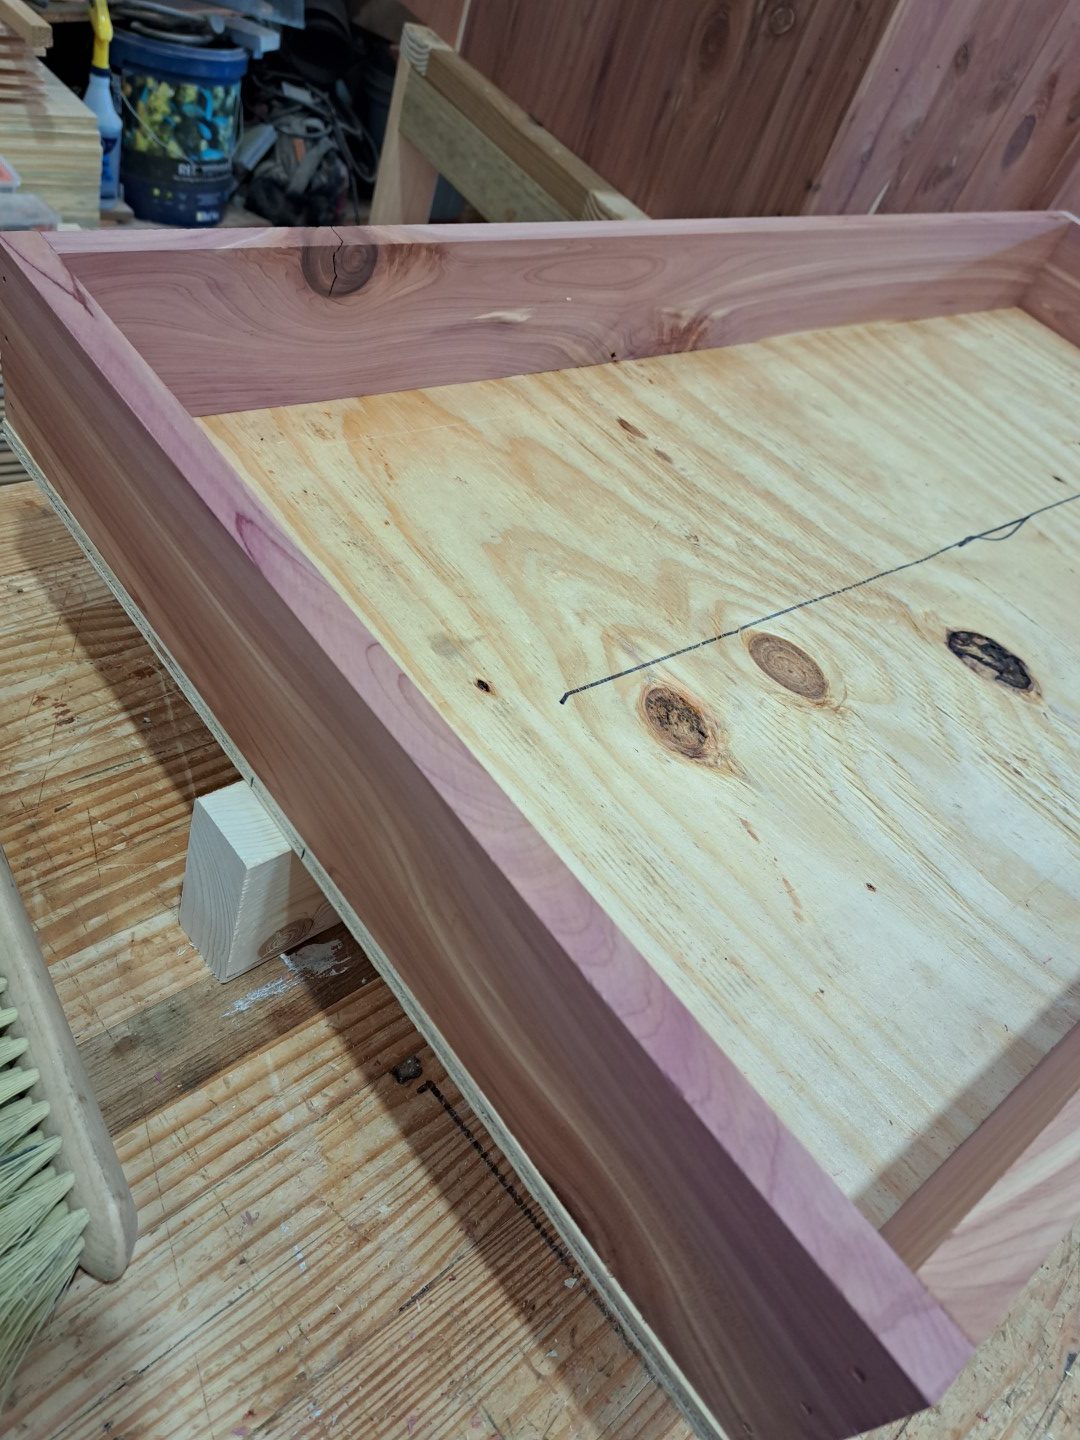
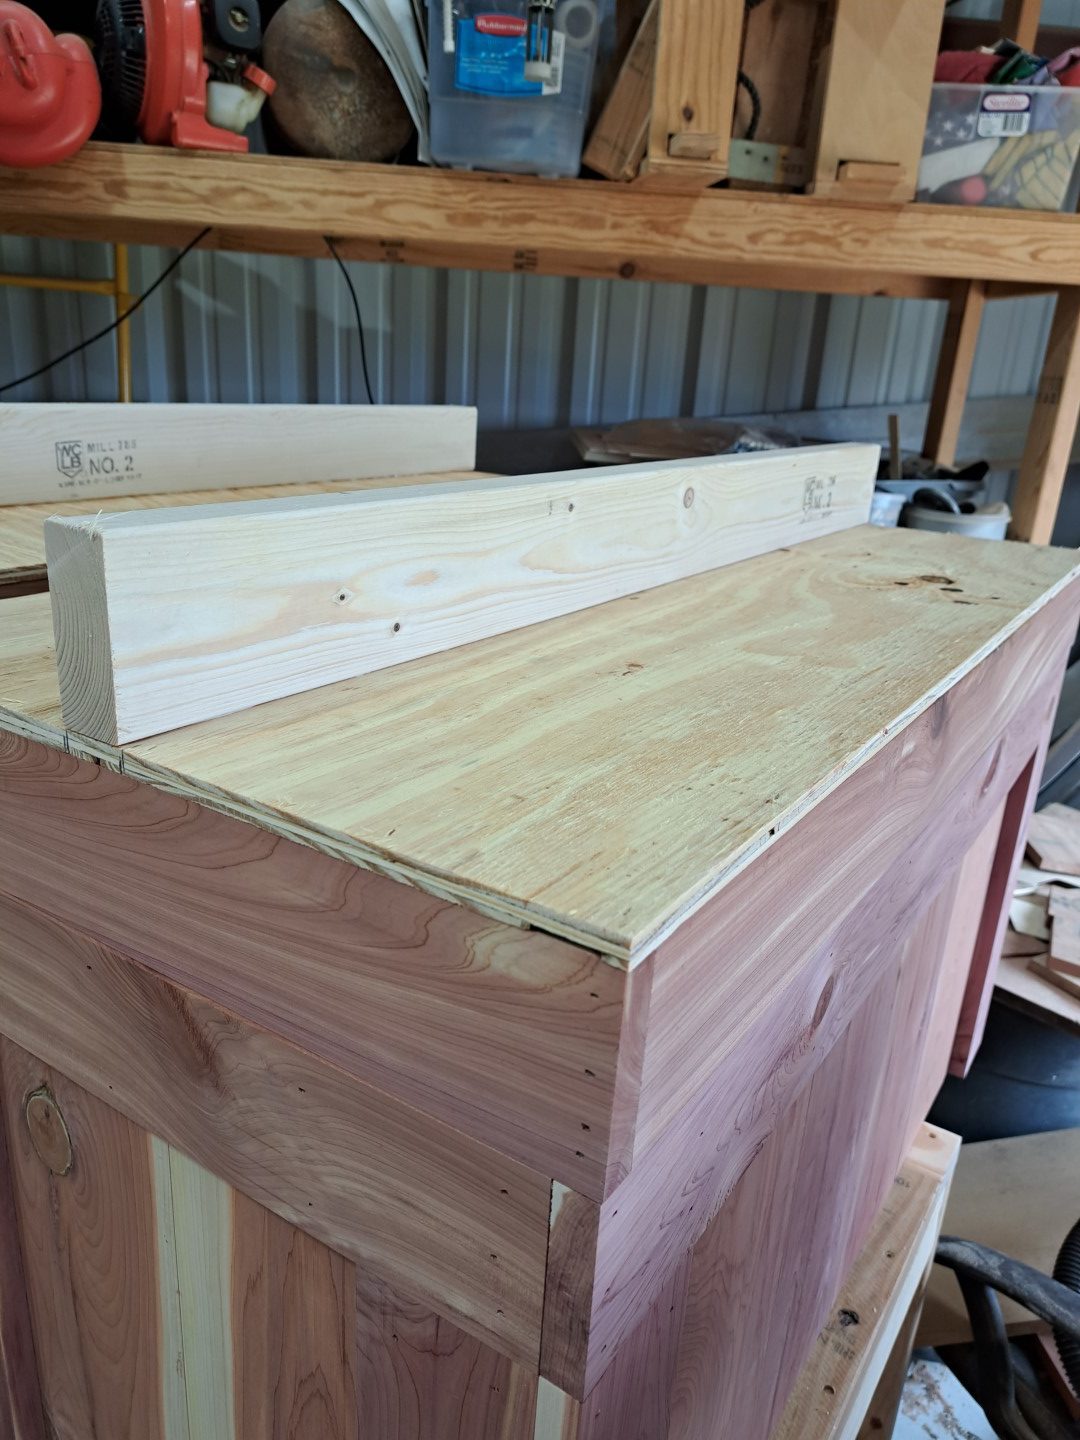
Clearly we did not take enough pictures when building the lids. After planing all the 1x4s and finding the straightest ones we added the top plywood to help square up the lid. Then we cut a 2×4 to act as the ridge support and glue and screwed it into place from the inside of the lid. This is important to do this step before insulating…helps hide all those ugly screws. Once the insulation is in place, then we plan down some cedar to 1/4″ to act as inner lining. I failed to take any pictures of the 1″ bracing we use inside the lid. This supports the inner lining to give you something to glue and screw to. You cannot just nail through the insulation and expect it to stay forever.
After flipping the lids and verifying they fit fine, then we cut the gable end supports. We cut out the first one on the band saw and then create a jig with some scrap plywood to cut the remaining supports on the table saw….really need a picture here! We used the same jig when wrapping the gable ends with cedar after some slight modification.
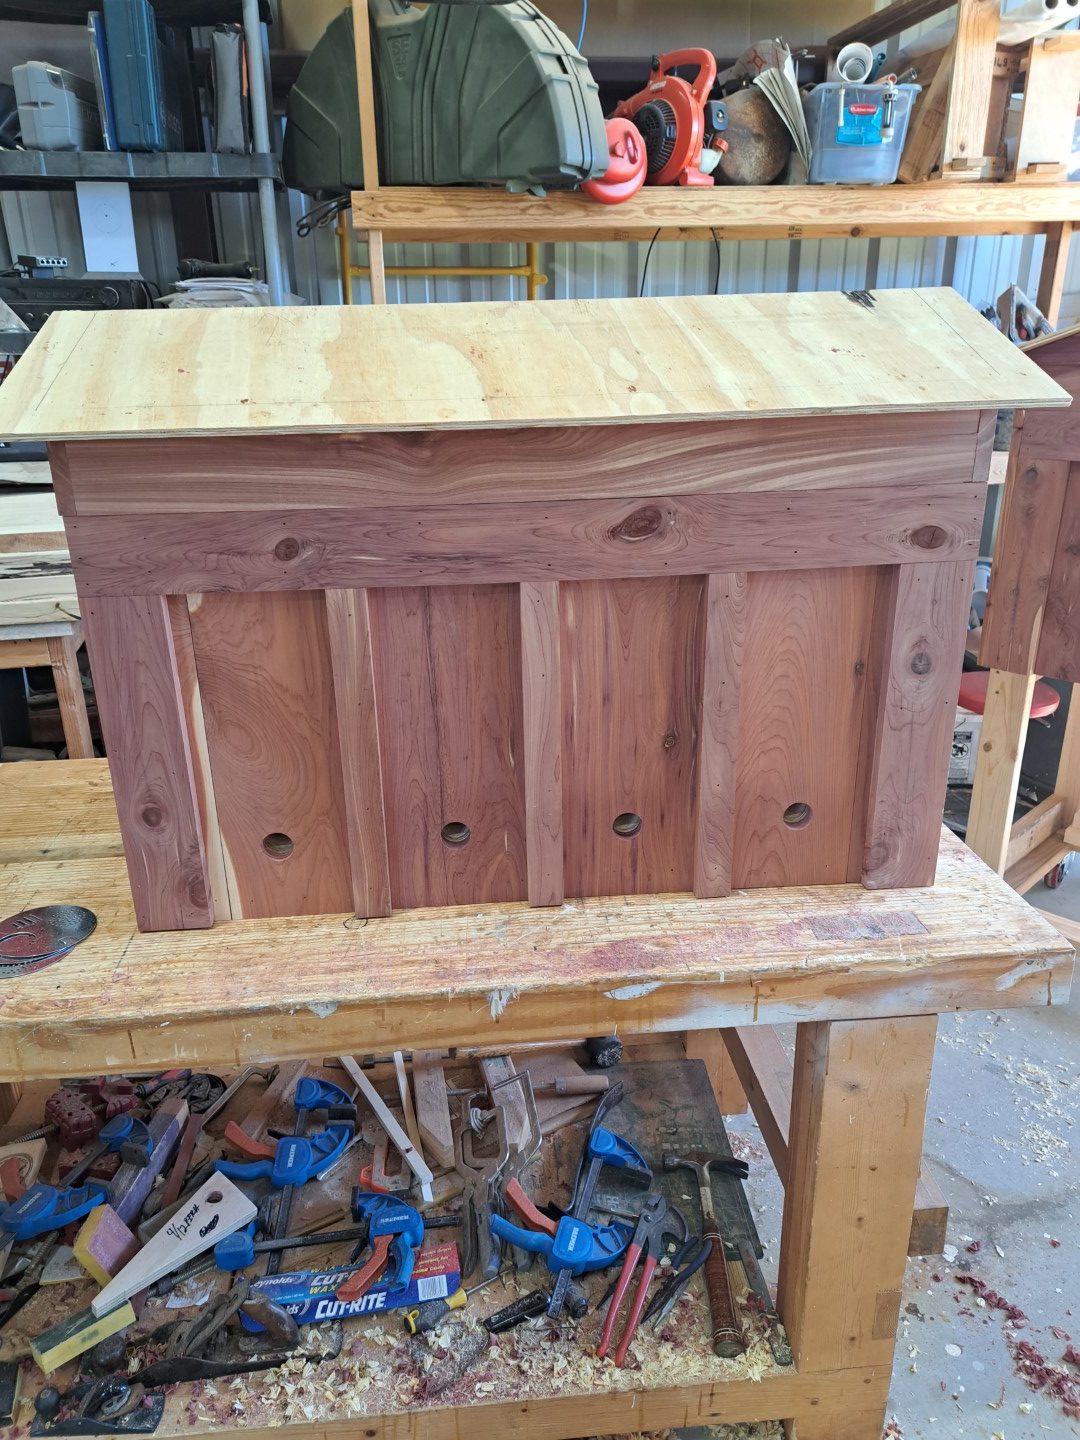
The plywood tops were pretty uneventful but we generally give a 2″ overhang all around. To cover the gable supports, we had to first cut and drill holes in the cedar siding that we will use, This with it all lined up we can use the siding as a drill guide to cut through the pine. This creates an “attic” vent which is very important in Texas. The roof will build up heat and it needs to escape. While the top insulation keeps the heat out of the hive, these attic vents will help cool the attic. Oh and we added some galvanized hardware cloth under the cedar siding to keep any other critters out of the attic.
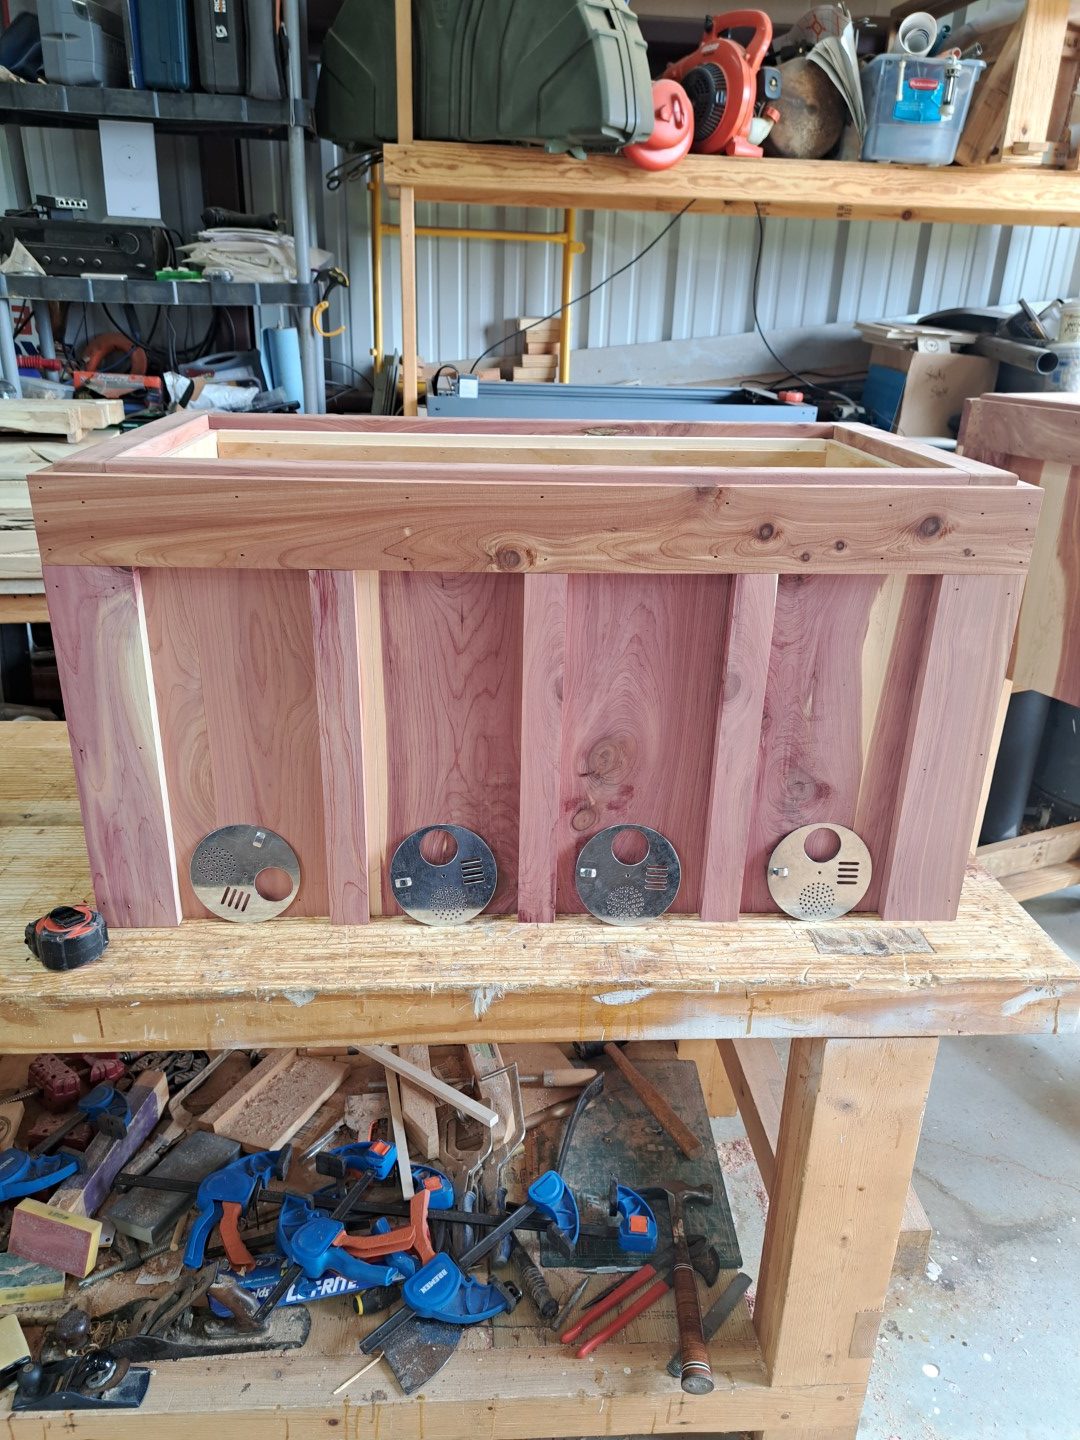
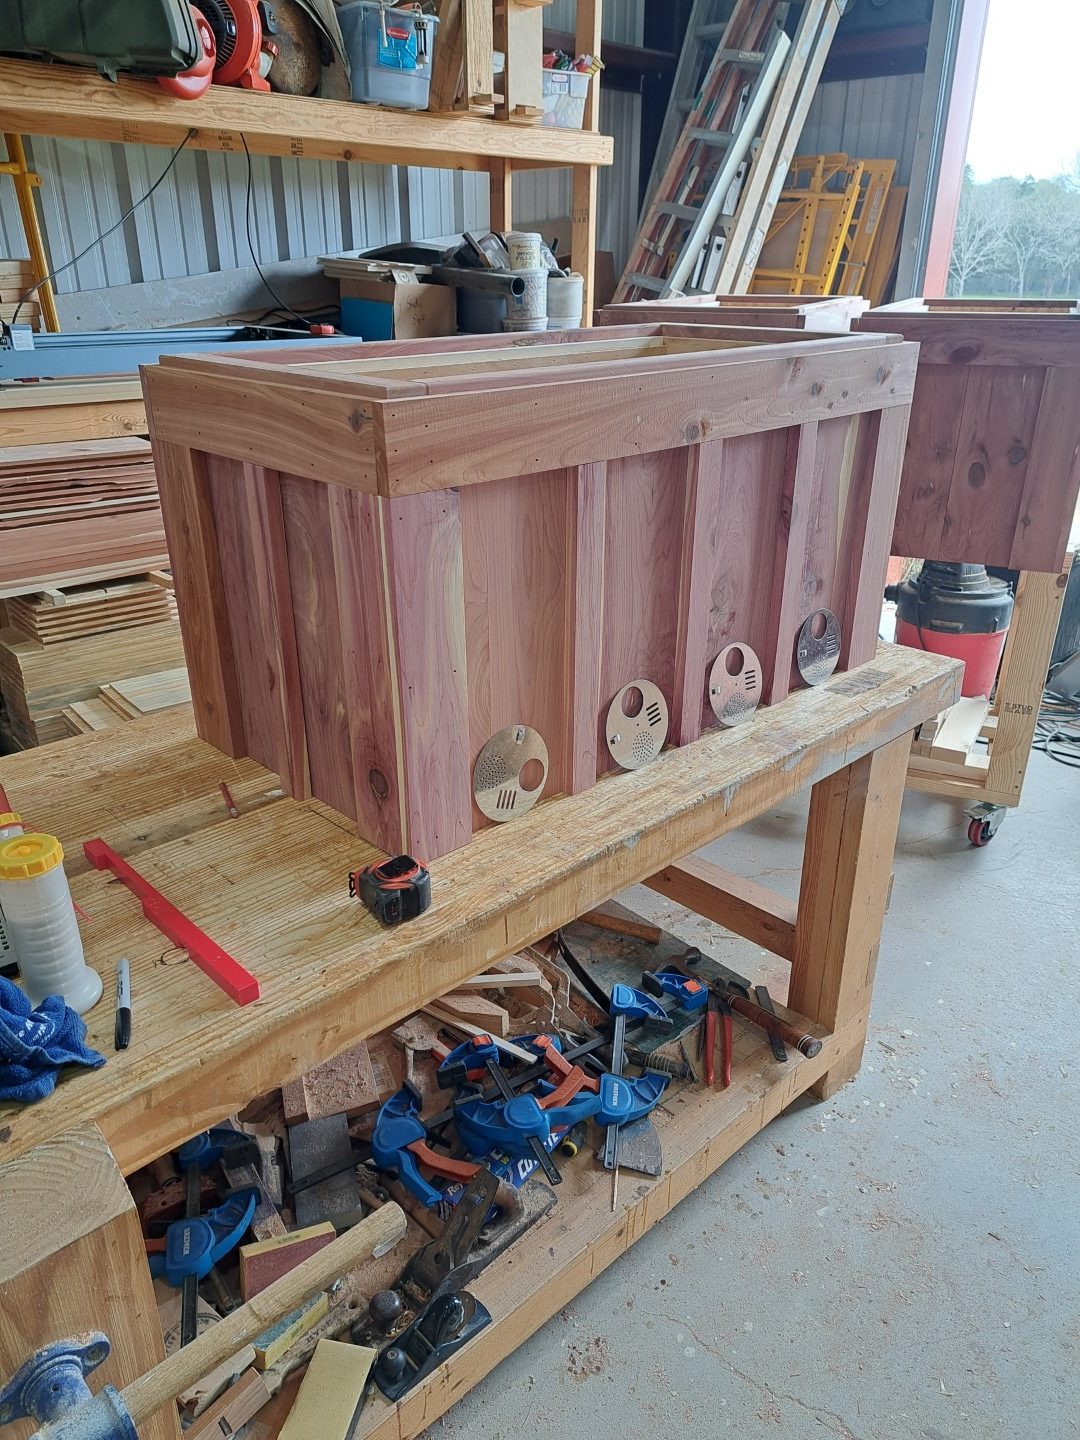
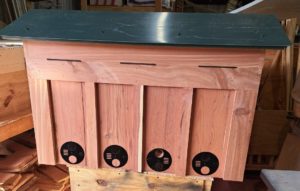
The battens were cut at glue and nailed into place giving us enough space to add four holes with entry gates.
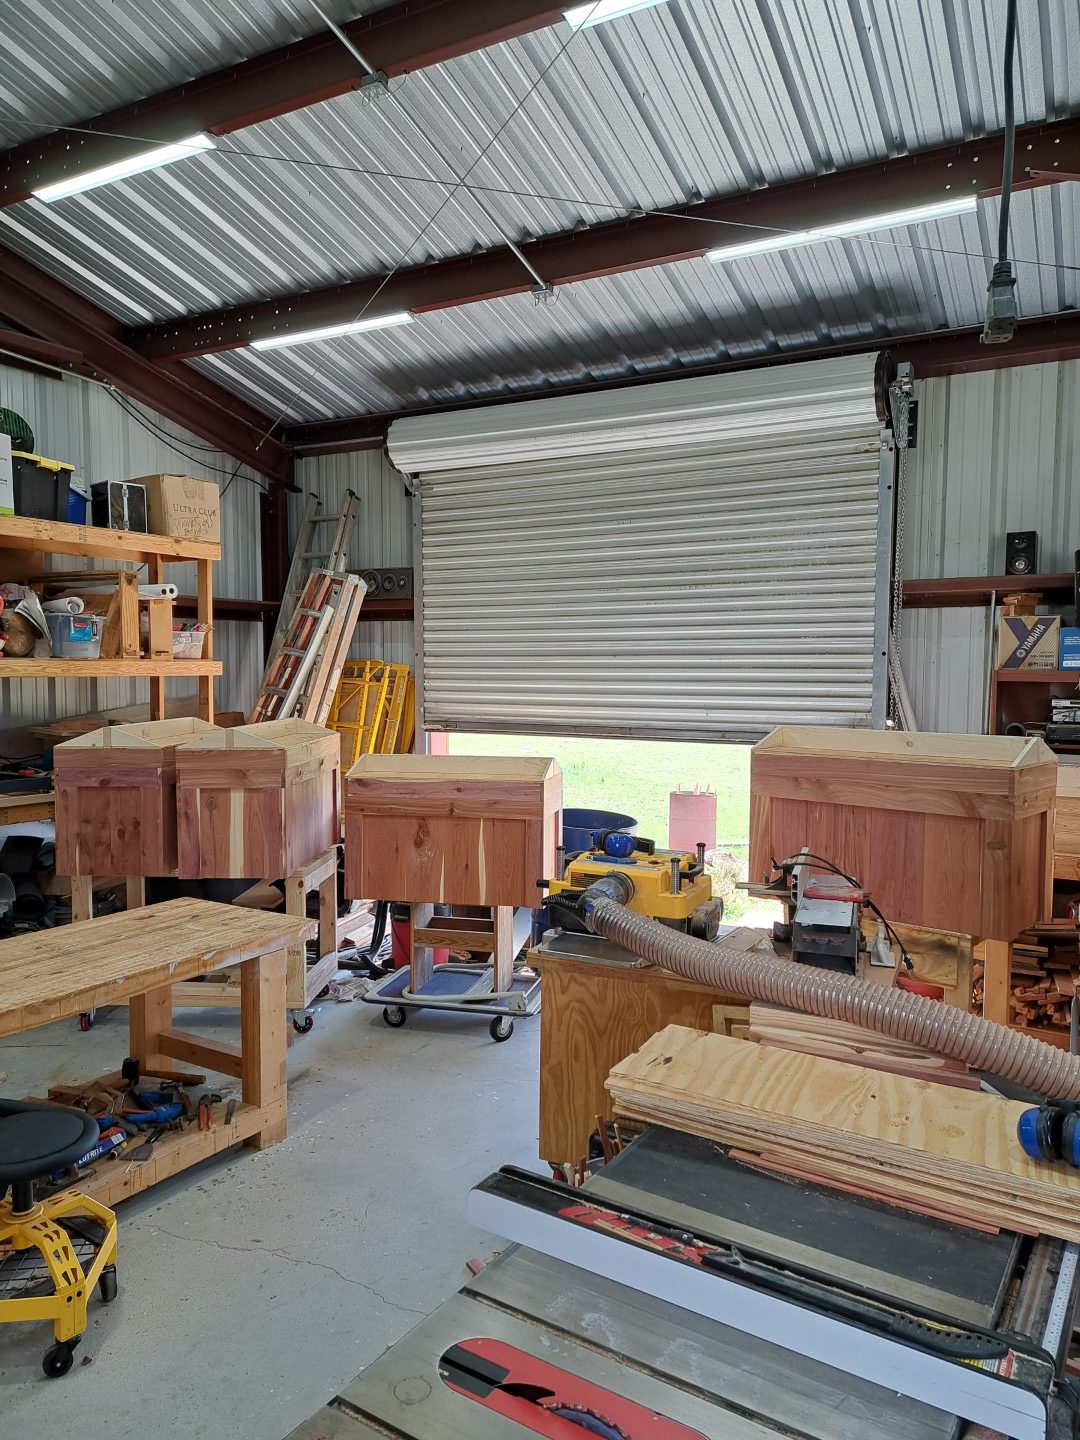
Still to do….add hinges (using piano hinges to help hide them)….make the divider boards….and screw the roof into place. No pictures posted for the roof, it is going to be something different but it looks great! Lastly we will make the cedar stands to go with these hives.
We expect to be done with these hives in the next two weeks…got lots of orders to fill…thank you all!